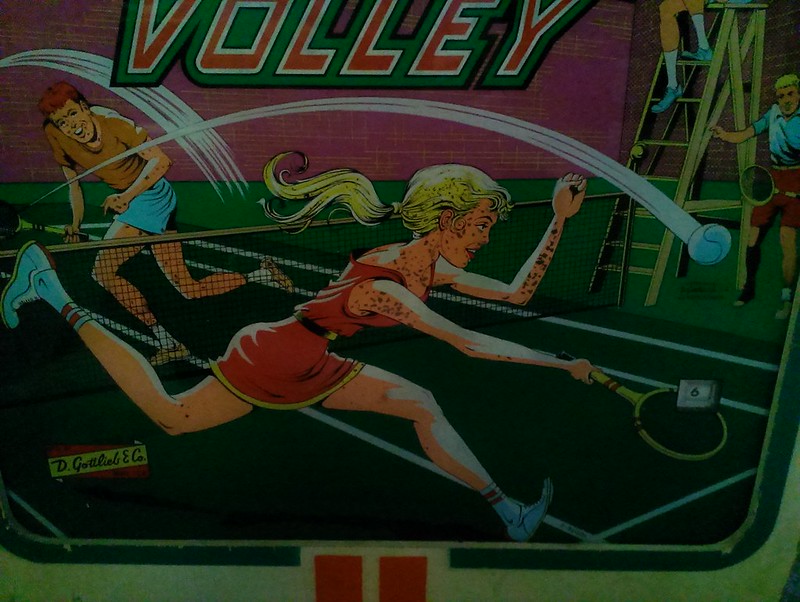
Could you share your technic for touch-up? I bought a Volley with minimal flaking.
Especially in the "Y"
I would like to save it.
Sure, Cam - I can post the technique that I've used in the past with pretty exceptional results. Note to the perfectionists out there! This is not going to be perfect, if you're looking for perfection shell out for the new replacement glass. This technique with the aid of some LEDs or lack there of, in the back box GI can make your old glass totally acceptable looking in your game.
Step 1 - Remove your glass from the game. Try to clean the back side of your glass best you can. Be very careful here! I would lay the glass face down on a towel and spray Windex on the back side, DO NOT WIPE IT OFF, CAREFULLY pat dry with a paper towel or a clean rag. it doesn't have to be perfect. Be prepared for even more bits to come up with the rag especially if your glass is very bad. You should probably try to clean small bits off by shaking or gently blowing air ( not a compressor! ) onto the glass and letting gravity do it's work. If any large areas come off - save these! You can put them back on the glass later.
Step 2 - Mask out you score reel windows with a cut out section of thin cardboard and use small coins to hold these in place. Apply a few coatings of Krylon Triple Thick to the back side of the glass to seal it. This should preserve what's there and will help as if you make any errors on the touchups. It doesn't take long for the Triple Thick to dry to the touch - but I'd give it a day until you start attacking the touch up. You can remove the window masks once it's dry to the touch.
Step 3 - Next you stand the glass up on a workbench or chair supported by leaning it against the chair back or something ( use some foam, bubble wrap or towels to make sure your glass doesn't shatter! - Common sense here is the rule ), this will help illuminate/see the areas to be touched up. I would find a table lamp or work light and set it up so the light comes through the glass and illuminates the spots you have to work on. This is where things get tricky. If you had large pieces of art come off, apply some more triple thick to the area and reattach these bits the best you can so they match the glass from the front. To aid in this part of the process, you can use GLAD CLING WRAP on the back after you apply the pieces, it doesn't stick after the TRIPLE THICK dries. This is where I'd lay the glass face down again, and use something ( a book or something ) to keep it flat while it dries. Go slowly once it's dry and carefully remove the books and CLING WRAP... CAUTION! - as you remove this the repairs may still come up. !!!
Step 4 - Once your satisfied this is "as good as it gets" , you're ready to start the touch up, stand the glass back up on the chair with the light shining through. Use acrylic paint, match the colours as best you can ( yeah I know - easier said than done ) I pre-mix the colours on a old piece of plexi and hold it up to the glass for matching, if you're not happy once you've applied paint this is where the sealing process will help. You can just wipe off and start again. The tricky part is you have to work from the back of the glass, you can use a mirror if you want, but I usually can stand in front of the glass and paint on the back.... it's a learned talent to make your mind work backwards... You have to start with the black outlines first and work through the colours.
I suppose you could Triple Thick between colours, but I've never done it that way, I've always tried to get it right the first time... I know, also easier said than done... Where the glass may be not illuminated from the back, usually non-opaque areas, you can use a silver metallic paint to keep the light from coming through.
Step 5 - Once you're done and satisfied with he result, you can put a final coat of Triple Thick on there, that's the basics. Only tips I can offer are if you have an area that doesn't look quite right, you can choose to cover it with the silver metallic so light doesn't go through OR remove LEDs/lamps in the back box to make the repair seem less obvious. It's basically the same thing...
NOTE - Some of or most this method was already documented in the TOPS ( This Old Pinball ) videos. Good luck!