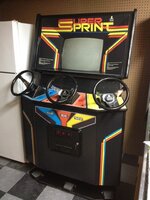
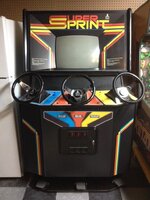
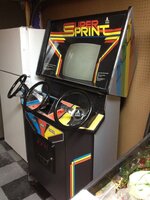
START YOUR ENGINES: restoring my first vid; 1986 ATARI Super Sprint
Part 7 - conclusion
Well,
My shop is starting to slow down a little. Hoping to get into the spray booth today or tomorrow to finish up at least two of the playfields I've been working on. That'll be a relief to me as well as the owners
")
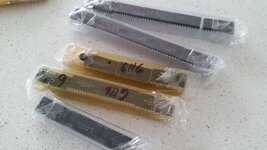
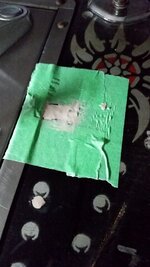
In the meantime, a little package came yesterday.
I found a whack of 6116 RAM chips pretty cheap and grabbed a whole bunch. I figured Super Sprint would need a few news ones after that error message I got a couple of weeks ago.
I swapped the one in section 2B (this is where the game's diagnostics specified).
Nothing happened. In fact, the screen got even more garbled.
I decided, what the heck, let's put in all new ICs. I had plenty.
Again... nothing.
Finally I decided to pull a couple of EPROMs off the CPU board to see if they were corroded. Nothing! I put them back in.
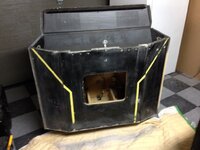
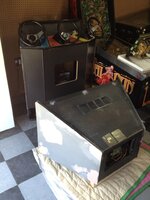
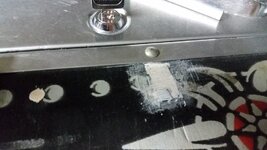
Then I finally decided to just pull off the video board.
If you're not famliar with these sprint series games (I'm not), they have two boards CPU & VIDEO that connect to each other via an edge style connector.
I separated them, cleaned the connection point and re-seated.... and voila! Not fixed, but at least something else.
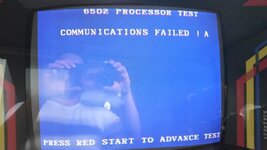
Now I was getting a communication error instead of RAM :?
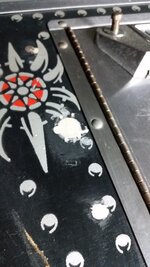
After much frustration I pulled both boards out to have a look.
It took just a few second to find the issue.
When I re-seated the EPROM on the CPU I had bent one of the legs :FP: Luckily, not broken!
I straightened it out, carefully seated the chip, reconnected the boards and.....
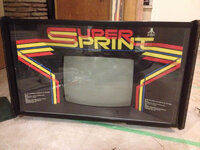
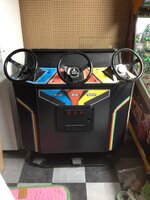
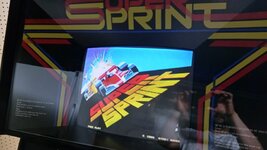
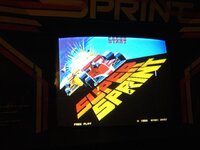
I heard the sweet sound of the audio test, which meant the game's diagnostics were succesful and then quickly switched it out of test mode to see this screen.
Everything worked great and my weird artifacts were now gone.
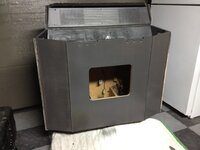
Here is a picture of the original issue and the 3 blocks that would run through the image on every screen.
The game is still having one minor issue with the soundsto the right speaker.
I'll be checking connections and volume pots tonight.
Otherwise, I'm happy playing in mono for now