I have always wanted one of these MindOrbit lighted shooter rods but they are usually sold out on pinbits.com. You can see all the different varieties they offer here as they come in different colours, speed of colour changing and comes in either pearlescent or faceted balls.

http://www.pinbits.com/index.php?main_p ... 6mrgfikab5
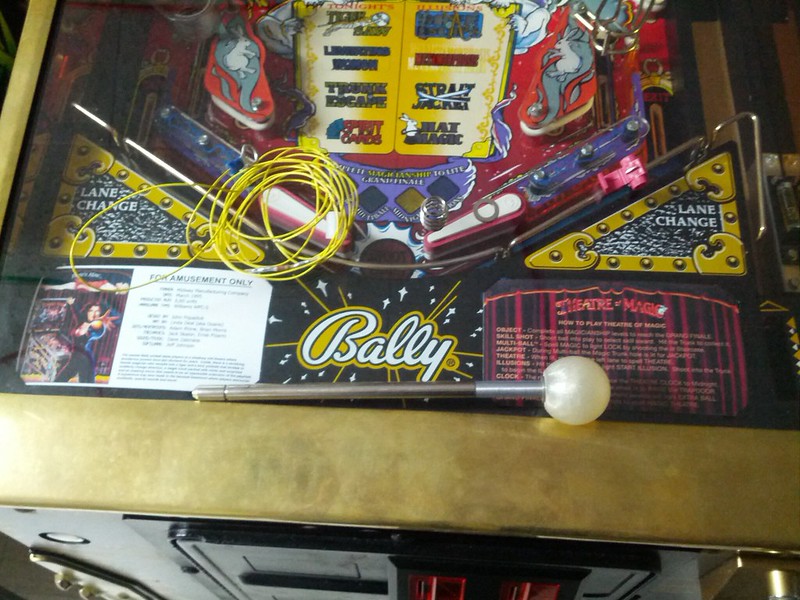
I picked my kit off Brock last weekend who had plans I believe to put it in his Ripleys when he learned that it will not work unless you do some modifications to the Stern shooter housing or else swap it for a Williams one. Here is what I got from the slim shady seller and as you can see not quite as complete as the one above but no big deal, Thanks Brock
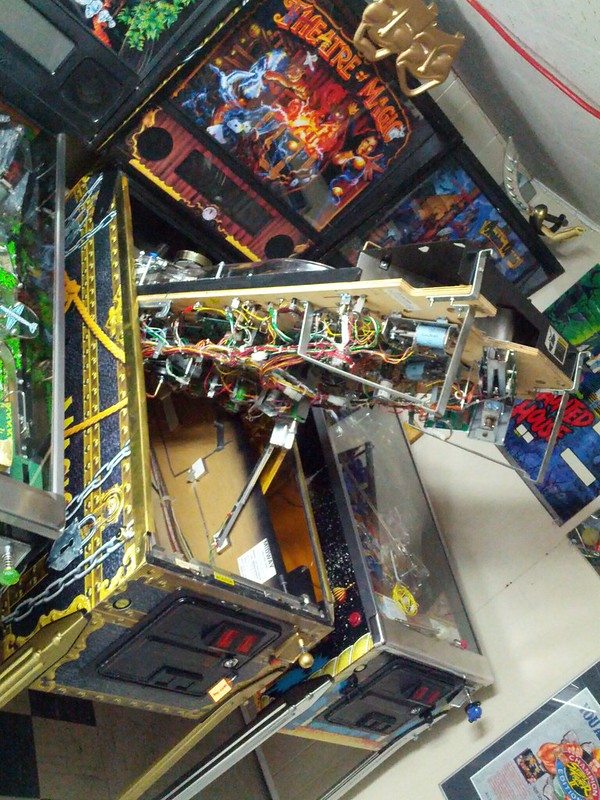
Pretty standard procedure by removing the lockdown bar, glass and I used the rod to prop my playfield up otherwise I would have to remove my topper mounted in front of the head which would normally install on top but due to ceiling clearance issues I had to mount it differently. If you do stand your playfield all the way up do not forget to remove the balls or else stuff a rag in the trough so the balls don't come falling out.
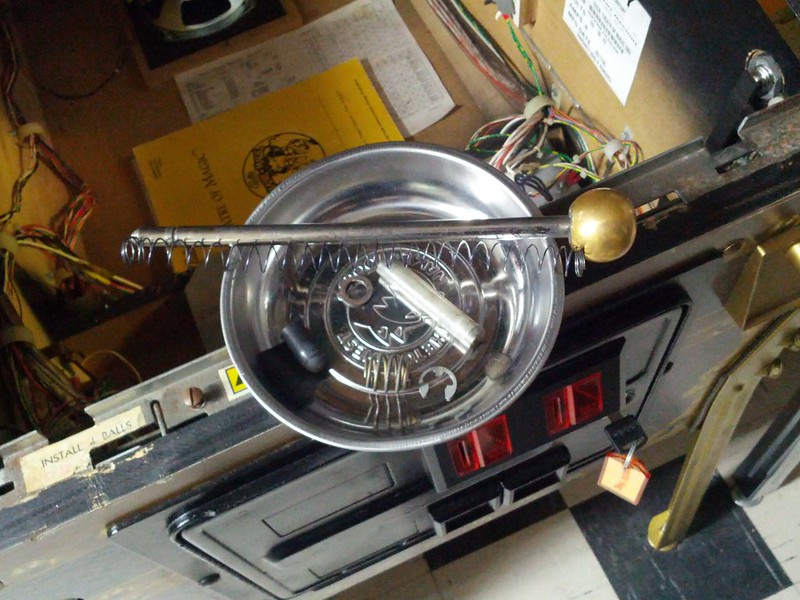
To remove a shooter rod take the rubber shooter tip off and then pull the main shooter rod spring back before you remove the e-clip or else you will send it flying into the back of your cab.
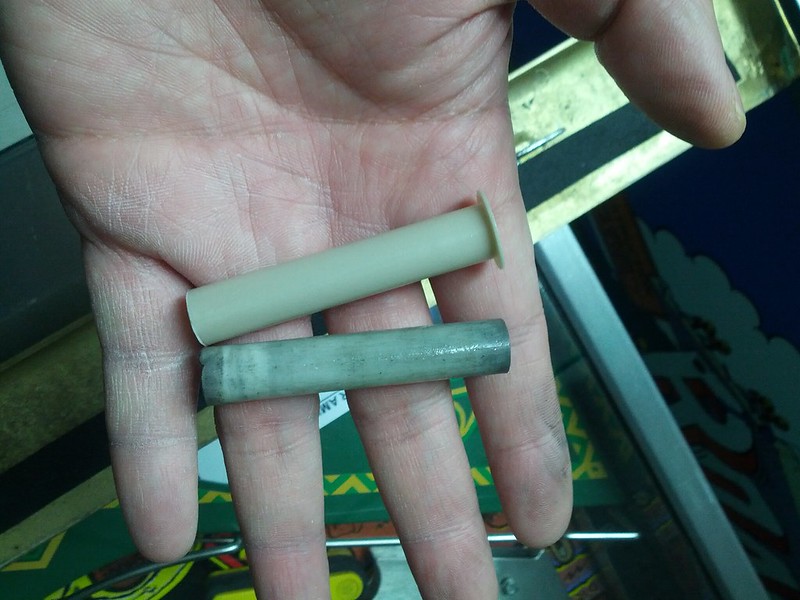
The stock kit typically comes with a new shooter sleeve and I usually stock a few of these anyways. I think the one inside my game has seen better days as the flanged end was gone! I installed the new sleeve with the flanged end inside the cabinet.
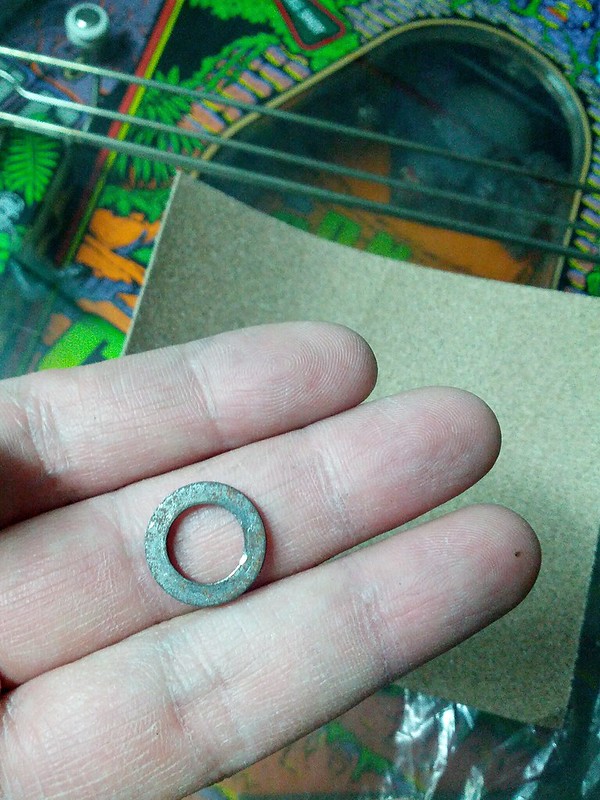
Again the kit will come with a new pair of washers but since mine was missing one I just used some sand paper on my old one to ensure good electrical contact. I also sanded both ends of main shooter rod spring as well.
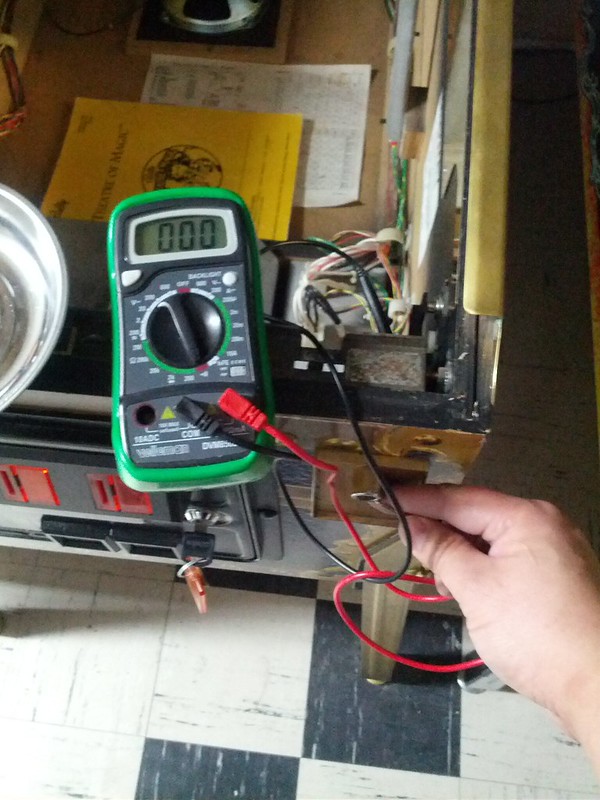
I was just being sure that my shooter housing was grounded properly via the cabinet's ground braid using my meter and all was good. The reason I checked this was because I emailed the creator of this mod, Greg Ong, and he had mentioned not to hook the rod up directly to 12V or else it will blowout the LED instantly.
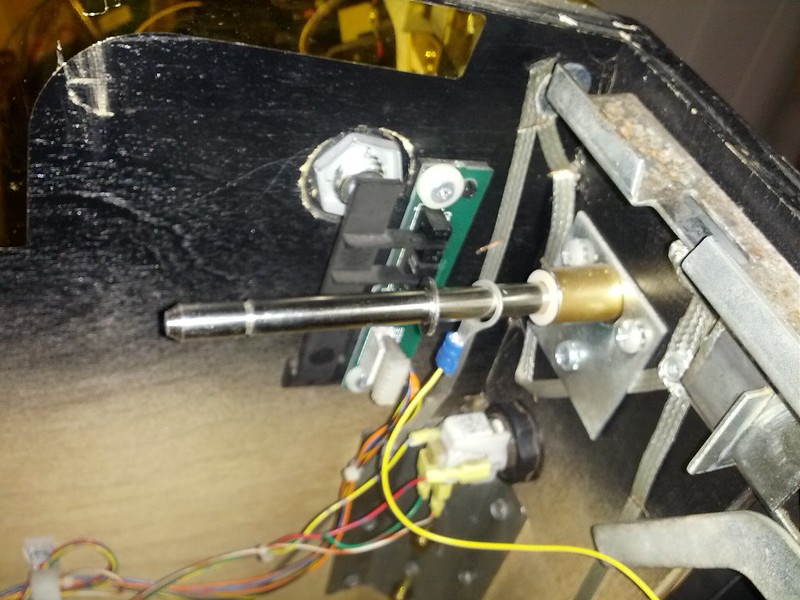
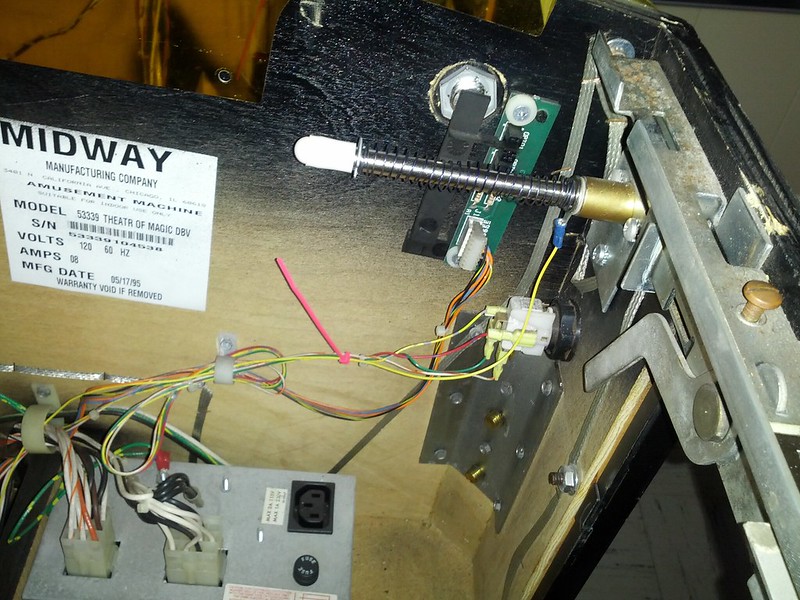
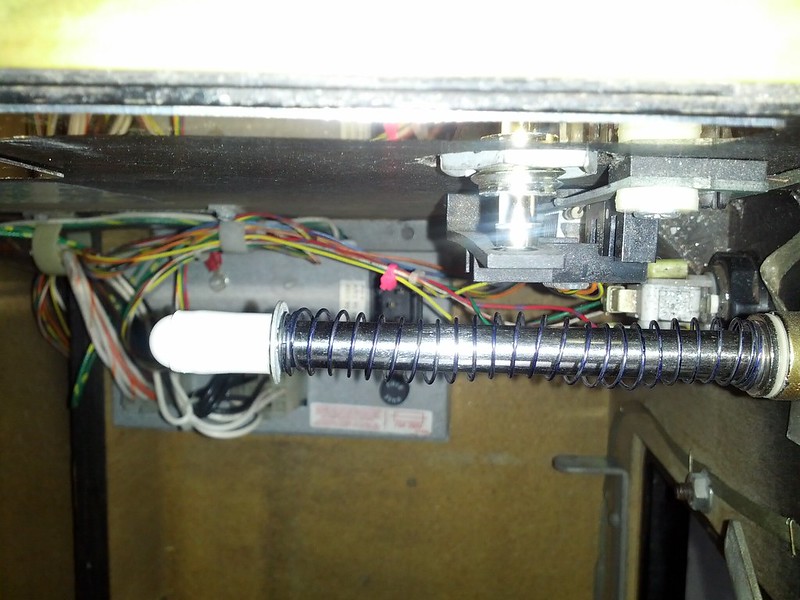
Time to install the shooter rod and order in which things go in is very important for the rod to work or not get blown out. Put the small spring supplied in the kit and then put the washer after it so it is going to be on the side closest to the shooter housing.
Now on the inside, thread the shooter rod with the 12V wiring harness supplied so that it is closest to the shooter housing from the inside and then put the washer after it.
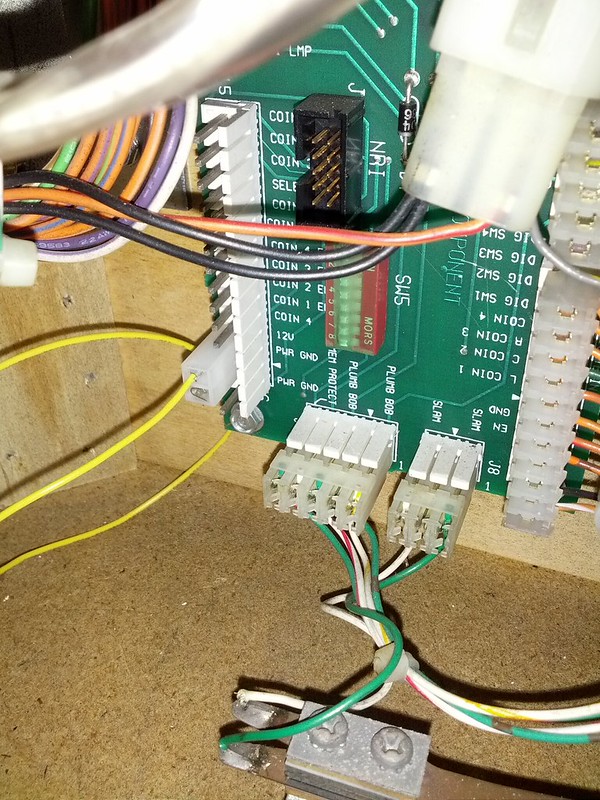
There are a few places you can pull 12V from depending on your machine but on my game there was an unused connector on the coin door interface board on the left side of the cab by the tilt bob. You might want to get down on your knees so you are eye level to ensure you are plugging the harness into the right pin outs for 12V and not something else.
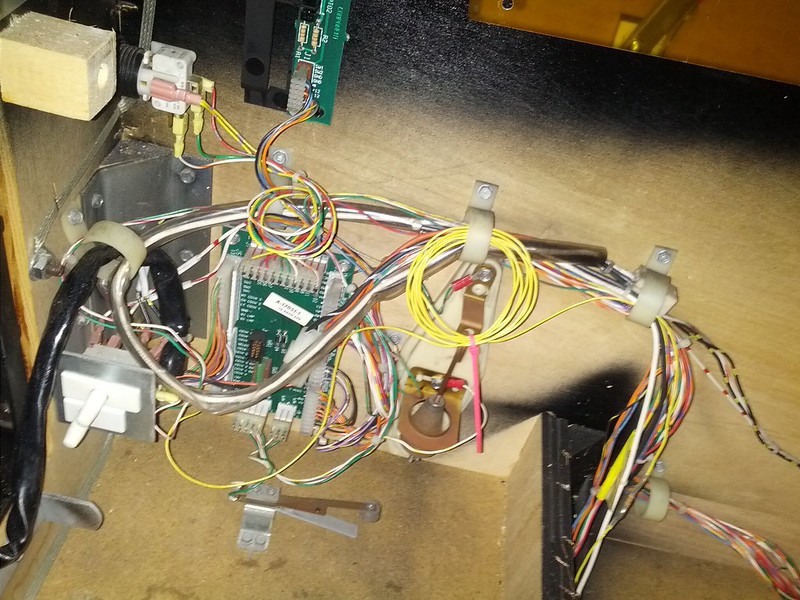
Then I tidied up the wiring using zip ties and routed it via the factory cable clamps behind where the coin box is to the other side of the cabinet. I made sure there was enough slack for the wire to the shooter rod so that it doesn't move around too much or too tight. It doesn't really matter where it rests because all it needs it to make contact with the metal shooter rod somewhere.
One last thing I checked before I closed everything up was to ensure nothing metal was going to make contact with the shooter rod that could cause a potential short or worse take out something expensive like a fliptronics board. I am all good and even with the flipper button pressed in and only the plastic opto interruptor arm anyways. You might be installing this into a game where you are using the original Type 1 where there is metal on the interruptor arm or a leaf switch like on Sys11. In this case you might have to adjust your shooter rod housing to create a bigger space or insulate the leaf switch using fish paper because the 50V from the flipper will definitely kill the LED inside the shooter rod!
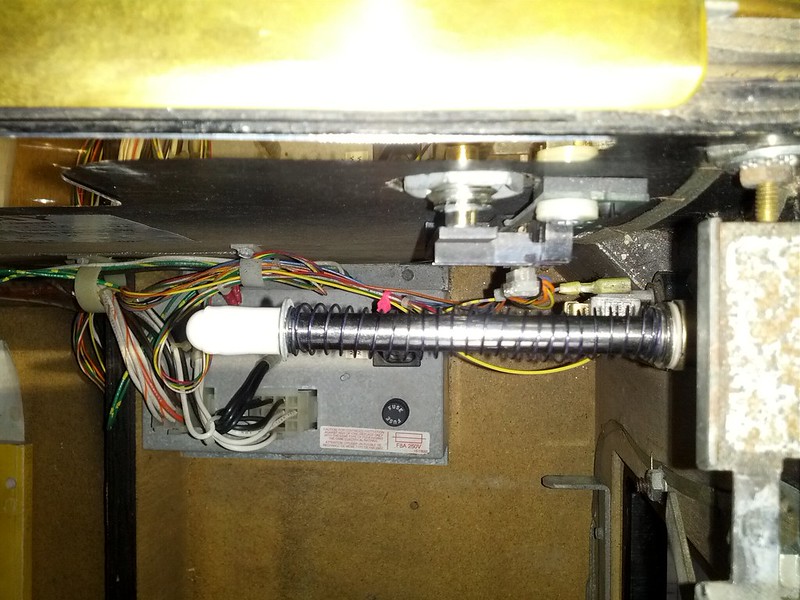
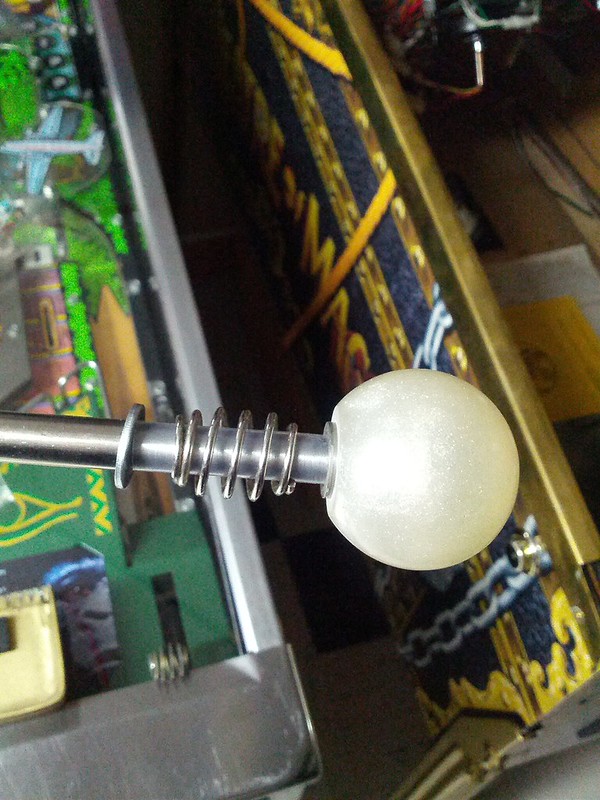
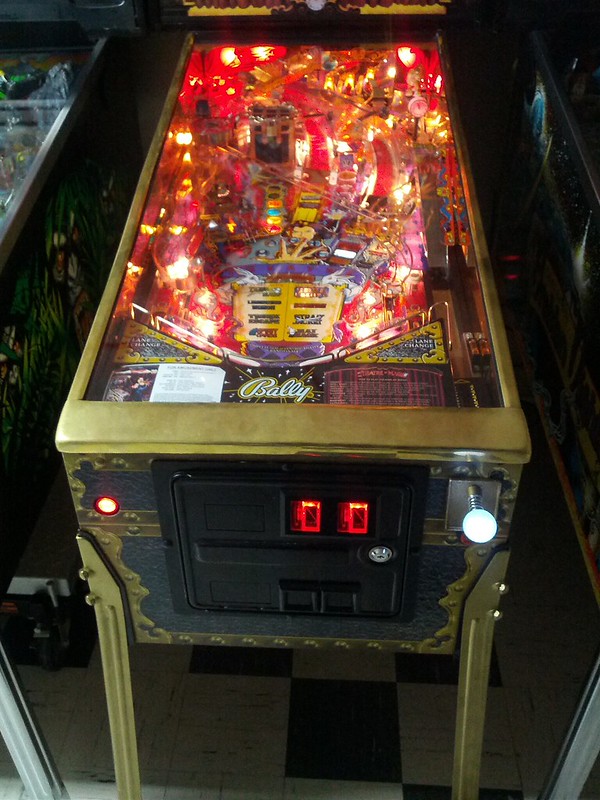
Here is a picture of the final product and video of it in action on my game. Hope you enjoyed this and might seem like a lot but realistically this could be installed in 3 minutes but I highlighted the important parts where you need to pay closer attention to not do any damage to your game. Such a downer when you are trying to install what is suppose to be a plug and play mod and end up doing something silly like fry an MPU or DMD as a result :twisted:
[youtube]http://www.youtube.com/watch?feature=player_detailpage&v=7zj3aVKnPBg[/youtube]
Thanks Brock and Greg over at MindOrbit for putting together a great kit.
-Mike
http://www.pinbits.com/index.php?main_p ... 6mrgfikab5
I picked my kit off Brock last weekend who had plans I believe to put it in his Ripleys when he learned that it will not work unless you do some modifications to the Stern shooter housing or else swap it for a Williams one. Here is what I got from the slim shady seller and as you can see not quite as complete as the one above but no big deal, Thanks Brock
Pretty standard procedure by removing the lockdown bar, glass and I used the rod to prop my playfield up otherwise I would have to remove my topper mounted in front of the head which would normally install on top but due to ceiling clearance issues I had to mount it differently. If you do stand your playfield all the way up do not forget to remove the balls or else stuff a rag in the trough so the balls don't come falling out.
To remove a shooter rod take the rubber shooter tip off and then pull the main shooter rod spring back before you remove the e-clip or else you will send it flying into the back of your cab.
The stock kit typically comes with a new shooter sleeve and I usually stock a few of these anyways. I think the one inside my game has seen better days as the flanged end was gone! I installed the new sleeve with the flanged end inside the cabinet.
Again the kit will come with a new pair of washers but since mine was missing one I just used some sand paper on my old one to ensure good electrical contact. I also sanded both ends of main shooter rod spring as well.
I was just being sure that my shooter housing was grounded properly via the cabinet's ground braid using my meter and all was good. The reason I checked this was because I emailed the creator of this mod, Greg Ong, and he had mentioned not to hook the rod up directly to 12V or else it will blowout the LED instantly.
Time to install the shooter rod and order in which things go in is very important for the rod to work or not get blown out. Put the small spring supplied in the kit and then put the washer after it so it is going to be on the side closest to the shooter housing.
Now on the inside, thread the shooter rod with the 12V wiring harness supplied so that it is closest to the shooter housing from the inside and then put the washer after it.
There are a few places you can pull 12V from depending on your machine but on my game there was an unused connector on the coin door interface board on the left side of the cab by the tilt bob. You might want to get down on your knees so you are eye level to ensure you are plugging the harness into the right pin outs for 12V and not something else.
Then I tidied up the wiring using zip ties and routed it via the factory cable clamps behind where the coin box is to the other side of the cabinet. I made sure there was enough slack for the wire to the shooter rod so that it doesn't move around too much or too tight. It doesn't really matter where it rests because all it needs it to make contact with the metal shooter rod somewhere.
One last thing I checked before I closed everything up was to ensure nothing metal was going to make contact with the shooter rod that could cause a potential short or worse take out something expensive like a fliptronics board. I am all good and even with the flipper button pressed in and only the plastic opto interruptor arm anyways. You might be installing this into a game where you are using the original Type 1 where there is metal on the interruptor arm or a leaf switch like on Sys11. In this case you might have to adjust your shooter rod housing to create a bigger space or insulate the leaf switch using fish paper because the 50V from the flipper will definitely kill the LED inside the shooter rod!
Here is a picture of the final product and video of it in action on my game. Hope you enjoyed this and might seem like a lot but realistically this could be installed in 3 minutes but I highlighted the important parts where you need to pay closer attention to not do any damage to your game. Such a downer when you are trying to install what is suppose to be a plug and play mod and end up doing something silly like fry an MPU or DMD as a result :twisted:
[youtube]http://www.youtube.com/watch?feature=player_detailpage&v=7zj3aVKnPBg[/youtube]
Thanks Brock and Greg over at MindOrbit for putting together a great kit.
-Mike