I picked up an extra semi populated playfield (actually two of them) for my Indianapolis 500 a few weeks ago from Dave Astill. I will be keeping the best of the two and clear coating it and swapping the one that is in my existing game right now which is also very nice but not clear coated. So if you got an I500 with a blown out playfield let me know and when the swap happens I will keep you in mind for my original one and could possibly arrange clear coating too for an additional cost.
Anyways, I have never removed mylar before and read various method such as the heat or freeze method. I went with what I thought was easier and picked up a can of air on my way home and used the freeze method.
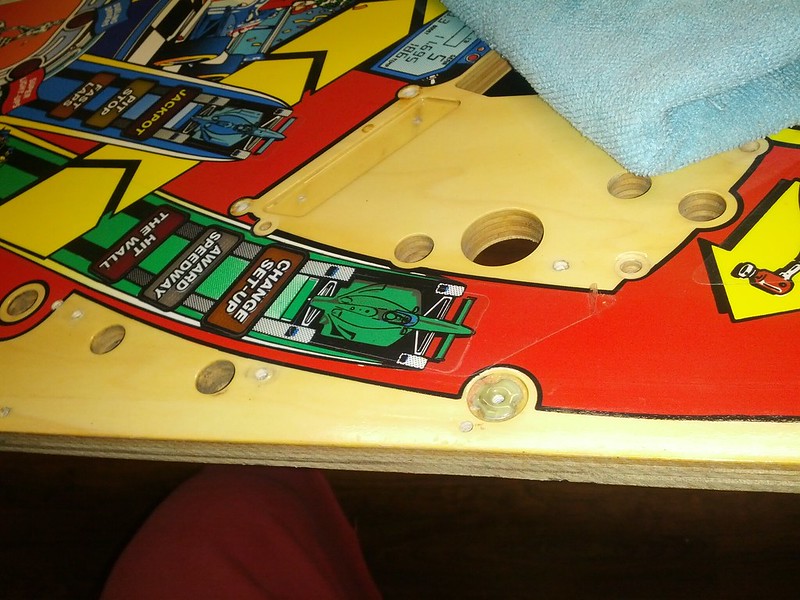
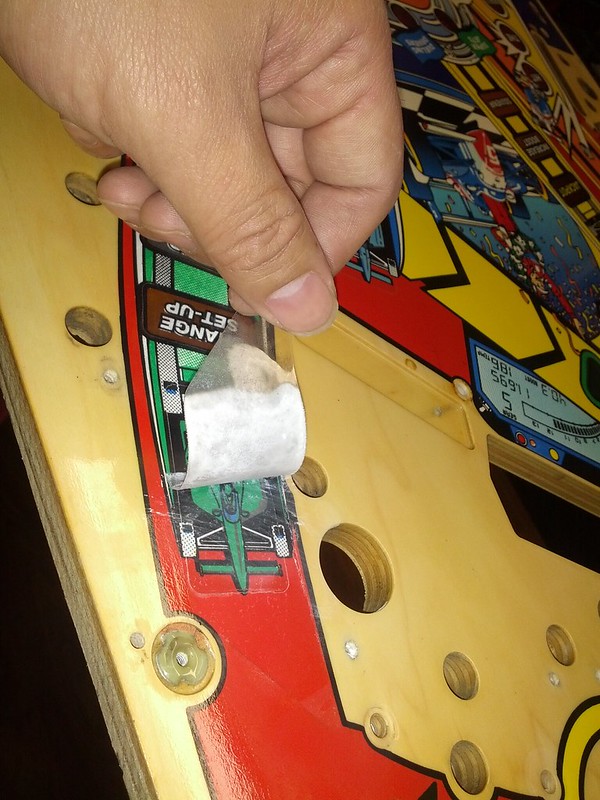
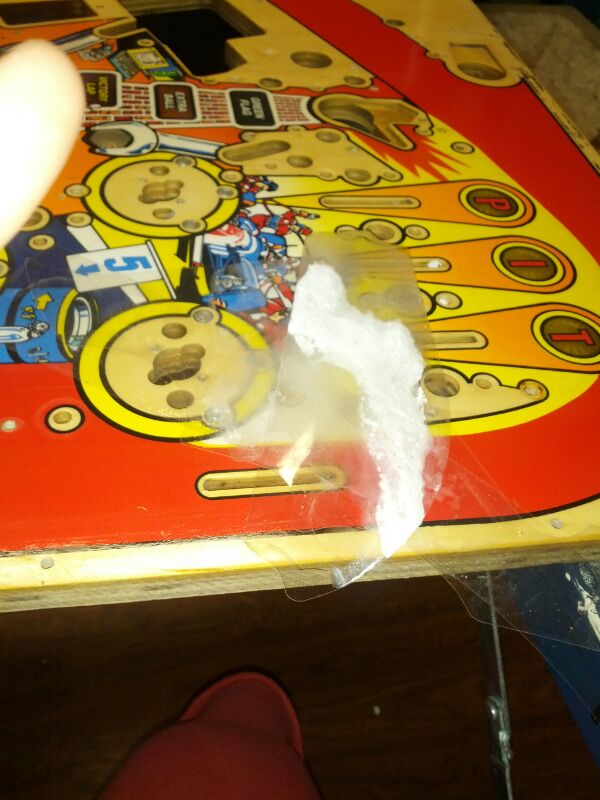
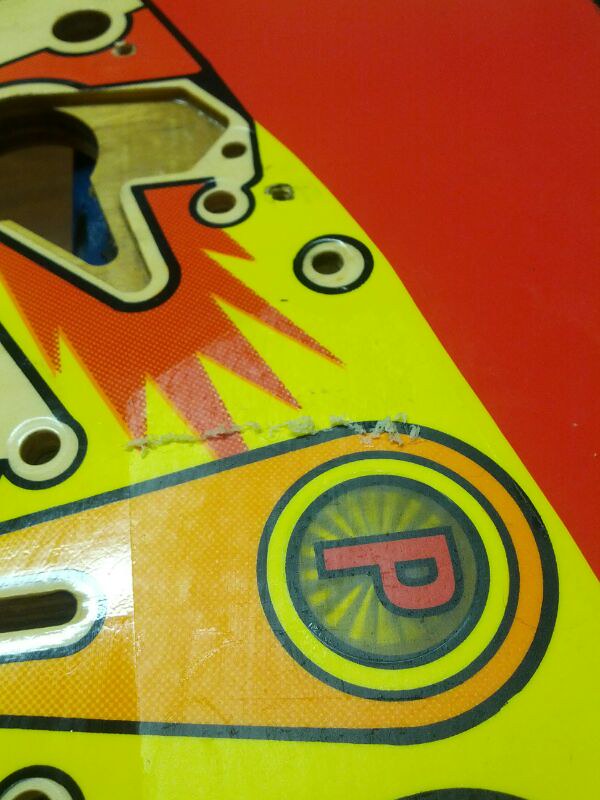
I started first by freeze spraying the entire piece of mylar and then I managed to get one corner pealed up. As I was pealing it up I was freeze spraying and it came off nicely and no artwork was harmed in the process at all which is good. Do take your time and peal up slowly! Also don't be stingy on the freeze spray and if you have to use any force or effort to peal up the mylar give it another quick spray and it should just separate on its own. The key to this I found was getting a corner up so the freeze spray had a way to get under the mylar.
All this mylar took me less than 5 minutes to remove and now comes the hard work which is the mess it leaves behind. I also picked up a big bottle of Goo Gone as well from my local Wal-mart when I picked up the freeze spray. Probably overkill and towards the end proved to be absolutely useless or you could get by with a small amount.
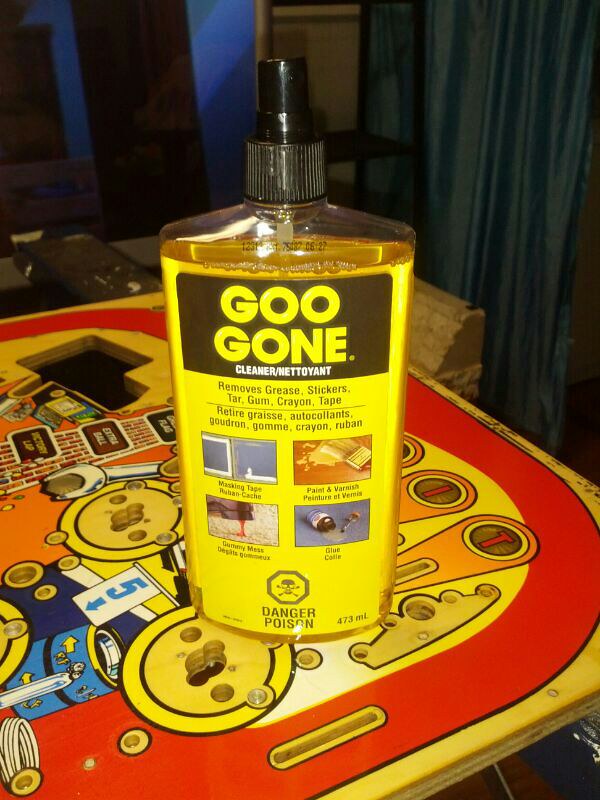
The advice I got with Goo Gone is you have to let it sit and J.Santiago even told me he soaked a rag with this crap and let it sit on top of the area for a while before he came back to scrape with a credit card or plastic razor blade.

I was not impressed with the results so I put more Goo Gone and let it sit for longer and it did losen but still required a lot of elbow grease to scrape off. I was also getting tired so called it a night and decided to take my aggression out and hammer out some T-nuts since it had to be done anyways. When I went to bed wife gave me stink eye and said you know people are sleeping at 1:45am in the morning you know :evil:
I read on pinside and other forums how other people used brake clean but I was a bit scared since I know this stuff is pretty damn strong and didn't want to ruin my nice playfield. If scraping for hours is what I have to do then I will pay my dues in hopes one day I can sell my I500 for a downpayment towards a condo :roll:
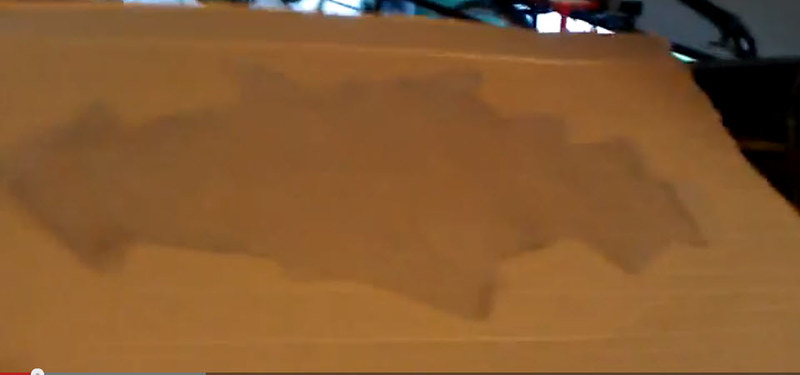
Anyways, I saw a video of how a guy removed the mylar from his Earthshaker and cleaned all the adhesive leftover using flour and isopropyl alcohol. Look at the size of that piece of mylar above :shock: I don't even think Costco would have enough Goo Gone nor would you be going FAP FAP FAP for a long time after that! :lol:
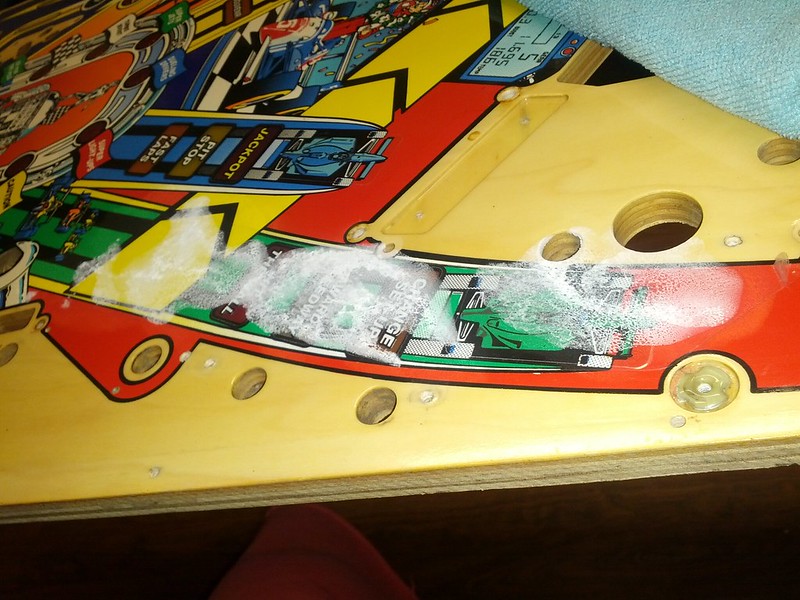
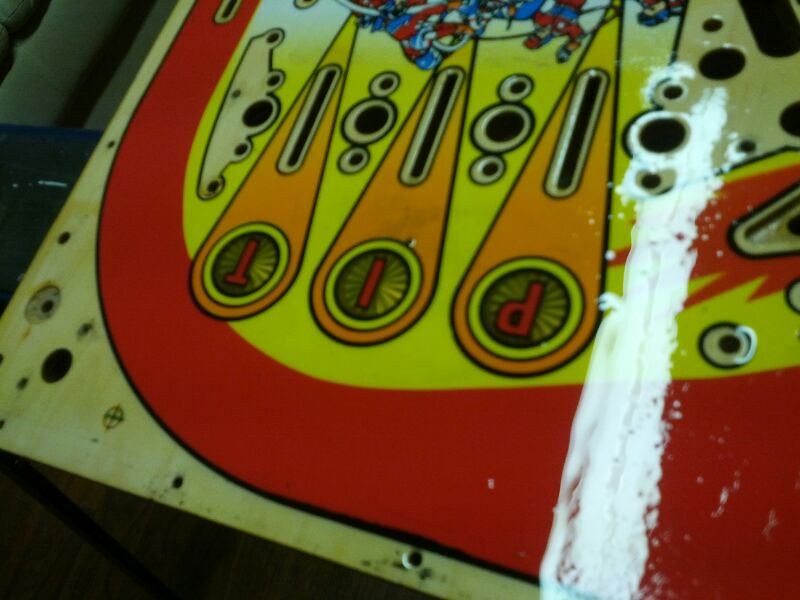
Before I went downstairs last night, I ask my wife for some flour and she gives me a funny look and then says just don't make a mess and no more fucking hammering again till 2am again! So here goes nothing... I spread and pat the flour across the entire area where the mylar left the glue.
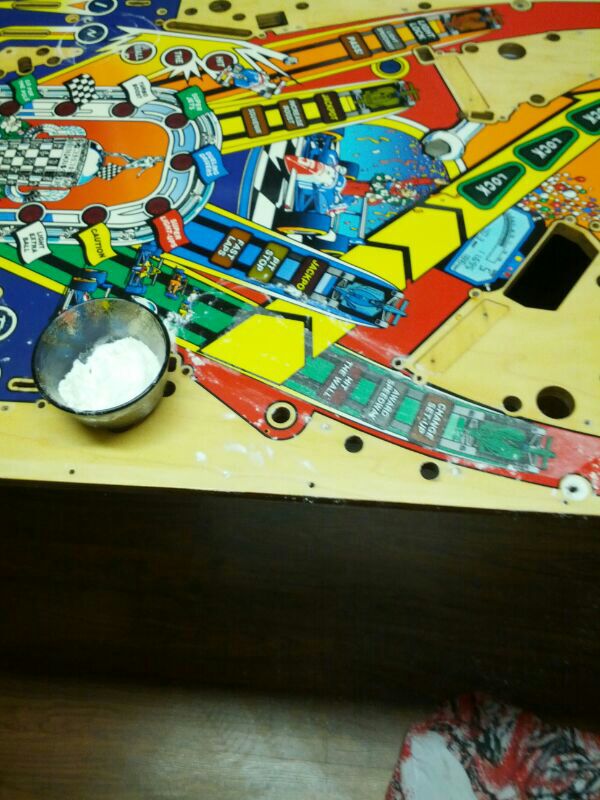
I pour some alcohol in a cap and start applying and rubbing on the area and sure enough it started jumbling up into little balls of goop.
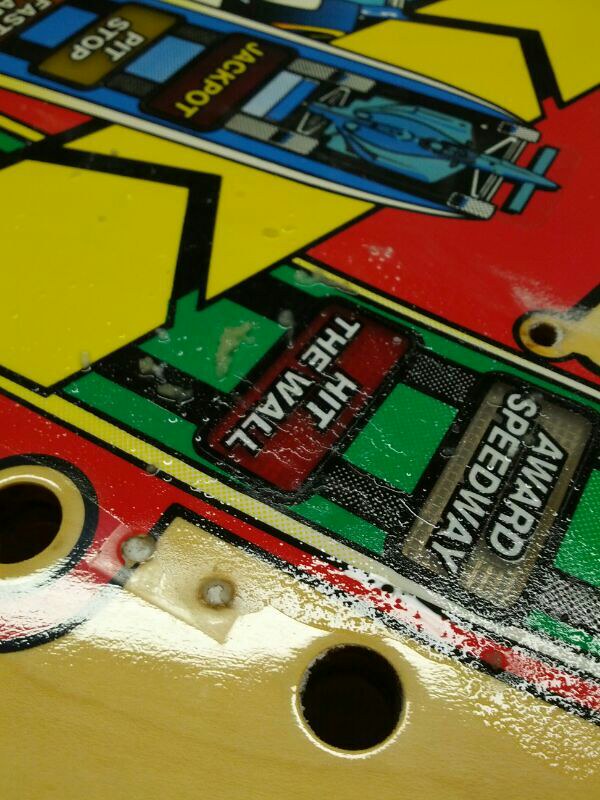
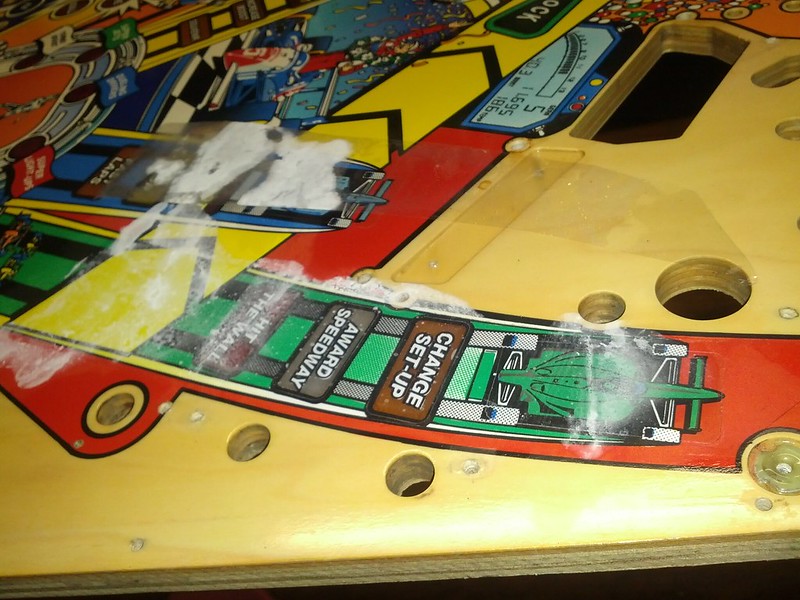
For your first run use a credit card or a gift card as your scraper and you can pretty much go to town on your playfield for round #1. I say go to town but do pay attention to any edges or or insert artwork coming off as you scrape. Then wipe the area clean with a towel and spread more flour around the area and if there is any more spots of adhesive left over you will see it cause the flour will stick to it. Here you can use your scrape or your finger tip. Honestly very little pressure is needed.
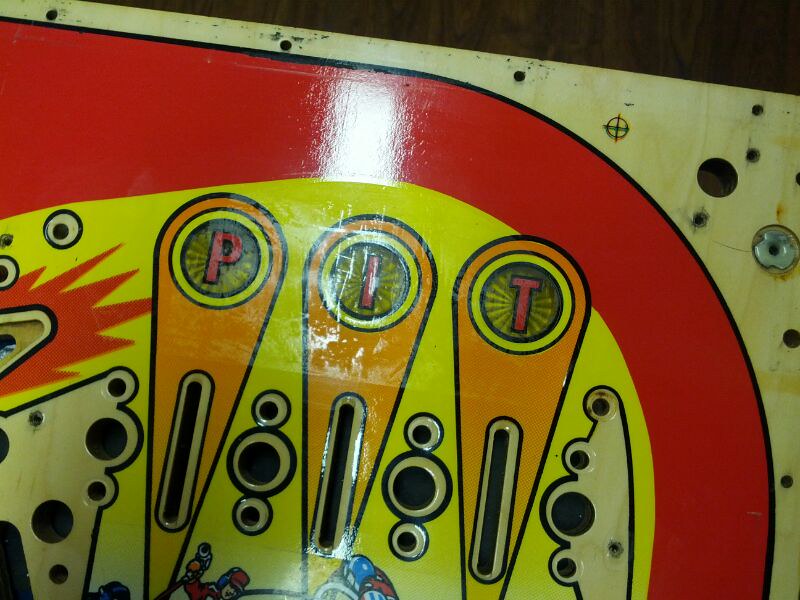
After I was happy all the glue was removed completely and smooth to touch, I sprayed some Goo Gone and gave the area one good wipe down with a towel back to a shine again. There was still an outline leftover from the mylar so I am hoping when the playfield gets a light sanding before clear coat will not be as noticeable and when the final layers of clear is applied it will not be as noticeable. I was also told to a magic eraser would help but didn't in my case and notice some colour was coming up on the eraser and area was beginning to dull so I stopped.
Enjoy and go remove some mylar!
-Mike
Anyways, I have never removed mylar before and read various method such as the heat or freeze method. I went with what I thought was easier and picked up a can of air on my way home and used the freeze method.
I started first by freeze spraying the entire piece of mylar and then I managed to get one corner pealed up. As I was pealing it up I was freeze spraying and it came off nicely and no artwork was harmed in the process at all which is good. Do take your time and peal up slowly! Also don't be stingy on the freeze spray and if you have to use any force or effort to peal up the mylar give it another quick spray and it should just separate on its own. The key to this I found was getting a corner up so the freeze spray had a way to get under the mylar.
All this mylar took me less than 5 minutes to remove and now comes the hard work which is the mess it leaves behind. I also picked up a big bottle of Goo Gone as well from my local Wal-mart when I picked up the freeze spray. Probably overkill and towards the end proved to be absolutely useless or you could get by with a small amount.
The advice I got with Goo Gone is you have to let it sit and J.Santiago even told me he soaked a rag with this crap and let it sit on top of the area for a while before he came back to scrape with a credit card or plastic razor blade.
I was not impressed with the results so I put more Goo Gone and let it sit for longer and it did losen but still required a lot of elbow grease to scrape off. I was also getting tired so called it a night and decided to take my aggression out and hammer out some T-nuts since it had to be done anyways. When I went to bed wife gave me stink eye and said you know people are sleeping at 1:45am in the morning you know :evil:
I read on pinside and other forums how other people used brake clean but I was a bit scared since I know this stuff is pretty damn strong and didn't want to ruin my nice playfield. If scraping for hours is what I have to do then I will pay my dues in hopes one day I can sell my I500 for a downpayment towards a condo :roll:
Anyways, I saw a video of how a guy removed the mylar from his Earthshaker and cleaned all the adhesive leftover using flour and isopropyl alcohol. Look at the size of that piece of mylar above :shock: I don't even think Costco would have enough Goo Gone nor would you be going FAP FAP FAP for a long time after that! :lol:
Before I went downstairs last night, I ask my wife for some flour and she gives me a funny look and then says just don't make a mess and no more fucking hammering again till 2am again! So here goes nothing... I spread and pat the flour across the entire area where the mylar left the glue.
I pour some alcohol in a cap and start applying and rubbing on the area and sure enough it started jumbling up into little balls of goop.
For your first run use a credit card or a gift card as your scraper and you can pretty much go to town on your playfield for round #1. I say go to town but do pay attention to any edges or or insert artwork coming off as you scrape. Then wipe the area clean with a towel and spread more flour around the area and if there is any more spots of adhesive left over you will see it cause the flour will stick to it. Here you can use your scrape or your finger tip. Honestly very little pressure is needed.
After I was happy all the glue was removed completely and smooth to touch, I sprayed some Goo Gone and gave the area one good wipe down with a towel back to a shine again. There was still an outline leftover from the mylar so I am hoping when the playfield gets a light sanding before clear coat will not be as noticeable and when the final layers of clear is applied it will not be as noticeable. I was also told to a magic eraser would help but didn't in my case and notice some colour was coming up on the eraser and area was beginning to dull so I stopped.
Enjoy and go remove some mylar!
-Mike