• We have upgaded to the latest version of XenForum and the process finished without any errors!!!! Enjoy the new forum!

Bob's Joker Poker Thread

CJBob

Active Member
Nov 24, 2014
354
91
28
Mississauga
I was going to start this thread under projects, but having it under tech support makes more sense. This isn't going to be me showing all the cool stuff I've done, it's going to be me asking 'what the heck as I suppose to do next?'.

Background: I picked up a Joker Poker that plays well but needed some love. I ordered a new CPR backglass, new drop targets and plastics and a stencil kit. So far I've taken the top completely apart and I'm ready to start sanding. I took a lot of pictures and labeled the screws and parts by section and placed in zip lock bags so I have a chance of putting it back together later.

My first questions:

1. What colours am I looking at? It's black, red and off-white but specifically how do I figure out which shades of colours to get?

2. Without spending money on equipment how do I shine up the hinges / screws, etc.? Is there somewhere I can take them / send them?

Pictures to follow and more questions. Lots more questions.
 

DRANO

Super Member
Nov 15, 2012
2,827
519
113
Mississauga
1) If you had a Pantone colour chip book you could match the colours and bring the chips to a store. I'd recommend Curry's Art supplies. JP has a very warm red. The store won't have THAT many options so you'll just ave to pick the closest one. If you're re-painting anyway, an exact match isn't critical.
The white only looks creamy because of age. It would have been much brighter when new. There is a warm white that isn't too stark but still looks nice for the era of game. Ask for the MOLOTOW line of paints.

2) You can drop the metal into a bath of rust remover and then hand polish. If you're going to pay someone to plate them try Sun Polishing/Plating... but your minimum fee may be enough to purchase a decent tumbler and/or buffing wheel.
 
Last edited:

WARLOCK

Administrator
Staff member
Nov 14, 2012
1,824
208
73
54
The Bluffs, Scarborough
Looking forward to reading your progress here Bob. Congrats on JP. Fantastic game.
Looking forward to hearing tech advice from Drano and everyone else. All the best restoring.
 

CJBob

Active Member
Nov 24, 2014
354
91
28
Mississauga
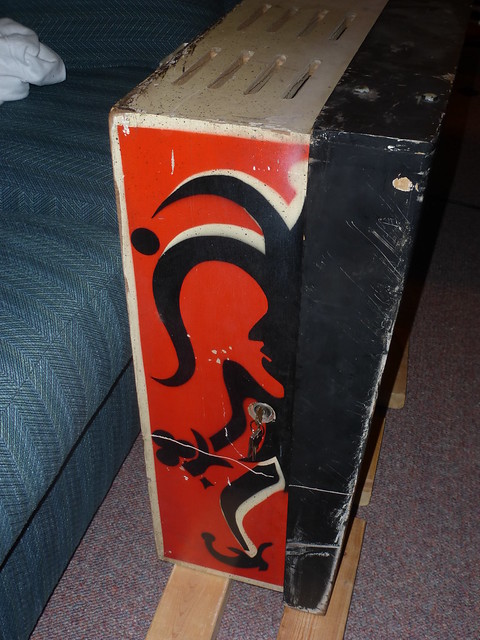
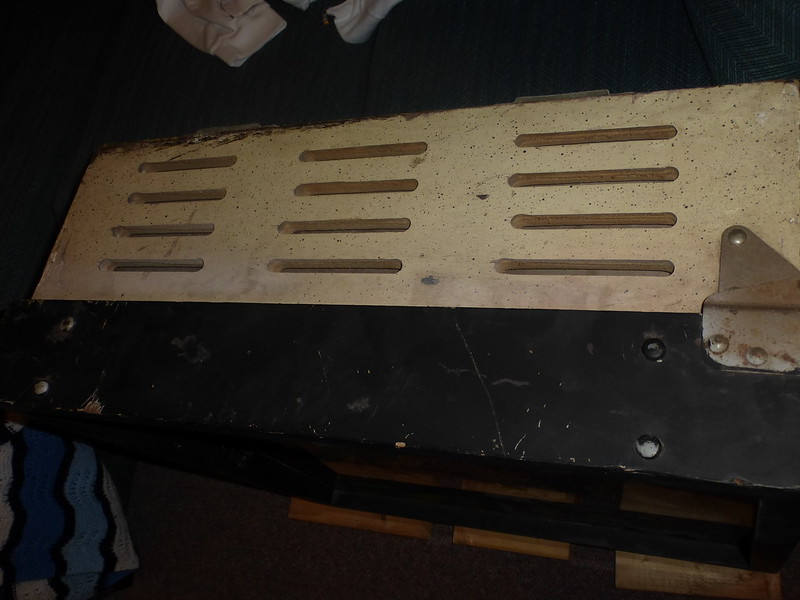
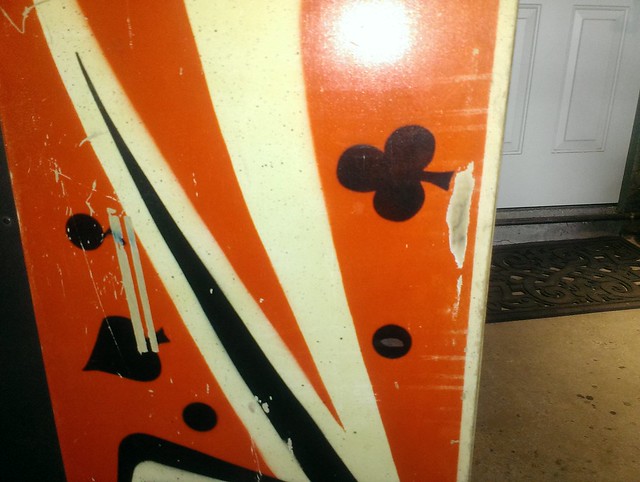
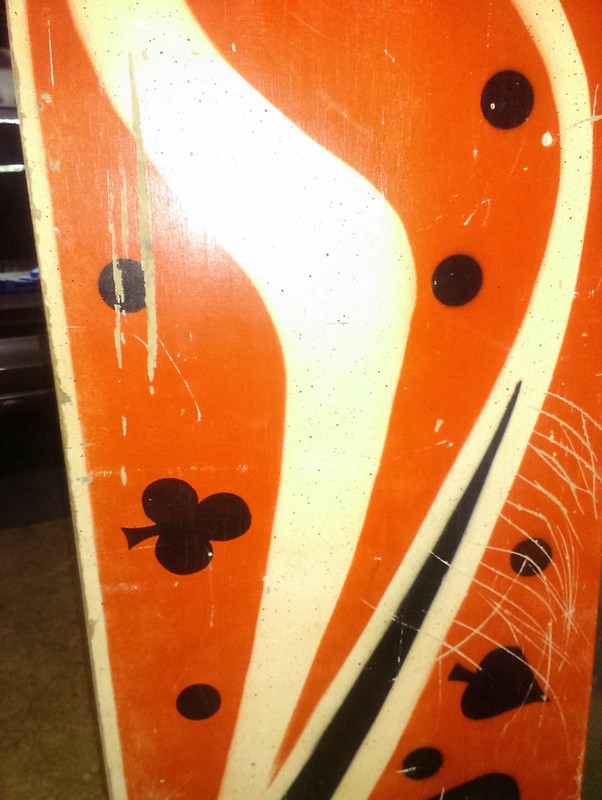
Thanks guys, here is a 'before' picture of the cabinet, the top front should be white but is was repainted black which just looks terrible. Sanding the black off is a bit tough as it's on really thick. Drano is correct, when sanding I found there were spots where I could see a the white was definitely more white than cream.

The scratch you can clearly see is deeper than the paint, I'll need to fill that in before repainting.

 
Last edited:

CJBob

Active Member
Nov 24, 2014
354
91
28
Mississauga
Thanks, too late on the sanding as I've finished the first sand. Will go over it again with finer sandpaper. This is my first attempt so we'll see how smooth I get it.

What should I fill the scratches with? I think I read previously that bondo is the preferred choice?
 

DRANO

Super Member
Nov 15, 2012
2,827
519
113
Mississauga
Thin layers of bondo for sure plus some thicker build-ups to rebuild any rounded or chipped corners. Make sure to have nice true sanding blocks at various grits.

Sand the whole thing again and then prime once you're happy. The first primer layer will invariably reveal even more small flaws. Those can usually be filled with spot putty/glazing putty for faster repairs before you prime again. You should be sanding the first layer of primer and re-applying anyway as the first coat will usually lift the woodgrain slightly and make the surface too rough for your topcoat of white.
 
  • Like
Reactions: Menace

CJBob

Active Member
Nov 24, 2014
354
91
28
Mississauga
The key to the bondo was thin layers, wow that stuff hardens fast and is tough to sand off once it's on. The cracks were easy to fill, the edges required more practice so I was able to clean up a few of them but others are going to have the natural / worn down look as I was making it worse instead of better.

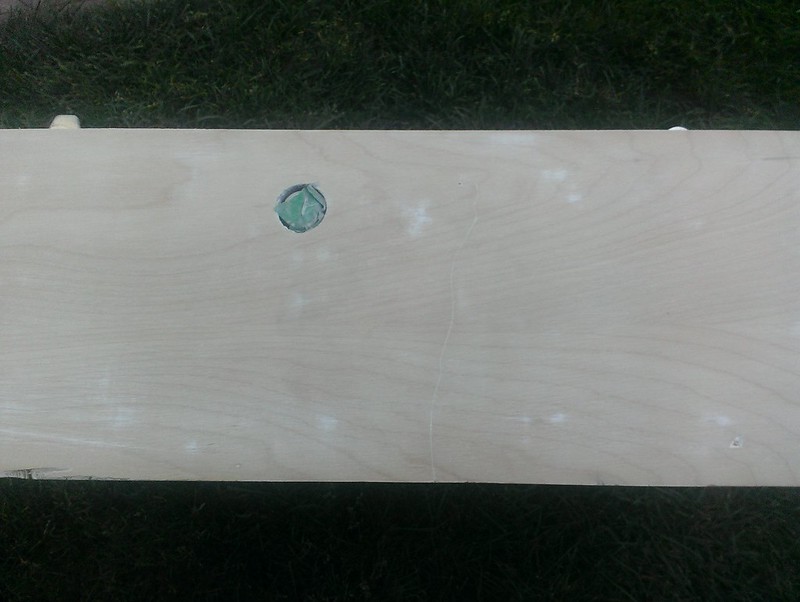
With that step done I sanded again and took advantage of the beautiful weather to apply the primer. There were only a few minor places with problems where the primer had clumped or my original sanding had missed. I lightly fixed these spots and re-did the primer since it was drying very quickly outside. Other than brush strokes it looks pretty good for my first attempt.

My stencils have arrived and I'm off to buy the spray paint today. I'll need to tape off the inside of the cabinet and watch some videos on how to apply spray paint evenly, I'm hoping to apply the white in the next few days and then give it plenty of time to dry.
 

Menace

Well-Known Member
Staff member
Nov 14, 2012
2,440
255
83
Santiago de Aurora
Bob, next time you're laying down a primer with a brush I highly suggest the black foam style as these will eliminate any brush strokes. :)

D
 

CJBob

Active Member
Nov 24, 2014
354
91
28
Mississauga
It never occurred to me that there was such a thing as spray paint primer, I wonder if this is going to turn out to be a problem. I was planning on practicing my spray painting on the back of the cabinet so I guess I'll be able to tell from there how much the brush strokes are showing through.

On the rusty bolt front I'm reading conflicting data on how to clean them. I'm planning on throwing them in CLR but the time to leave them in is up to debate. 10 minutes?
 

spiroagnew

Well-Known Member
Staff member
Dec 1, 2012
1,334
311
83
Scotch Block, ON
www.creditdotpinball.com
A little late advice but perhaps it's good for others reading along: on "high traffic" areas of the cab such as edges and corners, bondo really isn't the right compound to use. It will easily chip, ding and crack. For those areas, I suggest JB Weld Quik Wood, which is a super hard compound "dough" that hardens to nearly the same density as wood an can better withstand the bumps and bruises the edges and corners will endure. It's also a lot easier to form on the extremities of the cab.
 
  • Like
Reactions: DRANO

CJBob

Active Member
Nov 24, 2014
354
91
28
Mississauga
As some of you know already the secret to this coming out beautiful comes down to one word.... spiroagnew.

I'm glad I started the project and I was making slow but steady progress, but getting help was definitely the right call for me. It took me a long time just to put all the pieces back together for the top!

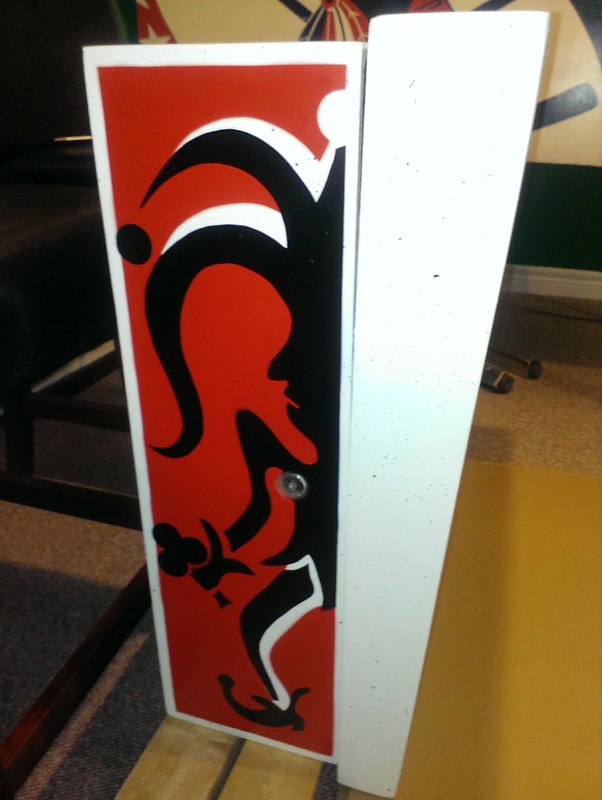
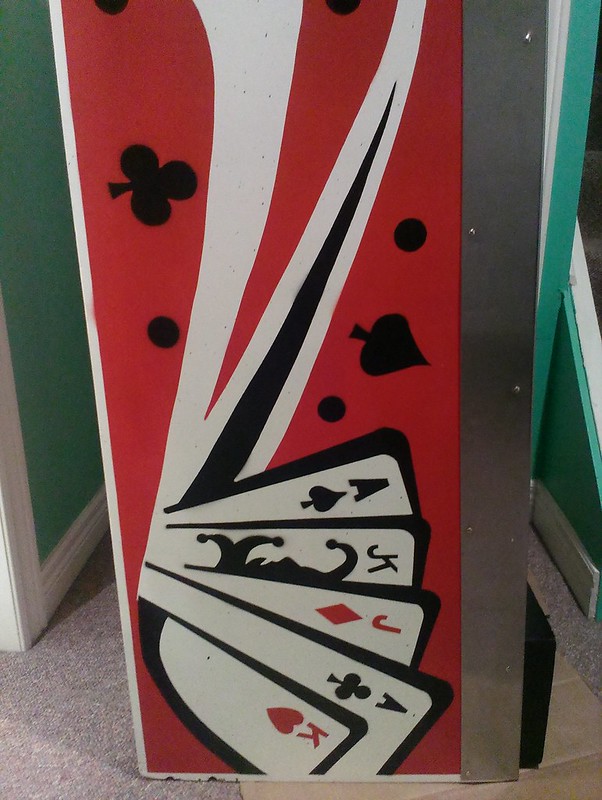
I love how the red turned out, it's the one colour I was a bit worried about but it's perfect.

I probably should replace the coin door at this point, does anyone have a suggestion where I should pick one up? I'm not sure if I'll have the nicest JP when I'm done, but I'm going to have one of the most expensive!

The bottom cabinet is in a bit worse shape with some larger scratches, here's a 'before':
https://flic.kr/p/z6BAJf
 
Last edited:
  • Like
Reactions: Menace

spiroagnew

Well-Known Member
Staff member
Dec 1, 2012
1,334
311
83
Scotch Block, ON
www.creditdotpinball.com
In a total coincidence, I have the pleasure of working on two JPs concurrently. In the below photo, an unfinished original sits next to the repaint.

b702d919c7de177c6e581c677494a807.jpg


Bob provided stencils from TwistedPins, but given their, um, less than stellar track record for quality, I opted to cut my own stencils for the project. Seeing as I have two to do, it was a solid time investment, plus it gives a more authentic look. You end up spending lots of time and effort recreating the shoddy job of the cabinet painters back in the 70s.

Bob's cabinet is now nude, and ready for a few coats of primer.

5a2eba0dddd14e97467b2652f04003f3.jpg
 
  • Like
Reactions: CJBob and Menace

CJBob

Active Member
Nov 24, 2014
354
91
28
Mississauga
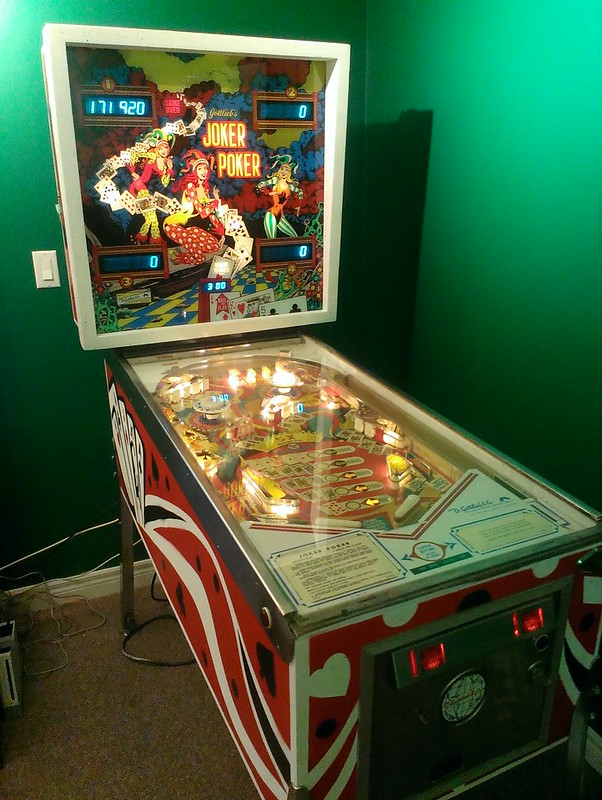
It's Alive!

More than 2 months after I picked it up I was able to play my first game. There is a seriously loud buzzing that I need to get some help with and a couple of other issues including replacing the plastics, drop targets and eventually the playfield, but what a great feeling to knock down the targets and see them reset for the first time. I'm really exciting to have JP in the collection.