Some of you may know that I recently upgraded from a project TOTAN (that I probably wasn't going to get to start work on for at least another year or two) to a beautiful example that looks as if it were on route for a very short time.
The game looked awesome in the pictures I got from the seller in Montreal, but I was amazed when it arrived. All common points of wear were almost non existent and even the coin door coin slot looked brand new. Inside the game was as clean as it was on the outside and even the original hasps, lockbar and the small yellow interruptor for closing the interlock switch during testing was still with the machine. It obviously spent a very short time on route.
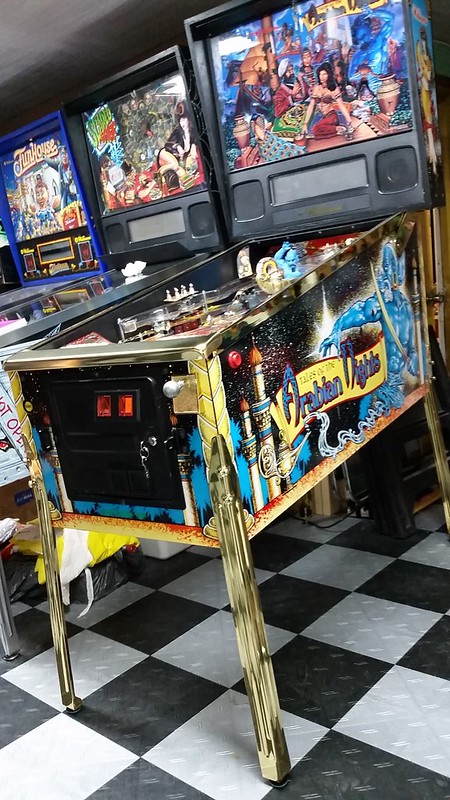
The only major knock on this machine was some typical cabinet fade. Quite pronounced on the left side.
I had some brass trim and playfield parts done up by Mike Chestnut almost 2 years ago for my project game and my intention was to swap these in. This also meant I could move the nice original parts from this game into my project TOTAN before selling it. However, before I swapped in new trim I wanted to try and address the cabinet fade.
[url=https://flic.kr/p/rgP2Rm]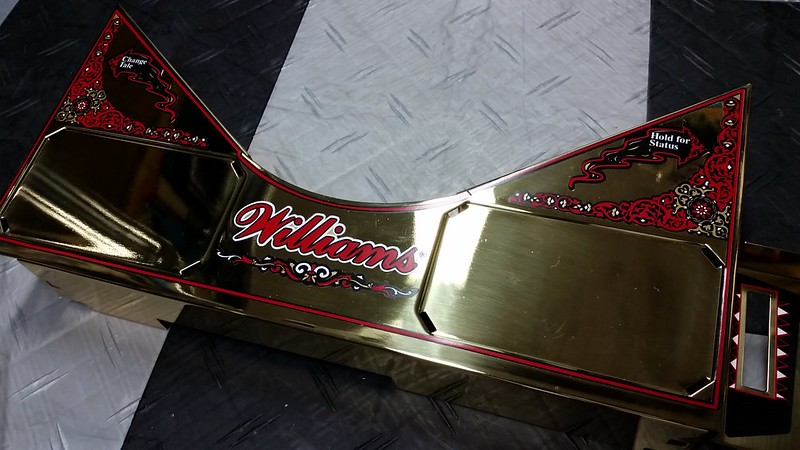
[url=https://flic.kr/p/rw5StJ]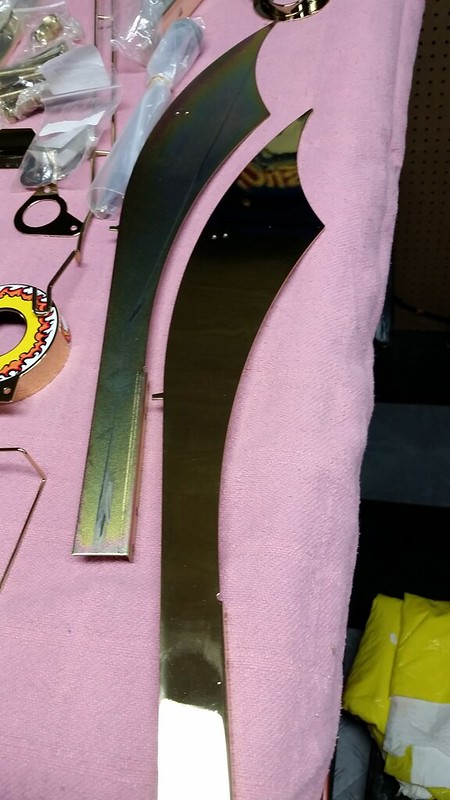
[url=https://flic.kr/p/rf48ki]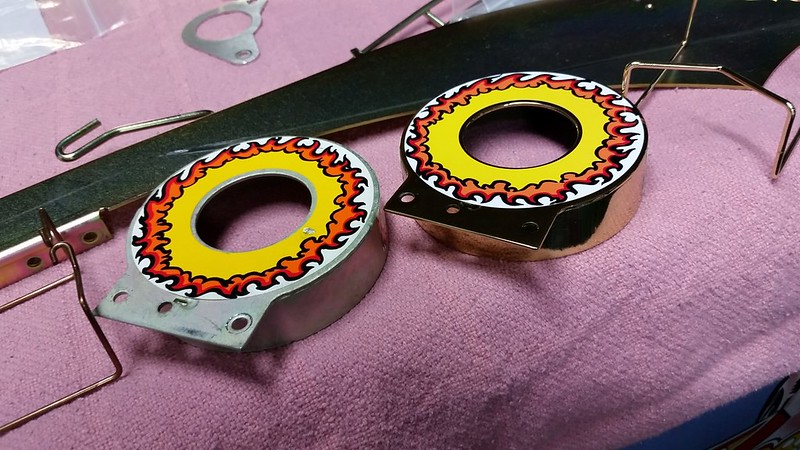
Now, I knew from my recent experience with a container Scared Stiff that these WPC95 cabinets take marker colour very well... unlike earlier WPC cabs. I almost made a mess of a White Water after attempting this method before. But, with games after 1995, the decal-style art is much more forgiving and hides pen strokes very well with little to no bleed. The main issue with TOTAN is that there is a TON of yellow to correct and that is followed by days of applying tiny red details on top. This process took me the better part of two weeks to complete!
[url=https://flic.kr/p/rygzze]
[url=https://flic.kr/p/rgVq3x]
[url=https://flic.kr/p/rynuqD]
I won't get into the minutia of the process as I do not recommend this for anyone who is not used to working with this medium, but the basic priciple is to take some yellow marker ink and drip it onto a microfibre cloth that has been dipped in rubbing alcohol to thin it out. Then, using your finger to spread this colour across the large areas of te cabinet. The alcohol helps smooth it out and avoids streaking if you know what you're doing. You have to work fast before the alcohol evporates, but if you go outside of the lines into white or blue areas (turning them green), you can come back later with a fresh cloth or Q-tip dipped in clean alcohol to remove the colour and tighten up the edges very nicely.
Smaller areas can be done with a brush tip marker and some good technique. Just make sure you have matching ink for both marker and the liquid ink refill. Once done, it's just a matter of adding in the painstaking detail work on the reds. The red turned orange on most faded cabs so it's easy to spot where the red needs to be.
Here's a shot of the maiden on the head cabinet. All of the yellow was bumped up using the method described above and then her upper body and part of the ribbon have been touched up with fine red dots. Her lower half is still unfinished in this image:
[url=https://flic.kr/p/rygCkV]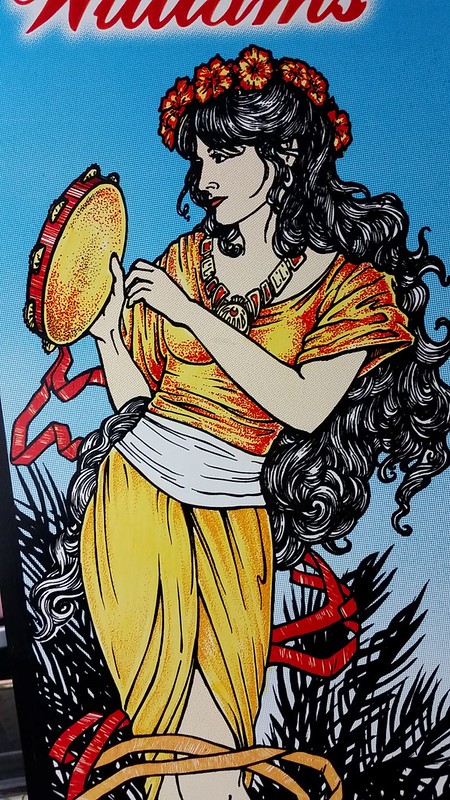
Same for the cabinet:
[url=https://flic.kr/p/rf4aMn]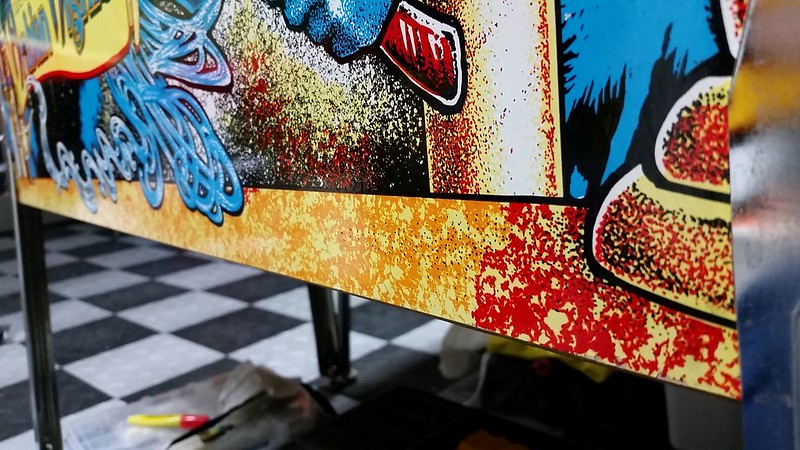
In the end it was a LOT of work, but a game this nice just deserved it. There isn't a single mark on this cabinet and everything else on the game is equally pristine. If I told people it was HUO theyd have a hard time disputing it. Even on the best HUO or restored TOTAN there is often some varying degree of insert damage and/or ghosting. This example has none at all!
I was very happy to bring this down into the game room last night and slot it beween two other gems in my collection. I think the other pins are going to be jealous. I'd better get to work
FInally, the best part is she plays as good as she looks! Very fast and smooth.
I know a lot of folks give this game a hard time, but it's a lot of fun and puts a smile on my face whenever I play it. Maybe one day the guys at FAST pinball will get around to creating some new code. Until then, I'll enjoy it as-is.
I'll sign off with some beauty shots.
Enjoy!
Dr@NO
[url=https://flic.kr/p/rf3RZt]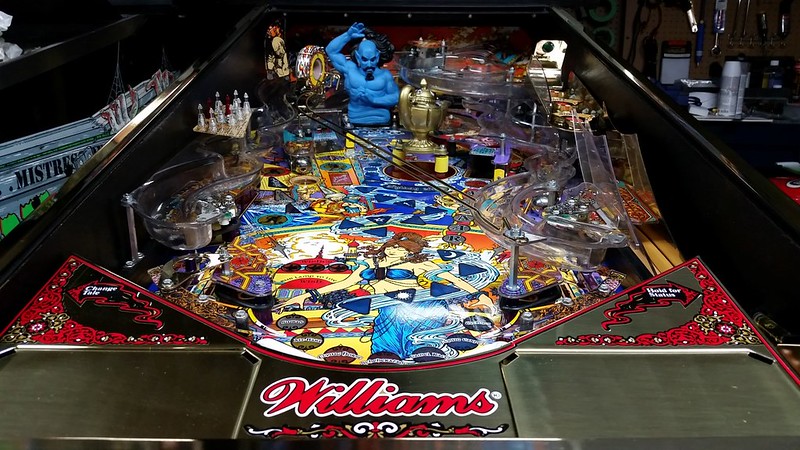
[url=https://flic.kr/p/rgMNXW]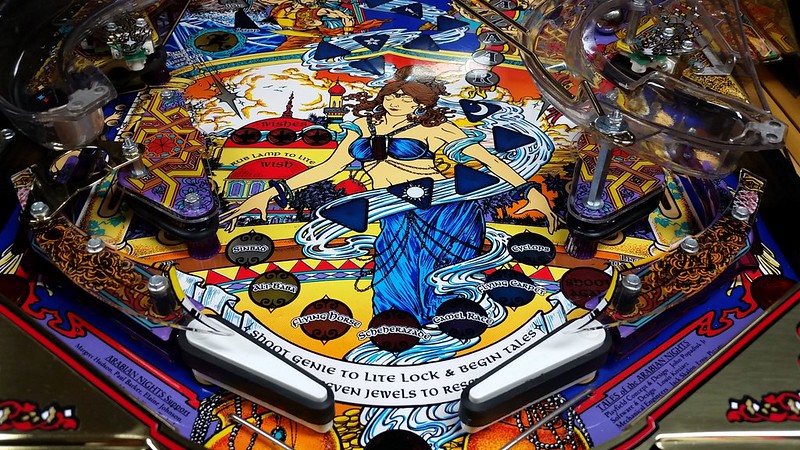
[url=https://flic.kr/p/qBzSsP]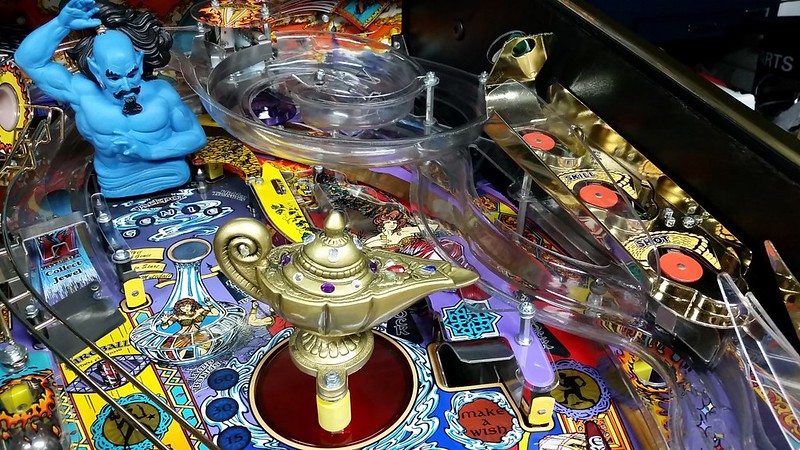
[url=https://flic.kr/p/rgMPvj]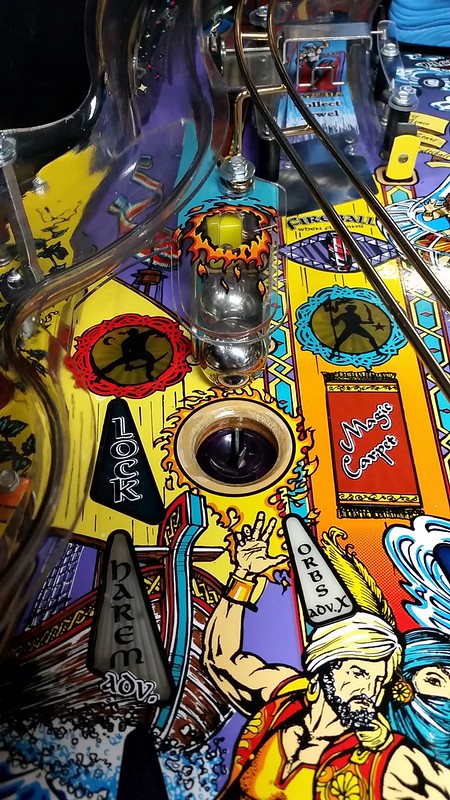
[url=https://flic.kr/p/rgVaez]
[url=https://flic.kr/p/rgNLUY]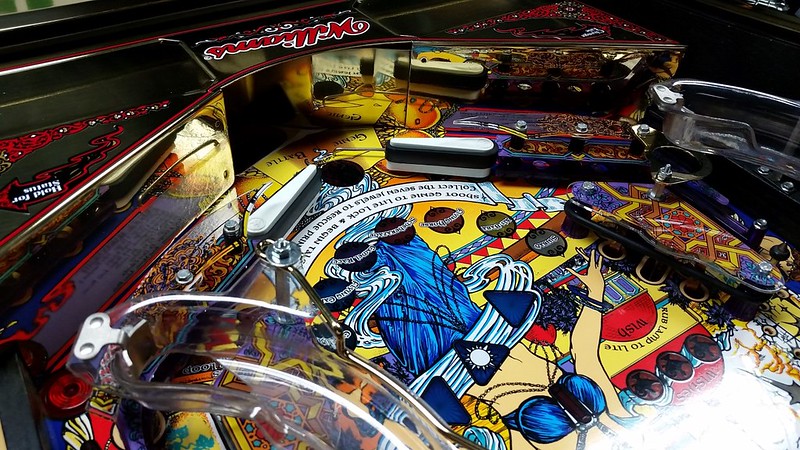
[url=https://flic.kr/p/rw5Bn1]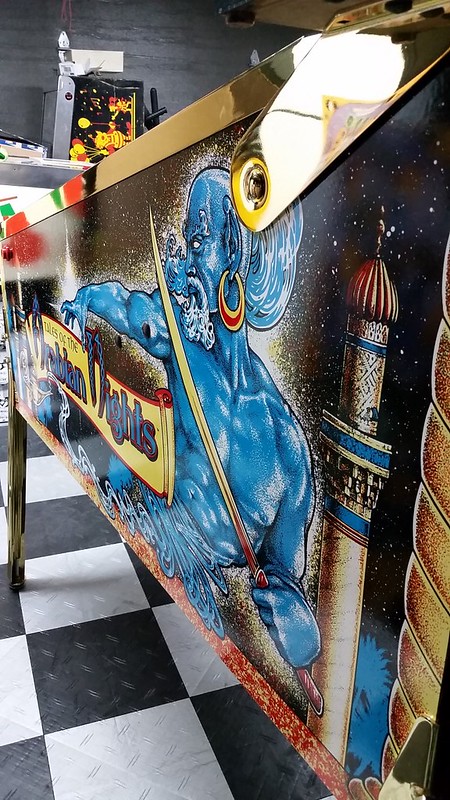
[url=https://flic.kr/p/rygk9F]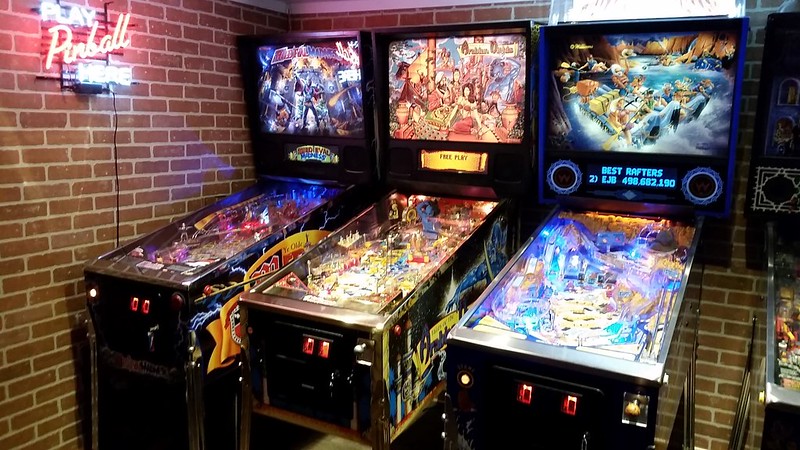 [/url][/url][/url][/url][/url][/url][/url][/url][/url][/url][/url][/url][/url][/url][/url][/url]
The game looked awesome in the pictures I got from the seller in Montreal, but I was amazed when it arrived. All common points of wear were almost non existent and even the coin door coin slot looked brand new. Inside the game was as clean as it was on the outside and even the original hasps, lockbar and the small yellow interruptor for closing the interlock switch during testing was still with the machine. It obviously spent a very short time on route.

The only major knock on this machine was some typical cabinet fade. Quite pronounced on the left side.
I had some brass trim and playfield parts done up by Mike Chestnut almost 2 years ago for my project game and my intention was to swap these in. This also meant I could move the nice original parts from this game into my project TOTAN before selling it. However, before I swapped in new trim I wanted to try and address the cabinet fade.
[url=https://flic.kr/p/rgP2Rm]

[url=https://flic.kr/p/rw5StJ]

[url=https://flic.kr/p/rf48ki]

Now, I knew from my recent experience with a container Scared Stiff that these WPC95 cabinets take marker colour very well... unlike earlier WPC cabs. I almost made a mess of a White Water after attempting this method before. But, with games after 1995, the decal-style art is much more forgiving and hides pen strokes very well with little to no bleed. The main issue with TOTAN is that there is a TON of yellow to correct and that is followed by days of applying tiny red details on top. This process took me the better part of two weeks to complete!
[url=https://flic.kr/p/rygzze]

[url=https://flic.kr/p/rgVq3x]

[url=https://flic.kr/p/rynuqD]

I won't get into the minutia of the process as I do not recommend this for anyone who is not used to working with this medium, but the basic priciple is to take some yellow marker ink and drip it onto a microfibre cloth that has been dipped in rubbing alcohol to thin it out. Then, using your finger to spread this colour across the large areas of te cabinet. The alcohol helps smooth it out and avoids streaking if you know what you're doing. You have to work fast before the alcohol evporates, but if you go outside of the lines into white or blue areas (turning them green), you can come back later with a fresh cloth or Q-tip dipped in clean alcohol to remove the colour and tighten up the edges very nicely.
Smaller areas can be done with a brush tip marker and some good technique. Just make sure you have matching ink for both marker and the liquid ink refill. Once done, it's just a matter of adding in the painstaking detail work on the reds. The red turned orange on most faded cabs so it's easy to spot where the red needs to be.
Here's a shot of the maiden on the head cabinet. All of the yellow was bumped up using the method described above and then her upper body and part of the ribbon have been touched up with fine red dots. Her lower half is still unfinished in this image:
[url=https://flic.kr/p/rygCkV]

Same for the cabinet:
[url=https://flic.kr/p/rf4aMn]

In the end it was a LOT of work, but a game this nice just deserved it. There isn't a single mark on this cabinet and everything else on the game is equally pristine. If I told people it was HUO theyd have a hard time disputing it. Even on the best HUO or restored TOTAN there is often some varying degree of insert damage and/or ghosting. This example has none at all!
I was very happy to bring this down into the game room last night and slot it beween two other gems in my collection. I think the other pins are going to be jealous. I'd better get to work
FInally, the best part is she plays as good as she looks! Very fast and smooth.
I know a lot of folks give this game a hard time, but it's a lot of fun and puts a smile on my face whenever I play it. Maybe one day the guys at FAST pinball will get around to creating some new code. Until then, I'll enjoy it as-is.
I'll sign off with some beauty shots.
Enjoy!
Dr@NO
[url=https://flic.kr/p/rf3RZt]

[url=https://flic.kr/p/rgMNXW]

[url=https://flic.kr/p/qBzSsP]

[url=https://flic.kr/p/rgMPvj]

[url=https://flic.kr/p/rgVaez]

[url=https://flic.kr/p/rgNLUY]

[url=https://flic.kr/p/rw5Bn1]

[url=https://flic.kr/p/rygk9F]
 [/url][/url][/url][/url][/url][/url][/url][/url][/url][/url][/url][/url][/url][/url][/url][/url]