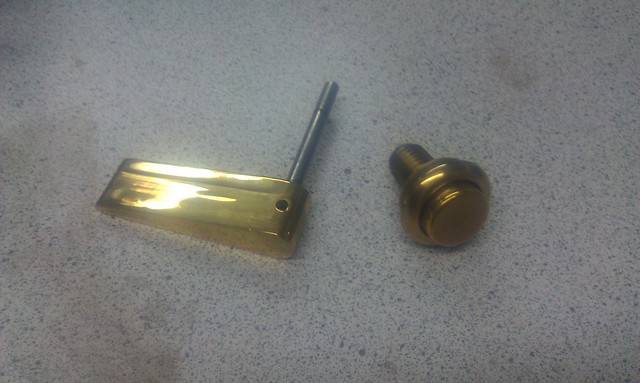
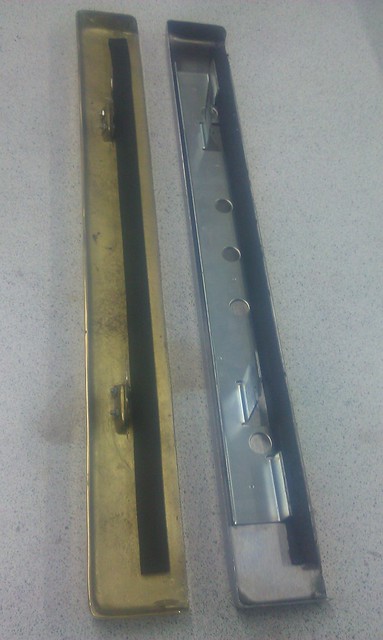
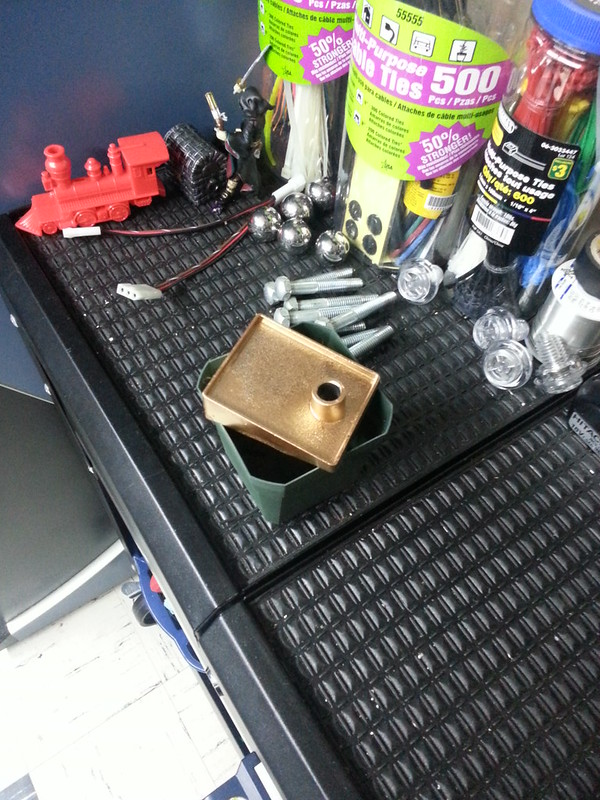
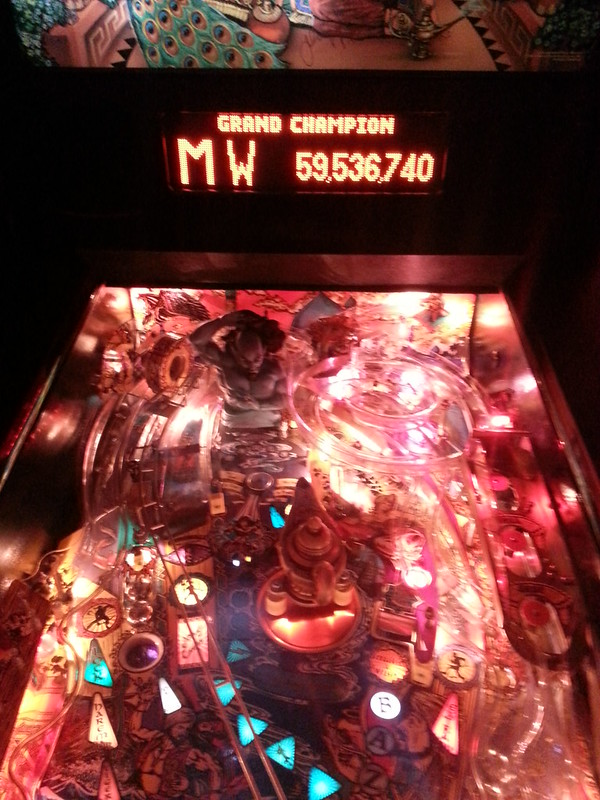
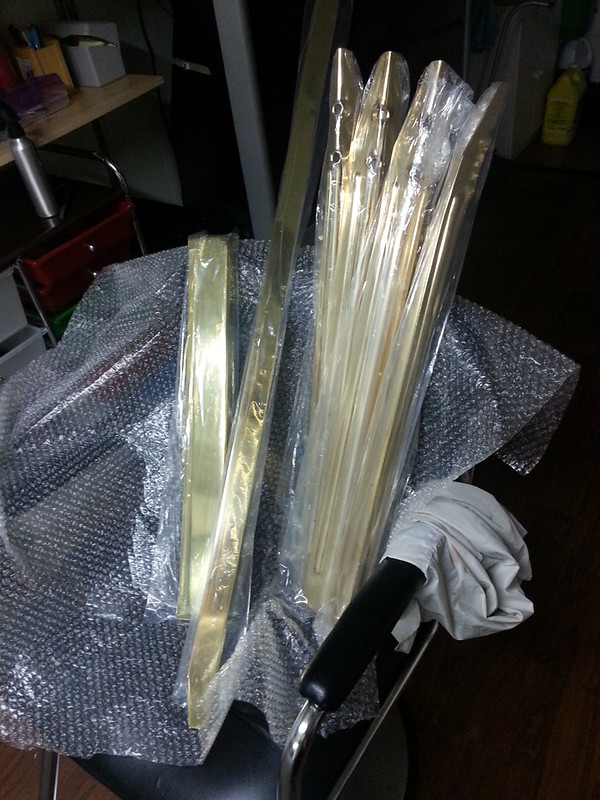
Adriano recently sent out bunch of parts from his games to get plated by Mike Chestnut. Turns out he gave him a Bally/Williams brass plated lockbar instead of a Stern. So before sending it back Adriano offered it to a bunch of my friends. My JM needed a better looking lockbar so I figure why not just take this brass one and upgrade all the trim on my TOTAN. Since Mike Chestnut was going to send up another Stern lockbar for Adriano's LOTR, I asked if he could see if a pair of brass side rails could be added to the package. I also lucked out as Adriano got a new set of legs plated for his IJ which already had pretty nice original brass legs which came with the game so I was all set!
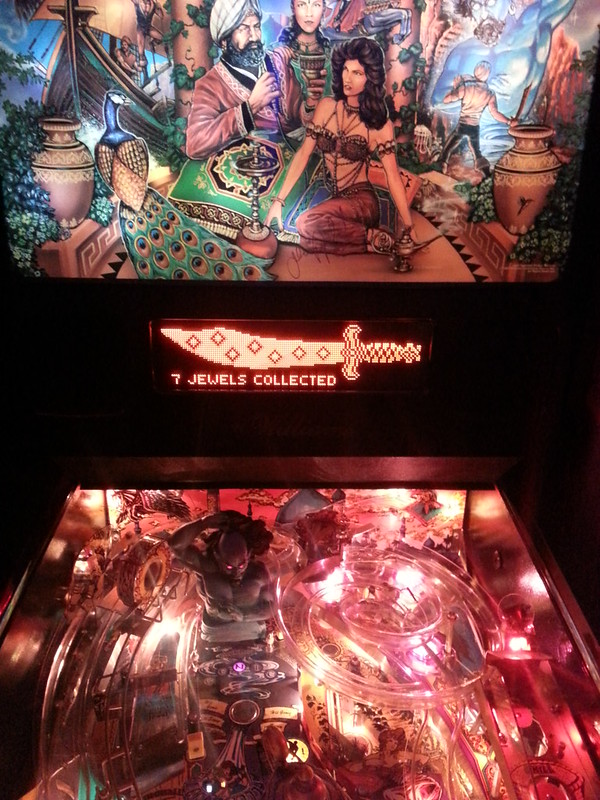
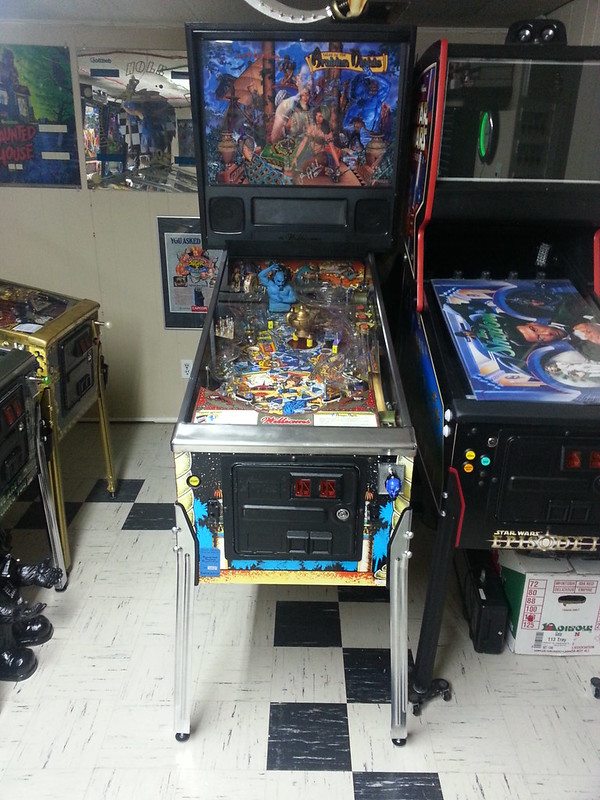
Here is how my TOTAN looks since I got it last year in July. It use to belong to Menace (aka Doug) who brought it back to life a few years ago and cleaned it up real nice.
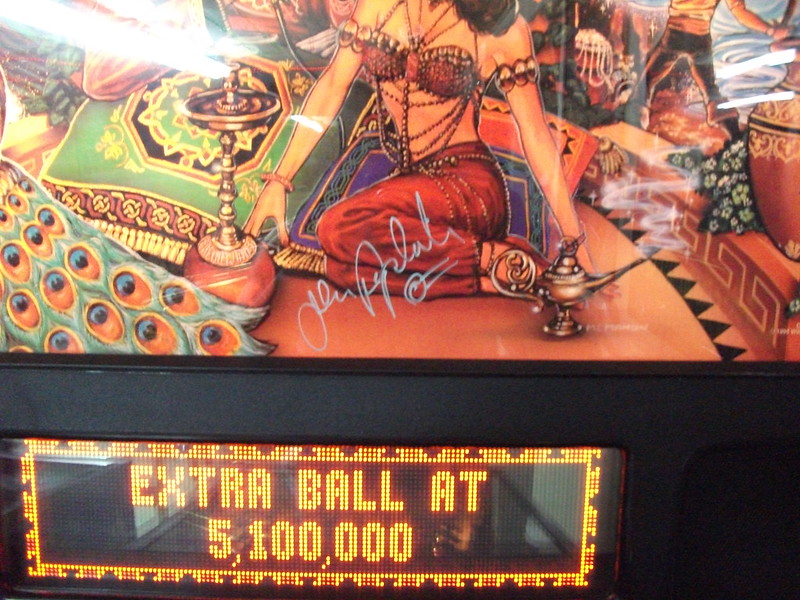
This game has a great story as Doug had the translite signed by JPOP and this was also brought back during the Chicago Expo trip where poolman got waived through at the border by the customs officer who was hauling a trailer full of pins! I'm sure the customs officer was wondering why there was such a loud cheer as poolman pulled away :twisted:
I have never removed side rails on a B/W game before and heard it can be a bitch to get off without ruining them. A fellow pinside user by the name of BLACK_ROSE offered this pro tip

I had everything but the torch and was told from Adriano it wasn't required!!!
I slid my TOTAN out so I had better access to the sides and did I mention how much I love these Marco EZ Glide leg levellers? They make sliding your games around so effortless! I removed the lockbar, playfield glass and backglass tub from the game.
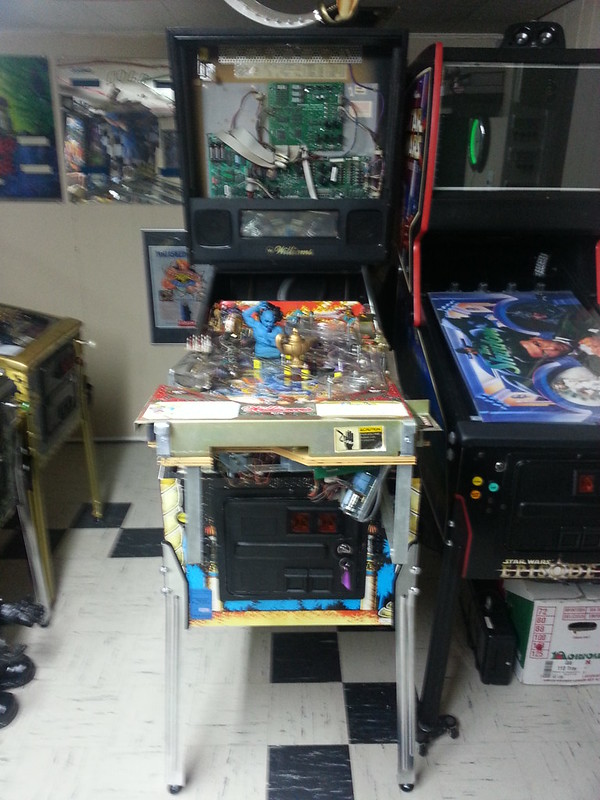
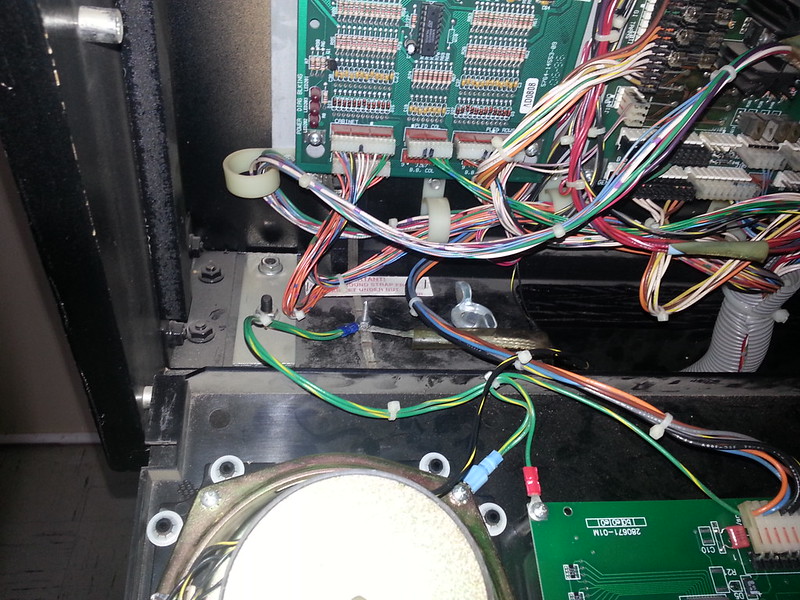
This is optional but I removed the backbox hinges from the game to avoid it swinging and scratching the artwork. It is held on by two screws and nuts in the head and one big allen key bolt and screw.
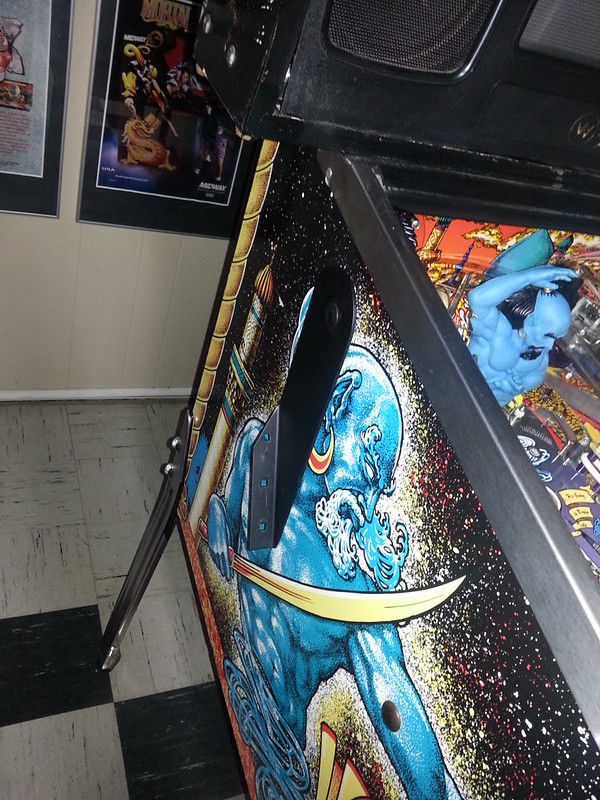
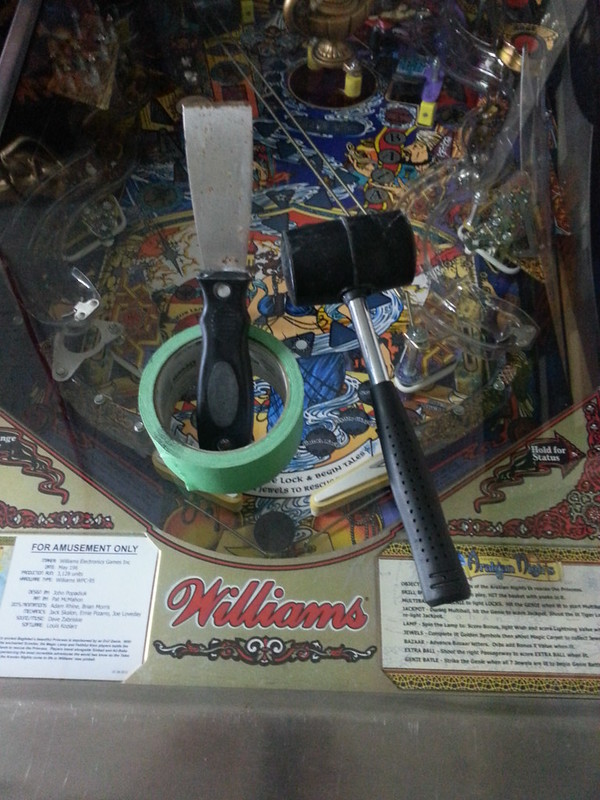
Now aside from the double sided adhesive tape there is a screw and nut on one side of the rail and a nail on the other side. I used a layer of painters tape just below the rail to protect the cabinet artwork while I wedged the putty knife under the side rail and gently pushed up.
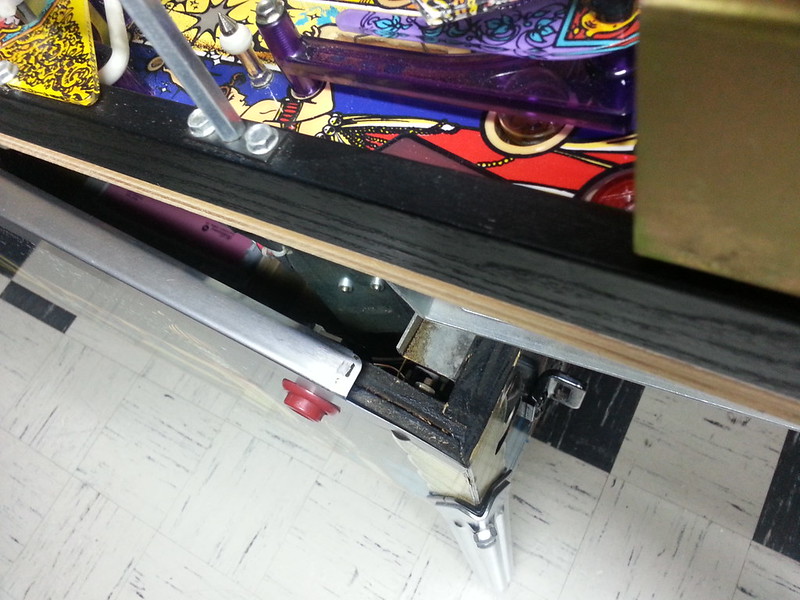
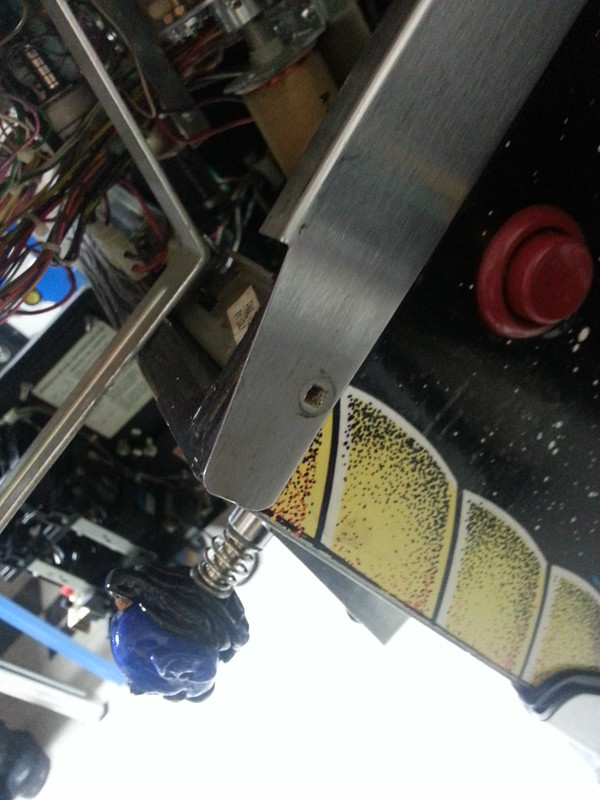
Again I initially used the rubber mallet to hammer the putty knife but found by just using my hand and some force it was pretty easy to break through the double sided tape. I worked my way slowly from one end of the rail to the other.
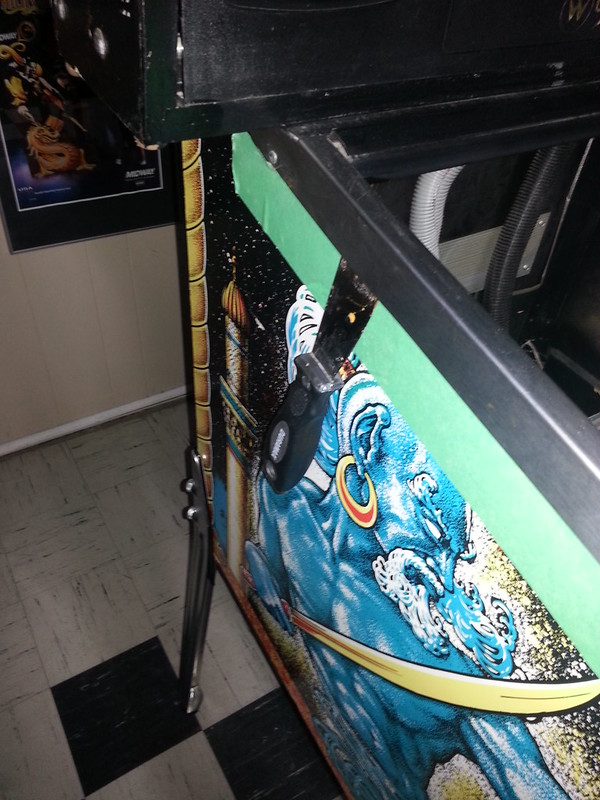
Once I finished this I had to use a small flat head screw driver to make a big enough gap for me to use this tool to pull the nail out.
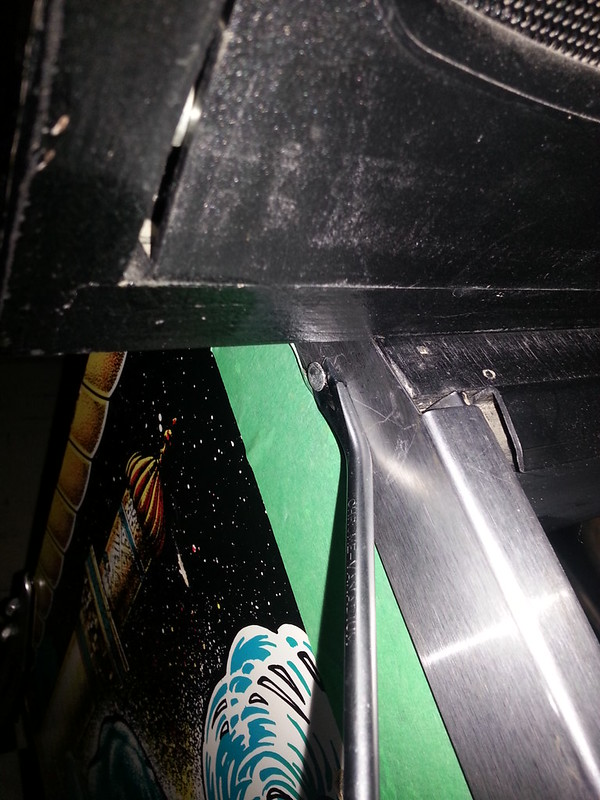
The side rail came off the cab pretty clean with very little adhesive to clean up using Goo Gone and a rag.
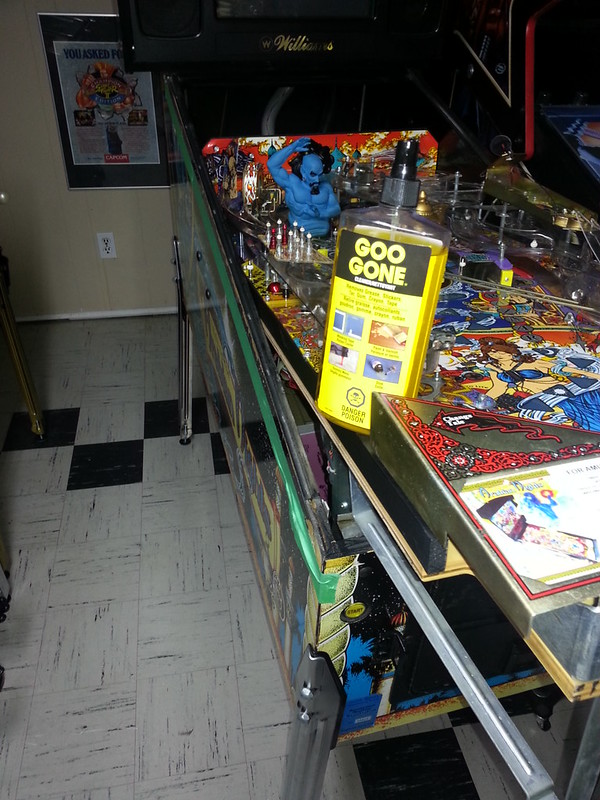
I test fit the new side rail by aligning up the screw holes on both ends. Now with the new side rail in the proper place I remove the original painters tape used to protect the cabinet and applied a new piece half on the side rail and cabinet.
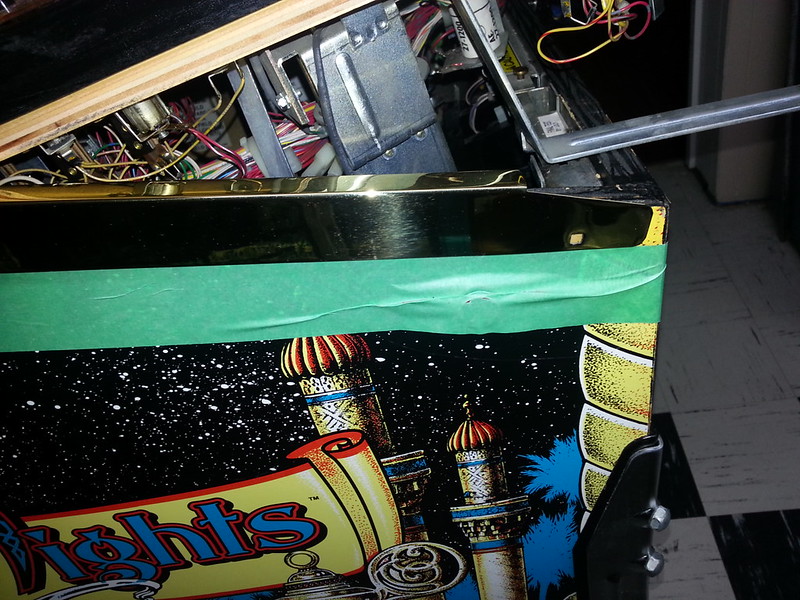
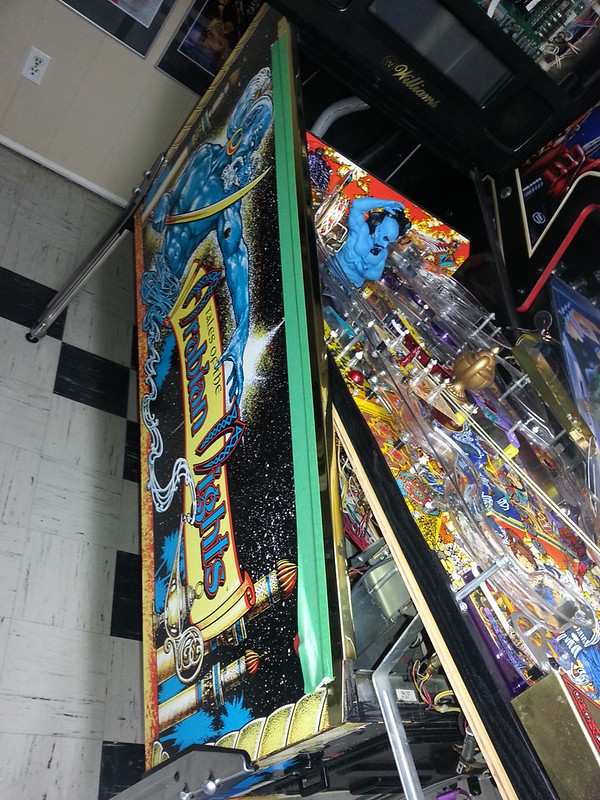
The reason I put a new piece of tape is to flip it down as shown below and apply a new piece of double sided tape. Afterwards all I have to do is flip the side rail back up for a perfect fit. Thanks for the tip Adriano!
I applied pressure to make sure it sticks to the cab, put the screw and nail back on both ends and reinstalled the backbox hinge.
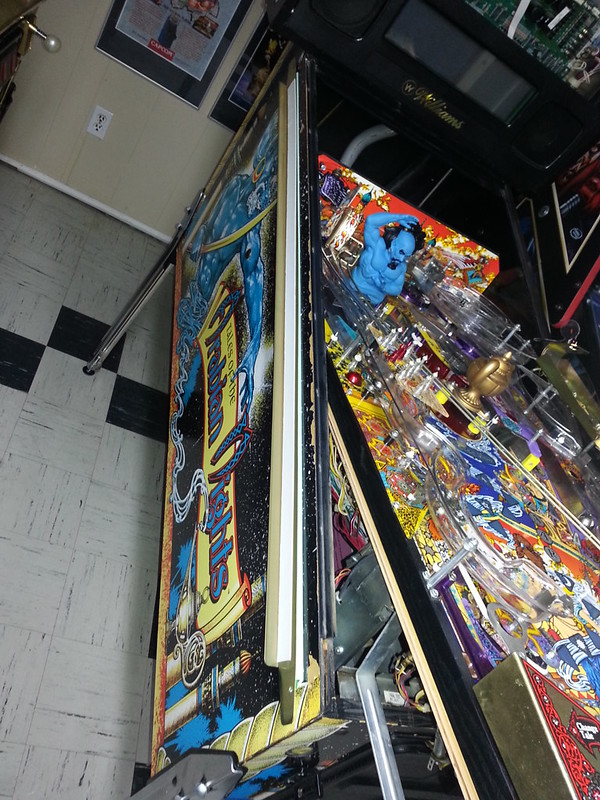
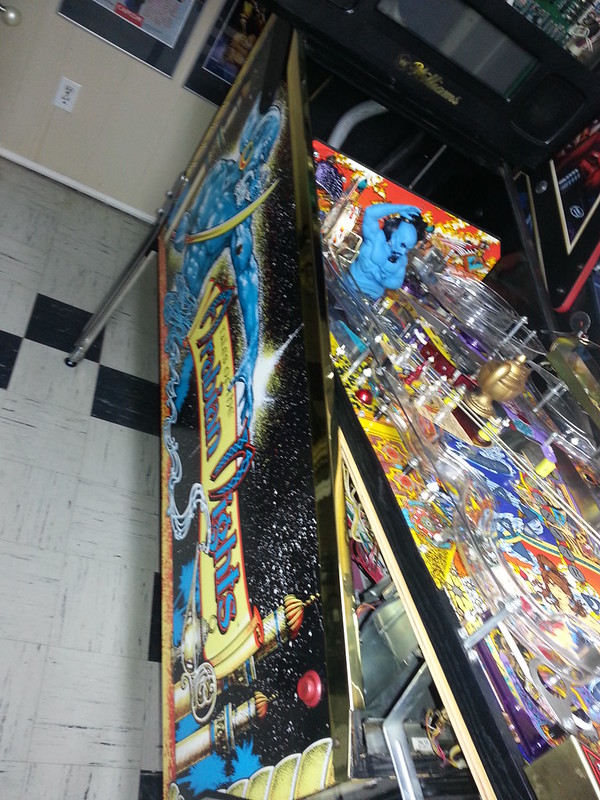
I was actually surprised how easy this was and the left side took me about 15 minutes to get off. I was expecting the nail to be a pain in the ass to remove and a lot of crappy adhesive to clean up off the cab. Fortunately most of the mess was on the old side rails which I was able to salvage and will clean up and keep as back up in case the rails on my existing or future games are damaged.
I repeated the same procedure to remove and install the right side rail and now I was ready to do the easy parts which the lock bar and swapping to the new legs using my pinball lifter.

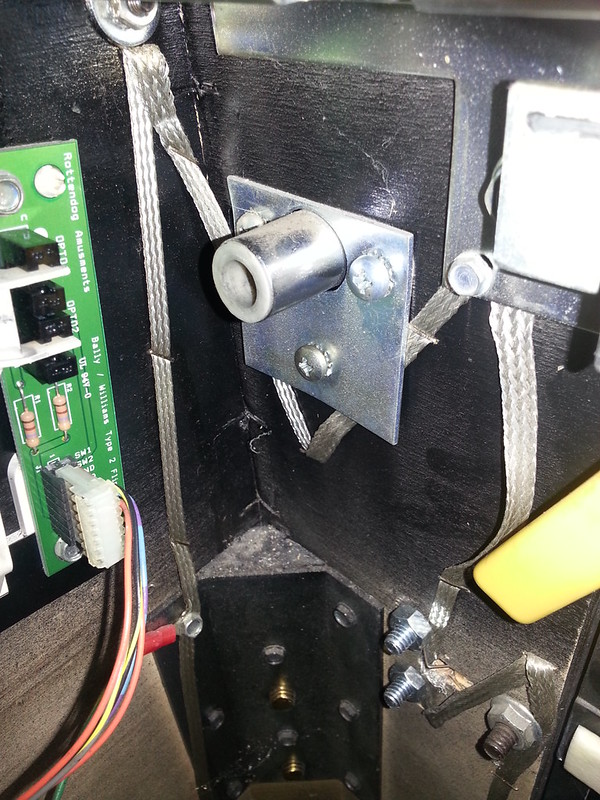
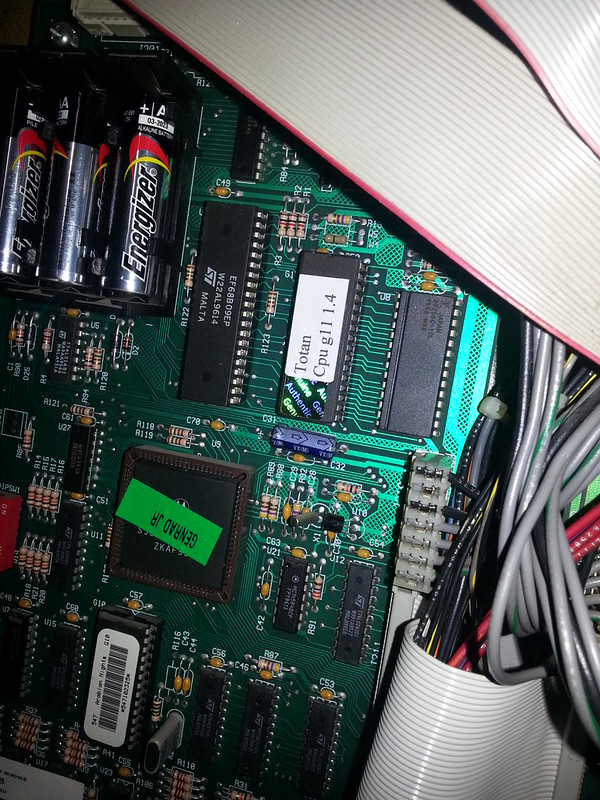
With the backglass tub removed and easy access to the boards I took this opportunity to update my game ROM from 1.3 -> 1.4. Thanks to Dave Astill who I met up last weekend at my work to exchange some parts. I set the date/time and put the rest of the game back together before I slid it back into my line up.
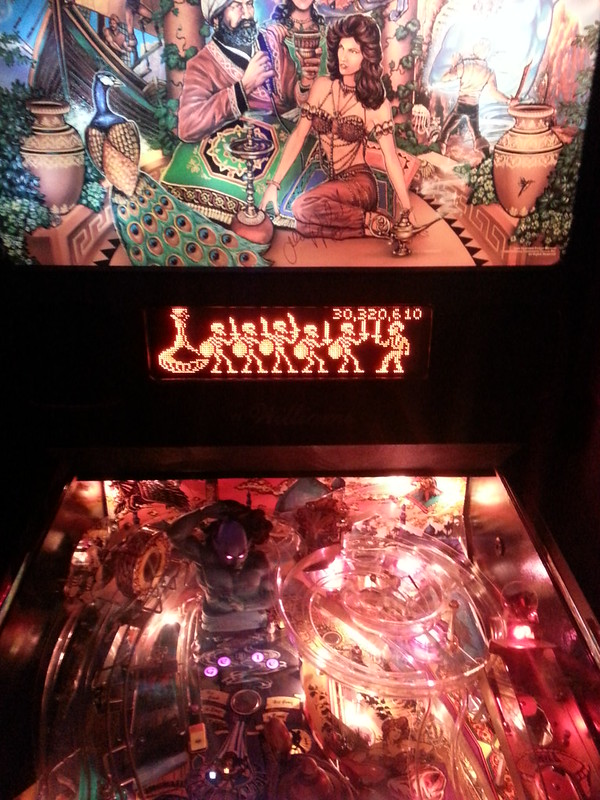
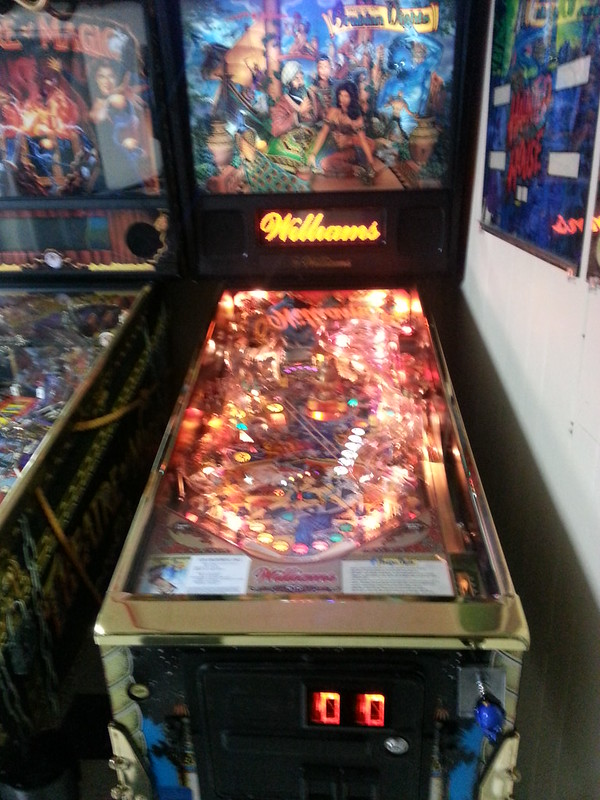
Here is what my TOTAN looks like now after its 1 hour make over
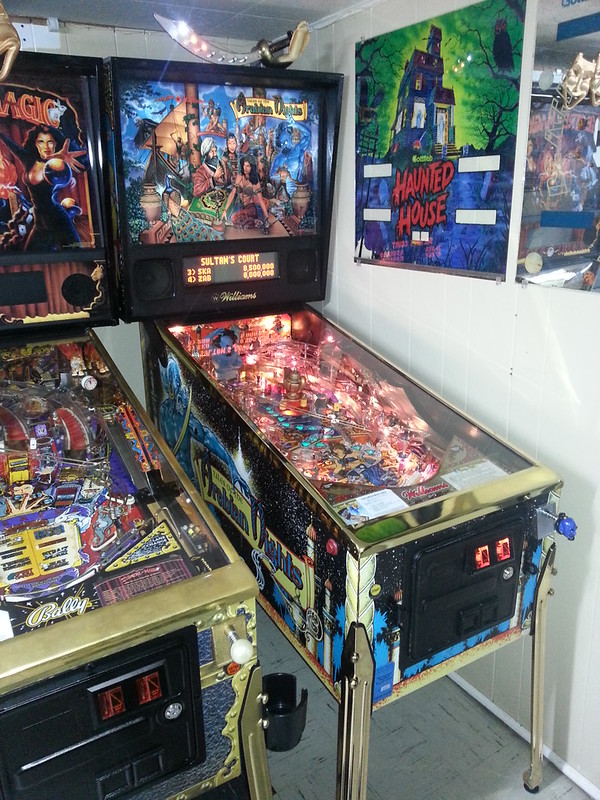
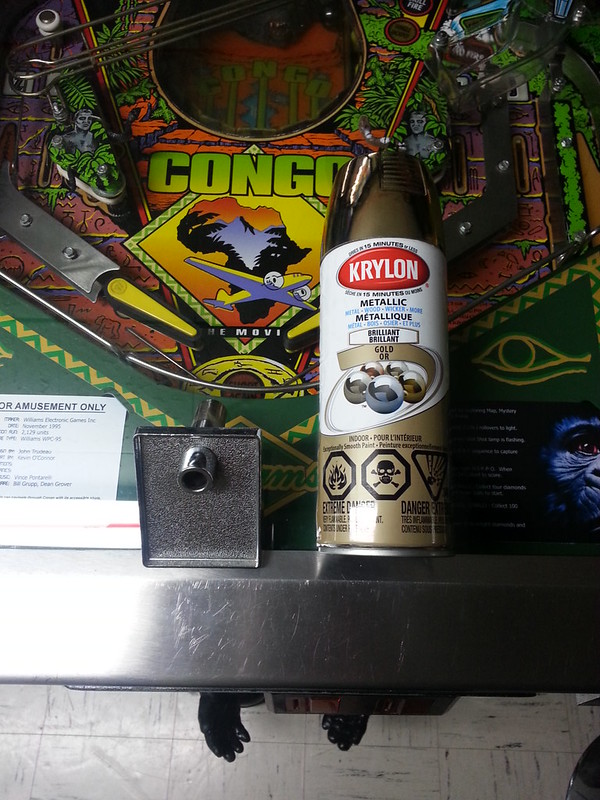
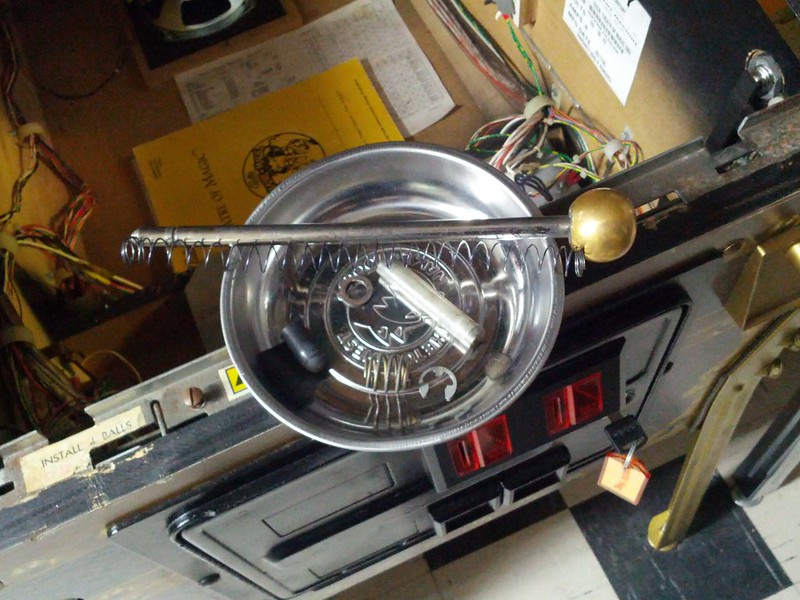
At some point down the road I would like to get my backbox hinges plated brass to match and maybe the rest of the hardware on the playfield such as wireforms, sword in shooter lane and skill shot ramp. For now I might just use some Gold Chrome Krylon spray paint to do the shooter rod plate and decide if I want to keep Brock's Genie shooter rod or else I have my old spare TOM brass ball shooter rod.
Enjoy!
-Mike

Here is how my TOTAN looks since I got it last year in July. It use to belong to Menace (aka Doug) who brought it back to life a few years ago and cleaned it up real nice.

This game has a great story as Doug had the translite signed by JPOP and this was also brought back during the Chicago Expo trip where poolman got waived through at the border by the customs officer who was hauling a trailer full of pins! I'm sure the customs officer was wondering why there was such a loud cheer as poolman pulled away :twisted:

I have never removed side rails on a B/W game before and heard it can be a bitch to get off without ruining them. A fellow pinside user by the name of BLACK_ROSE offered this pro tip

I had everything but the torch and was told from Adriano it wasn't required!!!

I slid my TOTAN out so I had better access to the sides and did I mention how much I love these Marco EZ Glide leg levellers? They make sliding your games around so effortless! I removed the lockbar, playfield glass and backglass tub from the game.


This is optional but I removed the backbox hinges from the game to avoid it swinging and scratching the artwork. It is held on by two screws and nuts in the head and one big allen key bolt and screw.


Now aside from the double sided adhesive tape there is a screw and nut on one side of the rail and a nail on the other side. I used a layer of painters tape just below the rail to protect the cabinet artwork while I wedged the putty knife under the side rail and gently pushed up.


Again I initially used the rubber mallet to hammer the putty knife but found by just using my hand and some force it was pretty easy to break through the double sided tape. I worked my way slowly from one end of the rail to the other.

Once I finished this I had to use a small flat head screw driver to make a big enough gap for me to use this tool to pull the nail out.

The side rail came off the cab pretty clean with very little adhesive to clean up using Goo Gone and a rag.

I test fit the new side rail by aligning up the screw holes on both ends. Now with the new side rail in the proper place I remove the original painters tape used to protect the cabinet and applied a new piece half on the side rail and cabinet.


The reason I put a new piece of tape is to flip it down as shown below and apply a new piece of double sided tape. Afterwards all I have to do is flip the side rail back up for a perfect fit. Thanks for the tip Adriano!
I applied pressure to make sure it sticks to the cab, put the screw and nail back on both ends and reinstalled the backbox hinge.


I was actually surprised how easy this was and the left side took me about 15 minutes to get off. I was expecting the nail to be a pain in the ass to remove and a lot of crappy adhesive to clean up off the cab. Fortunately most of the mess was on the old side rails which I was able to salvage and will clean up and keep as back up in case the rails on my existing or future games are damaged.
I repeated the same procedure to remove and install the right side rail and now I was ready to do the easy parts which the lock bar and swapping to the new legs using my pinball lifter.

With the backglass tub removed and easy access to the boards I took this opportunity to update my game ROM from 1.3 -> 1.4. Thanks to Dave Astill who I met up last weekend at my work to exchange some parts. I set the date/time and put the rest of the game back together before I slid it back into my line up.

Here is what my TOTAN looks like now after its 1 hour make over


At some point down the road I would like to get my backbox hinges plated brass to match and maybe the rest of the hardware on the playfield such as wireforms, sword in shooter lane and skill shot ramp. For now I might just use some Gold Chrome Krylon spray paint to do the shooter rod plate and decide if I want to keep Brock's Genie shooter rod or else I have my old spare TOM brass ball shooter rod.

Enjoy!
-Mike

