You are using an out of date browser. It may not display this or other websites correctly.
You should upgrade or use an alternative browser.
You should upgrade or use an alternative browser.
My JM Refurb Adventure
- Thread starter Budfan
- Start date
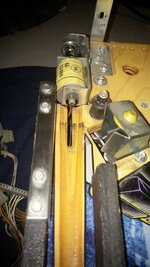
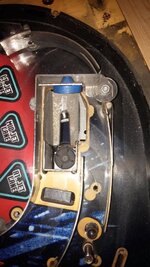
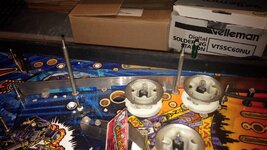
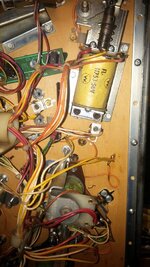
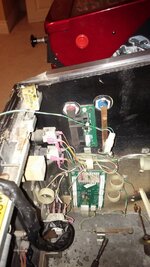
I have another 300 pictures of the tear down. But I am sure no one wants to see all of them. I removed all the ball guides and placed them together on my work bench. I then placed all the plastics together in one large ziplock bag. I placed the hand mech and jackpot assembly on my work bench. I used Mr Wong's guide to tearing down and cleaning it. Thanks Mike!
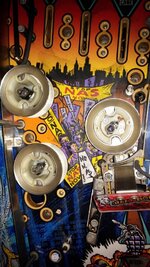
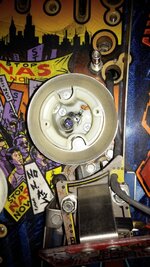
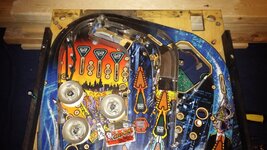
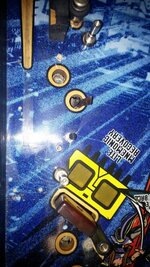
The pictures below show the playfield completely stripped.
Now...when you remove the wire harnesses, you need to remove them in 3 stages....
Stage 1 - Remove the Coil (High voltage) harness
Stage 2 - Remove the lamp harness
Stage 3 - remove the switch harness last.
Take pictures at each stage. This will help you when you have to put them back on...just reverse the order.
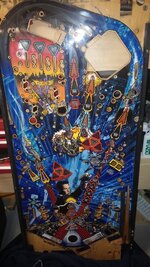
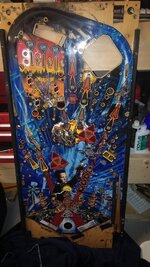
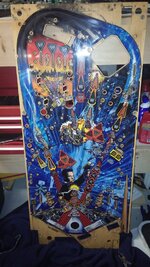
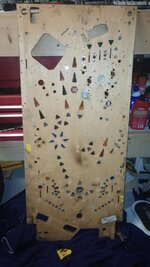


Well enough for today. Tomorrow I will show the cab and back box tear down. The teardown I performed above was done in a weekend. I think I spent about 10 total hours on it.....first day was 6am - 11 am Saturday and second day was roughly the same. If I remember correctly, the wife and I even went and saw a movie that weekend and all I could smell was the smoke, grease and dust from that tear down.
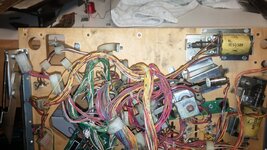
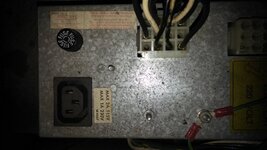
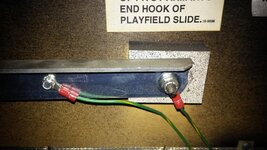
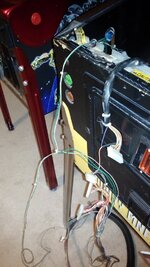
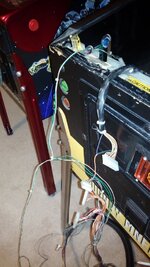
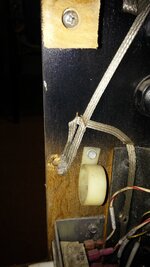
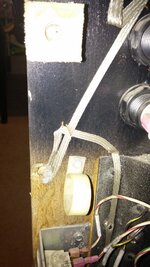
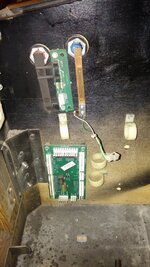
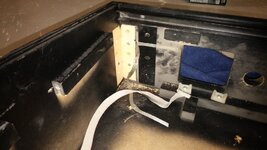
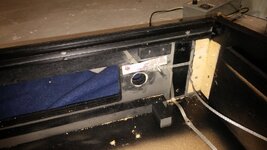
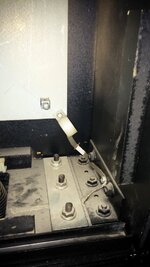
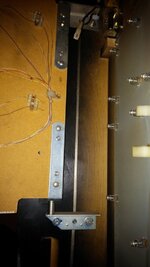
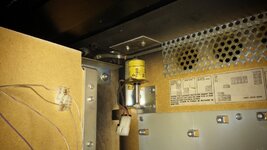
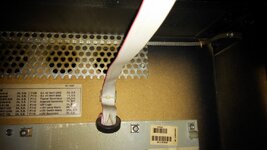
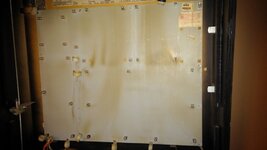
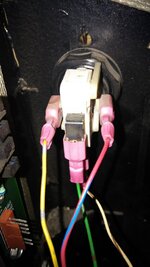
Once again take lots of pictures of the back box and inside cabinet. Make sure you get the ground braid continuously in your pictures. Very important for when you put the ground braid back in. Also, don't use old ground braid. I had to order another 50 ft from PBL...only need 25 ft per machine, but I was planning on doing another machine in the future. So here are the pictures of what the inside looked like.
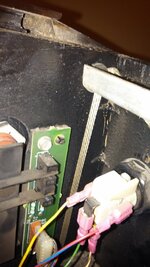
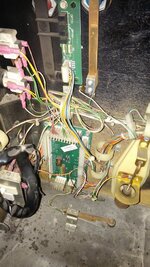
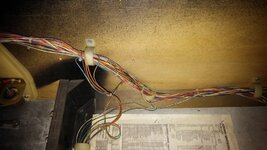
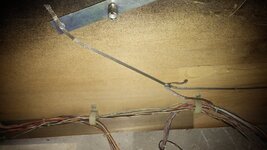
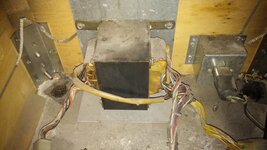
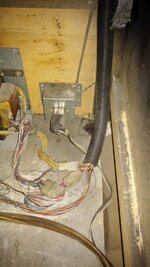
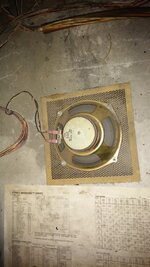
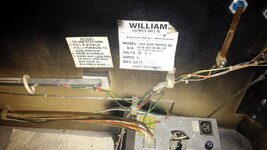
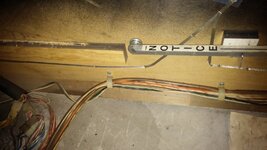
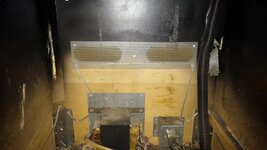


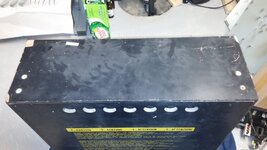
More pics of the inside of cab and back box. When removing the ground braid, use a thin tipped flat screw driver. Its all leverage. The staples will fall to the bottom. Just vacuum them and all the other junk that falls to the bottom. It only took me one morning (4 hours) to completely remove everything from the back box and cabinet. As you can see there was alot of build up dirt on the parts. But if you look closely at the pic above, you will see two lines of grease on the back wall of the cabinet. That all came from the hand mech. It was caked on there nicely. 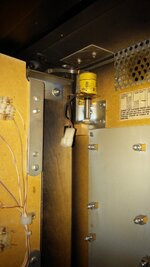


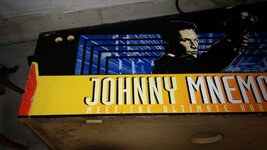
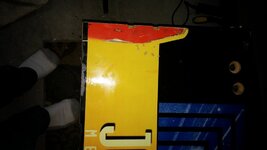
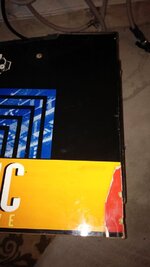
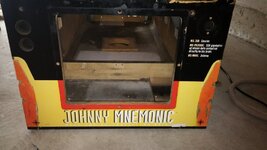
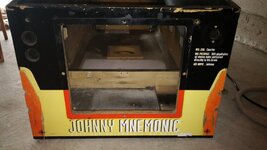
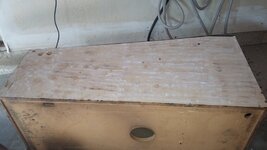
To remove the artwork, you simply heat an area by going in circles with the heat gun about 2 inches above and you will start to see the paint lift (bubble). As it bubbles, run your 4 inch putty knife lightly through it and it will remove the paint and the glue underneath. However, I did not discover this technique until I had completed the first side and the front of the cab. I had so much glue left over I couldn't even see the wood underneath. To remove the glue, you need to use mineral spirits and your putty knife. To remove the glue on the one side of the cab it took me 2 hours! I was friggin pissed! I almost put a 40 grit on my orbital and go to town...but I did not want to remove any more wood then I had too. Also, black areas lift easier than coloured areas...don't know why but its true. Also, always start in the middle of the cab and work out...discovered that later too. I didn't wear my respriator, but I did wear the simple mask and safety goggles....the chips fly everywhere!
When I finished removing the art work I felt like I had just gone 30 seconds in the cage with Rhonda Roussey!
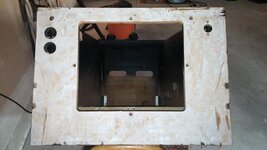
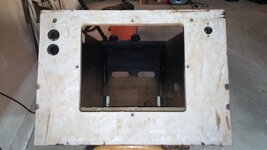
When I finished removing the art work I felt like I had just gone 30 seconds in the cage with Rhonda Roussey!


Last edited:
The cabinet and the head had absolutely no separation. I was very surprised. I did not have to get out my clamps and glue at all.
Well...I don't have any pictures of all the bondo work I had to do. I will just reiterate what everyone says.....
Apply bondo, let dry, sand;
Apply bondo, let dry, sand;
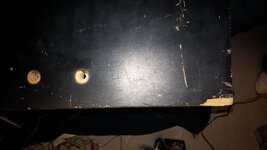
Apply bondo, let dry, sand; etc. etc.......until you have filled in all the divets, gouges, holes (I filled in the lock hasp holes and the holes someone had drilled into the side of the cabinet) and they are level.
I used 180 grit on my orbital for large areas of divets, but for the rest (corners, bottom and back box) I used small sanding blocks that I made up.
This took a week to bondo and sand the inside and outside of both the cab and head. I knew that the cabinet had to be perfectly smooth, because decals will show any imperfection.
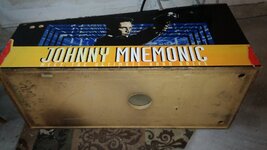
Now, the bottom of the cabinet had a wood sheet that had some type of white laminate on it. It did not well at all. So I decided to colour the bottom. You either like it or hate it...I have to say I like it but would have preferred the natural wood look.
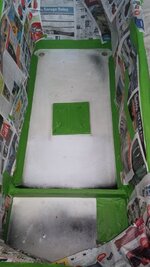
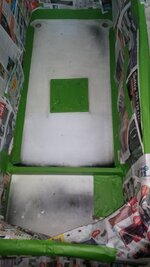
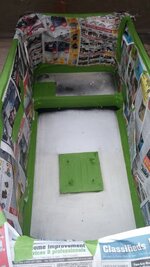
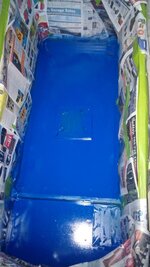
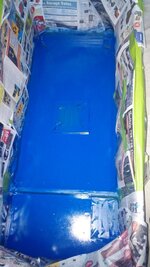


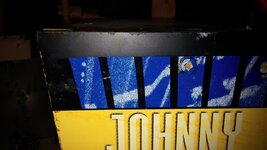
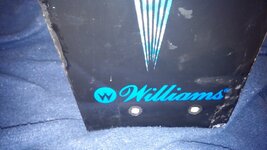
Then, I primed both the inside and outside with Rustoleum Grey primer. I used a tacky cloth which helped remove any high point on the primer. After it had dried for 48 hours, I used Rustoleum Semi-Gloss black (2 cans) to paint both the head and cab, inside and out.
This is what it looked like 24 hours later.
I was very happy with the results. I had one spot where the paint ran for some reason...but I used 1000 grit sand paper and leveled it off.
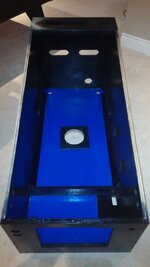
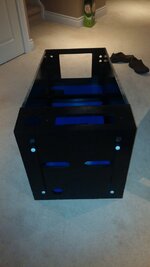
This is what it looked like 24 hours later.
I was very happy with the results. I had one spot where the paint ran for some reason...but I used 1000 grit sand paper and leveled it off.


eh97ac
Active Member
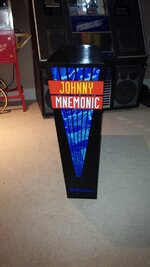
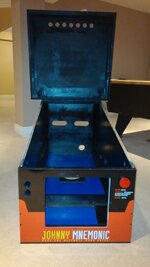
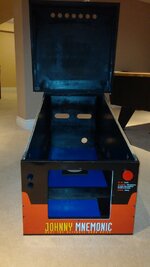
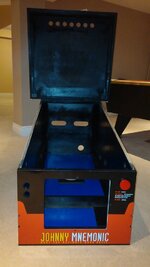
Next will be the decal application....I was losing my mind. I had never done it before. I watched every video on it, read every thread on it and I still kept thinking I was WAAAAAYYY over my head. I felt the same intimidation I had when I got my first pin.... I did not want to screw this up. I went and bought the recommended laminate roller (6 inch) and picked up another bag of tacky cloth. I left that cab and head in my rec-room for a week, even though I had the decals. I decided that I was going to regrain and polish the ball guides until I worked up the courage to tackle the decals. Seriously, everytime I looked at the cab I would say...not today. I hummed and hawed between dry or wet...was even tempted to ask someone in the community to do it for me!
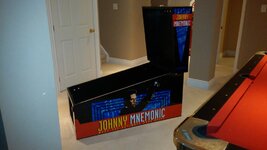
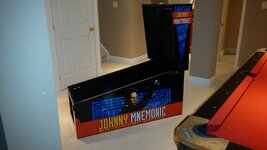
I got these decals from Portugal. When they arrived I placed them against the cab...the colours were very close to the originals...but it was hard to tell because the cab was faded. The reds were sharp and deep. The blacks were deep too. The blue seemed off. But I looked at some original photos and I soon realized that the blue was extremely close.
As soon as I got them I laid them out on my pool...err work bench to let them flatten. Do not leave your decals rolled up.
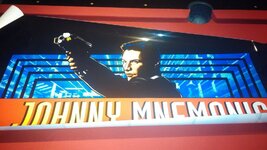
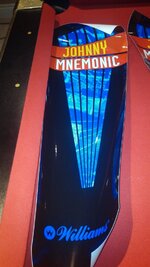
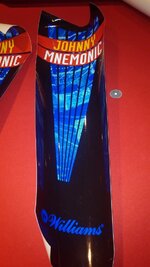
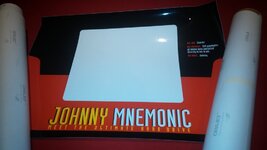


Well after a week of being a bitch.... I decided to get my son to help me with the application. I went with the dry method and needed him to hold the ends of the decal up so that I could apply and peel.
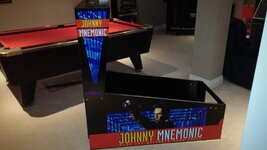
What the fu$k was I worried about? This was the easiest thing I had done up to this point. Once you have your decals line up properly...fasten the ends with clamps...and tacky cloth every foot (it picks up the smallest dust particles) as you go... It took me 1 hour to do all 5 decals. That's with having a drink in the middle and rolling with the laminate roller.
I am not going to say the decals are perfect... but there is not one wrinkle on them. That was my biggest fear. Having the decals wrinkle. Well, when you just let them naturally lower onto the surface, there is absolutely no way these decals can wrinkle.
I will cover the ramps tomorrow.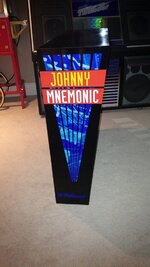


Last edited:
Mike....If I ever let it go...you have dibs. But I haven't been able to let any of my pins go. I always seem to find a way to get a new one without having to let one go!
Once I completed the decals on the cab, I placed the metal leg protectors on. I used the method where I lined up the protectors, then cut an outline around them and removed the decal portion under the protector. This ensures that when the legs go on they won't rub or wrinkle the decals.
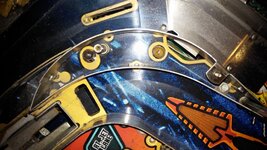
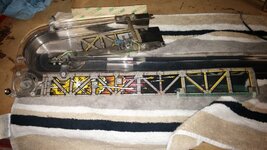
As you could see earlier, the ramps on this JM were rode hard and put away wet.
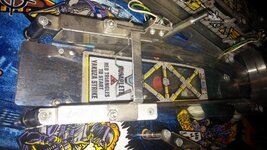
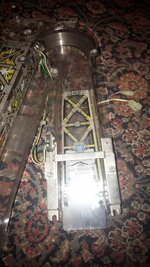
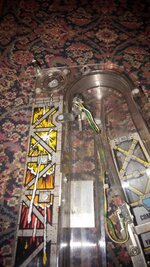
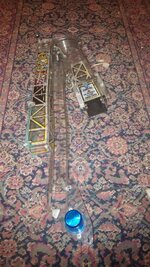
As you could see earlier, the ramps on this JM were rode hard and put away wet.


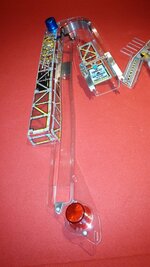
I ordered new ramps from sparepinballparts in Australia. The ramps arrived and immediately I noticed that some of the guide holes were not drilled. In particular, the left ramp bottom lamp holder guide holes were not there . I didn't even consider sending them back, it was an easy job to drill them properly.
Now, I was only able to get two of the 9 under ramp decals that I needed. The other 7 decals are currently unobtainium. So, I found the thread on pinside that provided direction on how to remove and reuse the current ones.
The ramps must be completely clean before you re-apply. I had to re-apply several times in order to get a perfect adhesion.
Before you can even put the decals on, you have to rivet all the plastics, lamp holders, switch holders and metal ramp protector pieces that you removed from the old ramps. I used the C-Clamp riveter I got from someone on Pinside when I had to rivet a dome onto my Snackbar plastic in my CFTBL. This thing is simple and leaves a professional looking crimp.
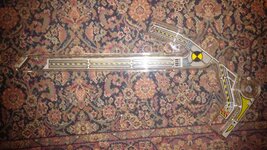
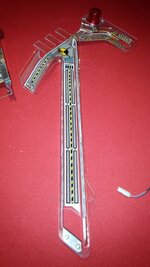
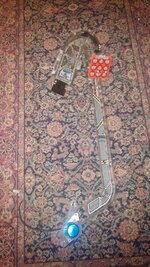
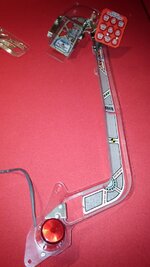
Some before and after pics follow.


