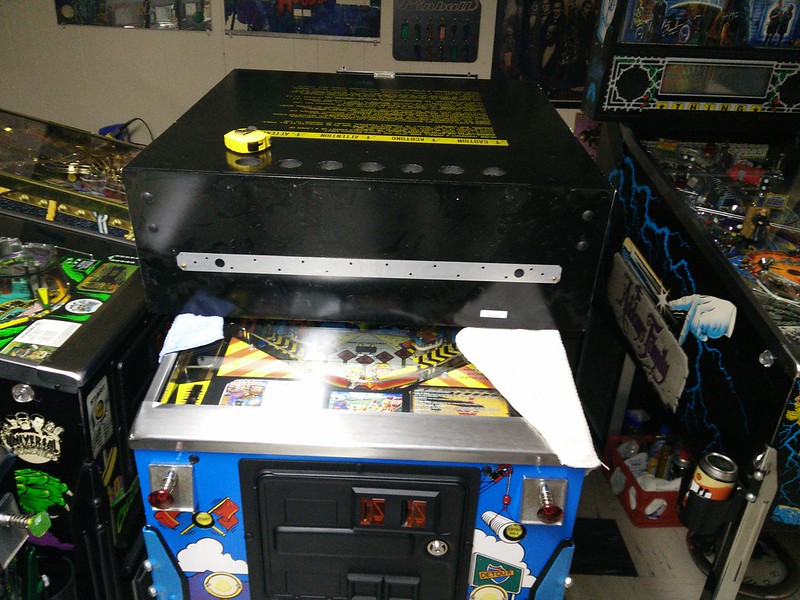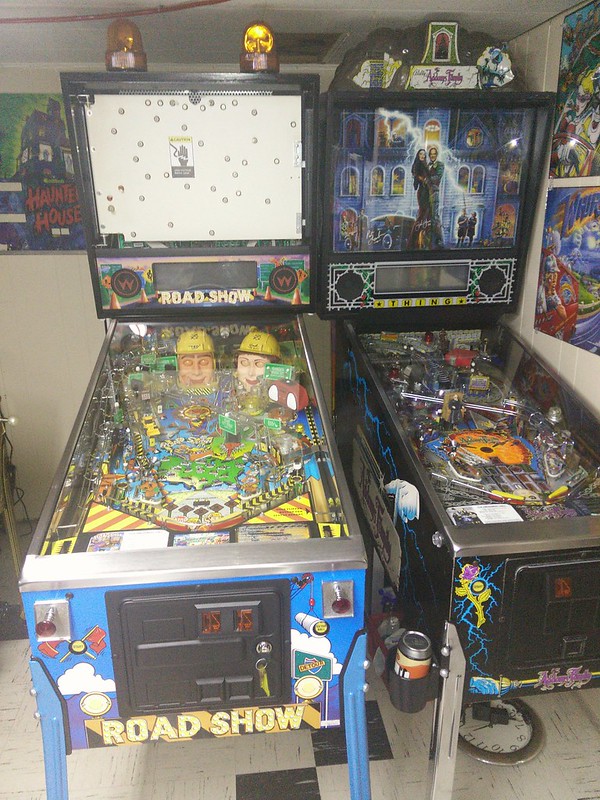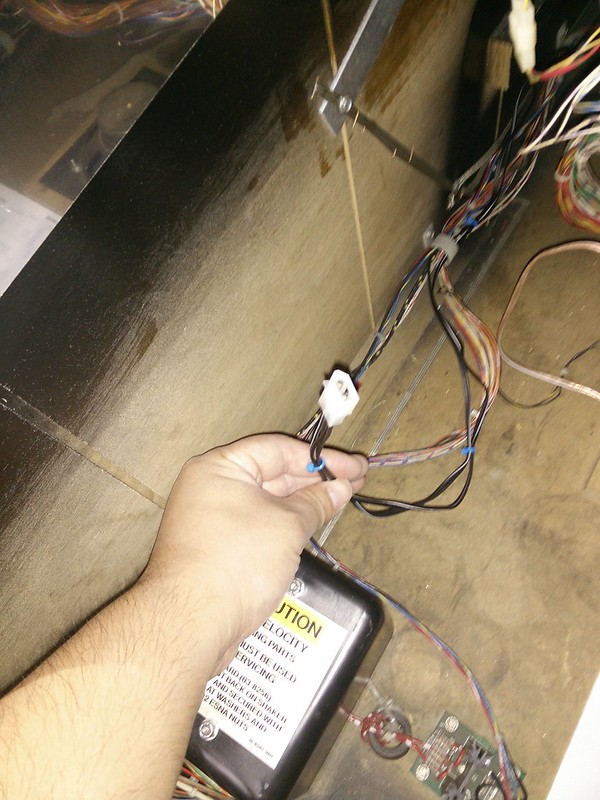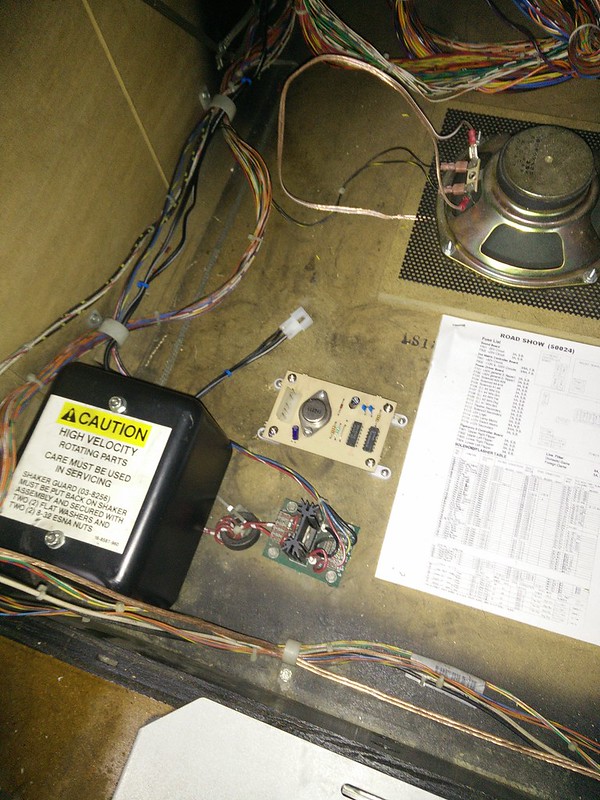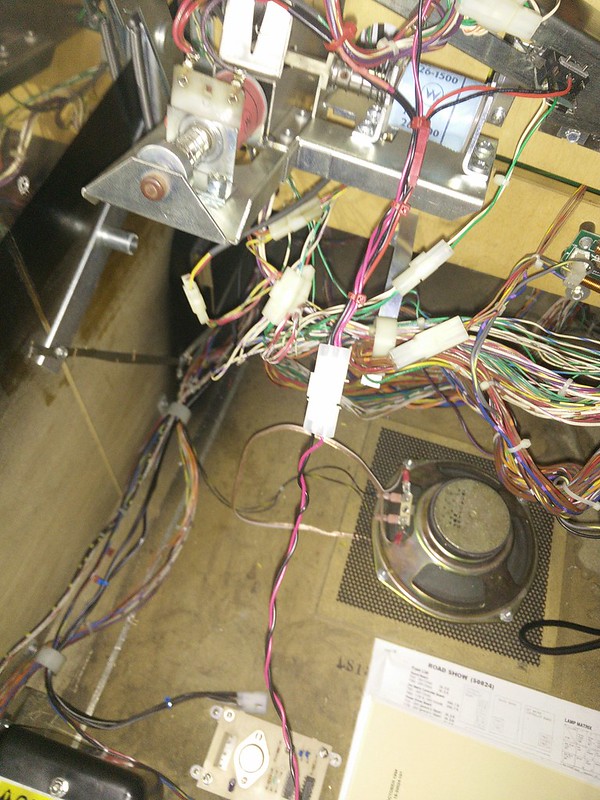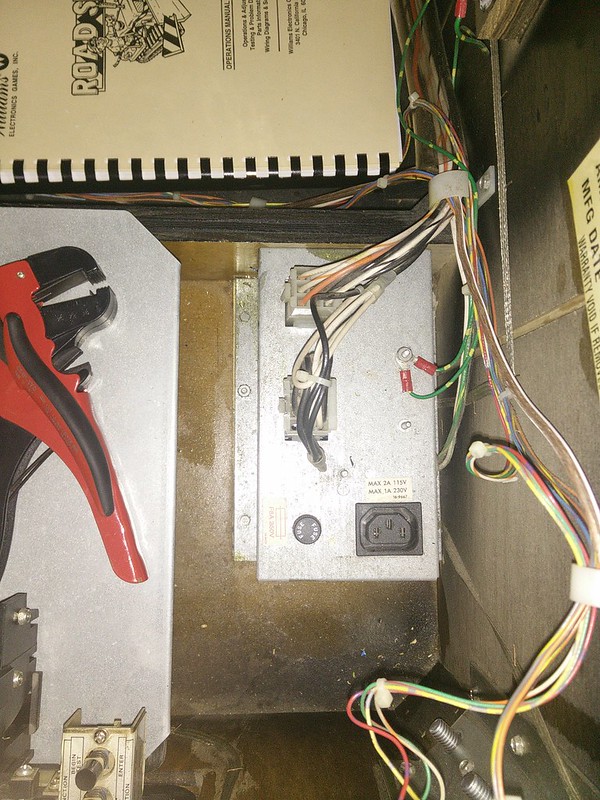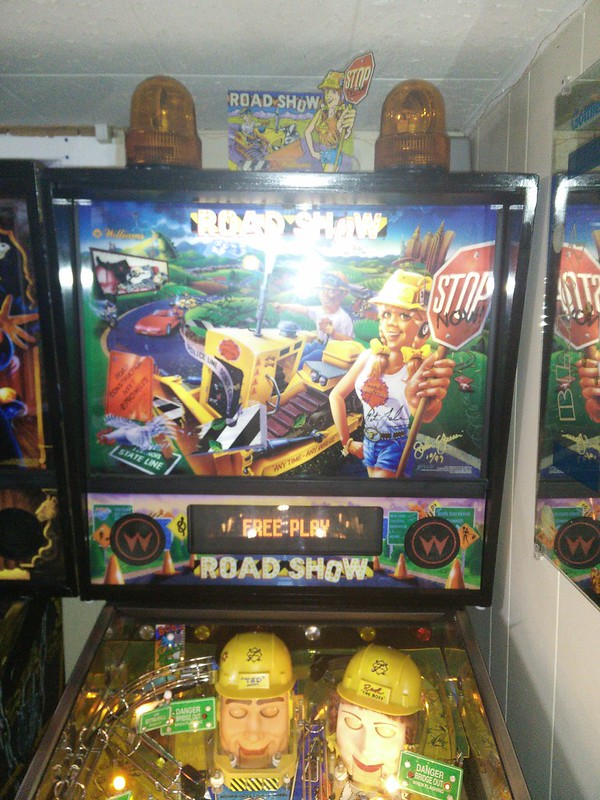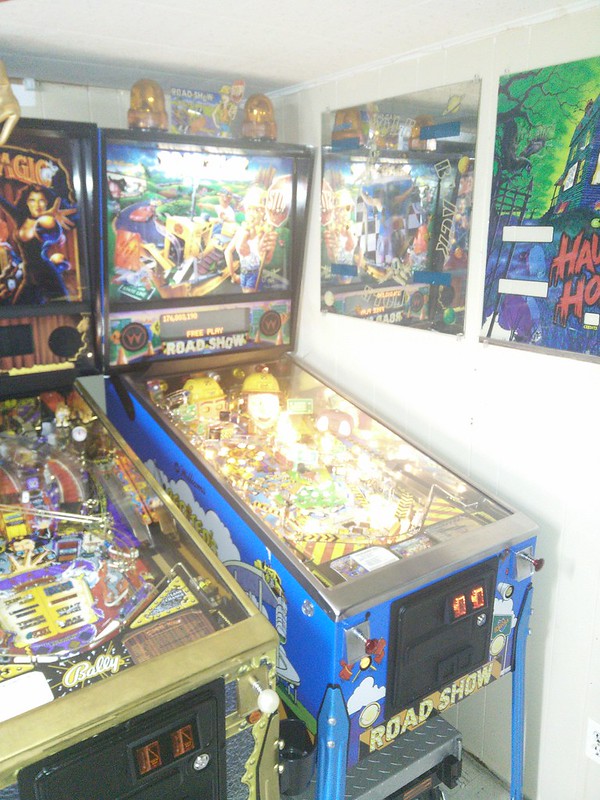
Roadshow is probably one of my personal favorites in the collection as well as my daughter's too. It's got so much charm and character, two to be exact Red and Ted. I think Pat Lawlor's talking heads aka PinMation(tm) is one of the most creative and coolest ball interaction toys in all of pinball.
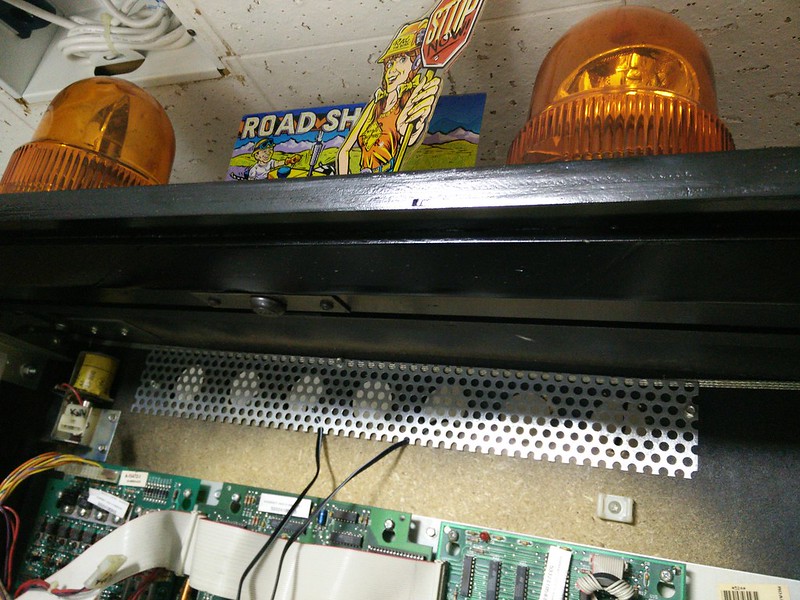
Ever since seeing Dave from pinballtoppers.com create this dual beacon Roadshow topper over 2 years ago I knew I wanted it one day.
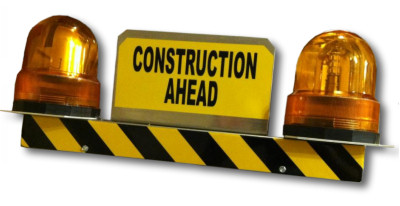
I spoke to Dave to see if he would be willing to sell me just the electronics portion so I could build my own. His website at the time mentioned a 2-3 week wait time after placing the order. It turns out the piece he was waiting on the metal bracket portion of the topper which I didn't need since I have low ceilings. I figure it would also be cheaper to ship and smaller package so less chance of getting dinged for taxes too. He thought about it for a few days and in the end did not feel comfortable selling me only the electronics because he did that once in the past and someone tried to screw him over by having his design knocked off. I respect his decision as a business owner so I figured out a way to do it and achieve the same effect with more interactivity which you will see shortly.
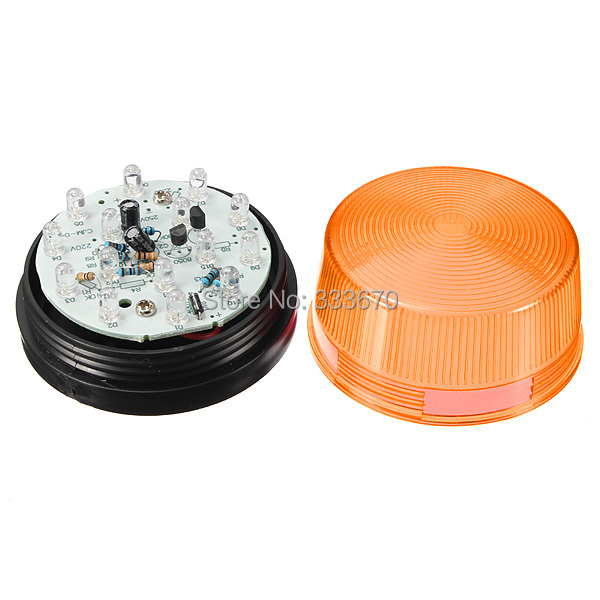
I looked into various safety beacons offered on amazon and ebay. I found a lot of them were pretty expensive and I was worried how bright and effective they would be when lit. I was originally going to tie into the game's power driver board and pull 12v from there. But after a bit of discussion with to Menace he advised me to pay attention to the current draw of some of these beacons as some drew as much as 5-6A. Menace recommend I stay between 1-2A max and a single so I don't over stress the power driver board. So I started looking into LED beacons since I know the current draw on those would be much less and some don't even require a motor as you can achieve the same circular strobbing pattern via LED controller board. Most of the ones were from China and one thing I hate buying from my "cousins" is they rip off other people's pictures or videos so I have no way of knowing for sure if I am getting exactly what is shown. I also didn't wanna deal with charge backs, extra shipping charges, paypal disputes etc... My other problem is some didn't appear as bright or have the same look as traditional ones and expensive too ($80-140usd)!

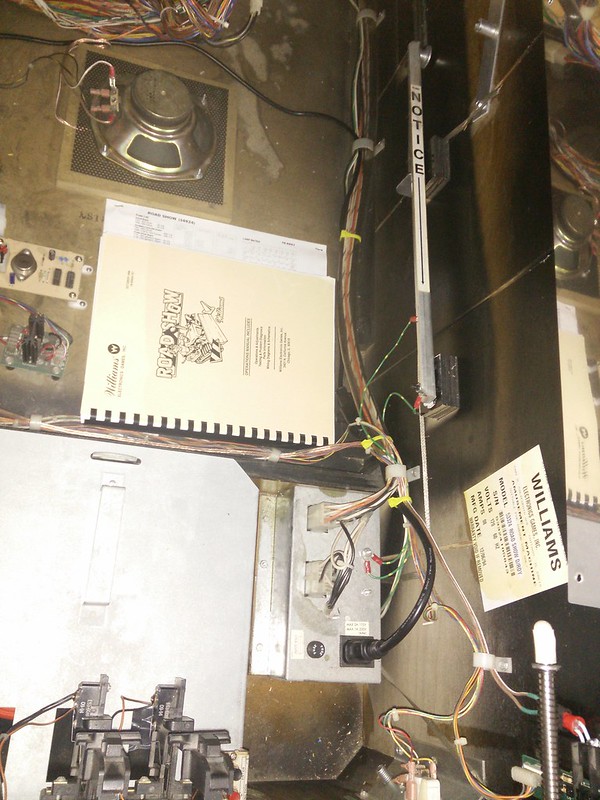
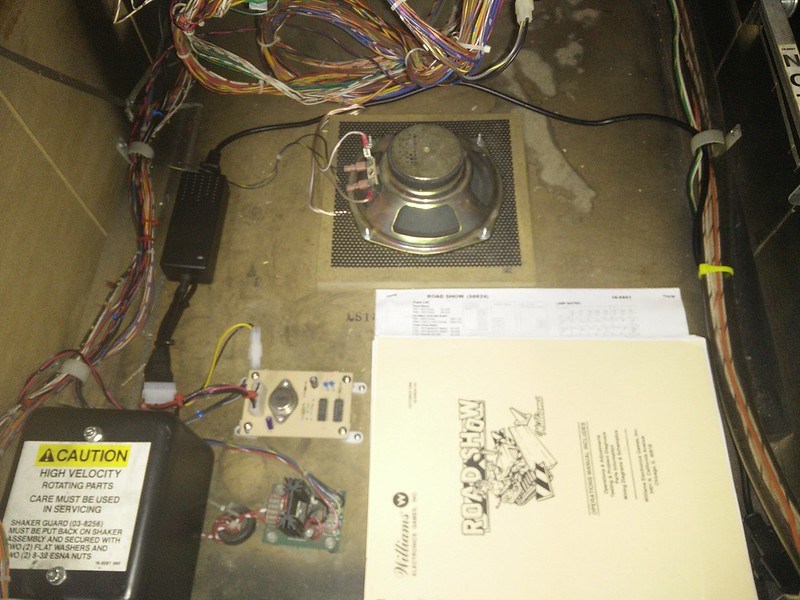
I figured out another solution and was going to use a standard PC power supply plugged in via service outlet. Since I use remotes to turn my games on/off so there would be no power to the service outlet when the game is off. I think there might be a way to wire this outlet so that it only gets powered if the game's main switch is turned on but not needed in my case. Now with power isolated I could reconsider all those motorized ones with higher current draw that give off crazy lighting as seen on games like High Speed and F-14! It just so happened that week Prince Auto had a sale on these Hilux beacons from $46.99 to $19.99 so I picked up two.
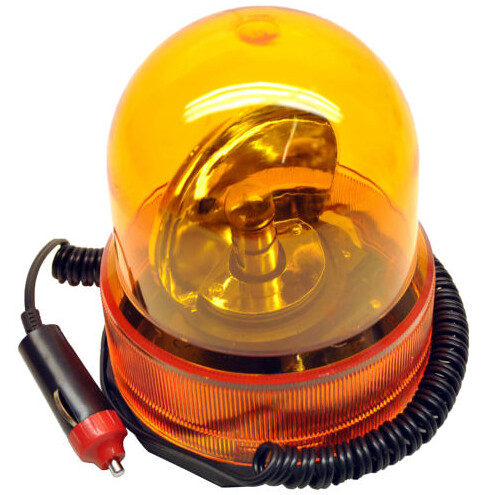
http://www.princessauto.com/en/detail/12v-80-fpm-warning-light/A-p8286619e
A few months ago I read on pinside someone used an old Gottlieb sys80 pop bumper board to drive a mini motor for a propeller on their helicopter mod for T2. I think the original idea came from someone doing the same thing for their IJ fighter plane propellers which are usually just gator clipped into the flasher domes. The only problem with this is the propellers would only spin when the flashers had power. The spinning effect also looks weird too since flashers don't get constant power but in pulses so the propellers would spin,stop, spin, stop, spin, stop.

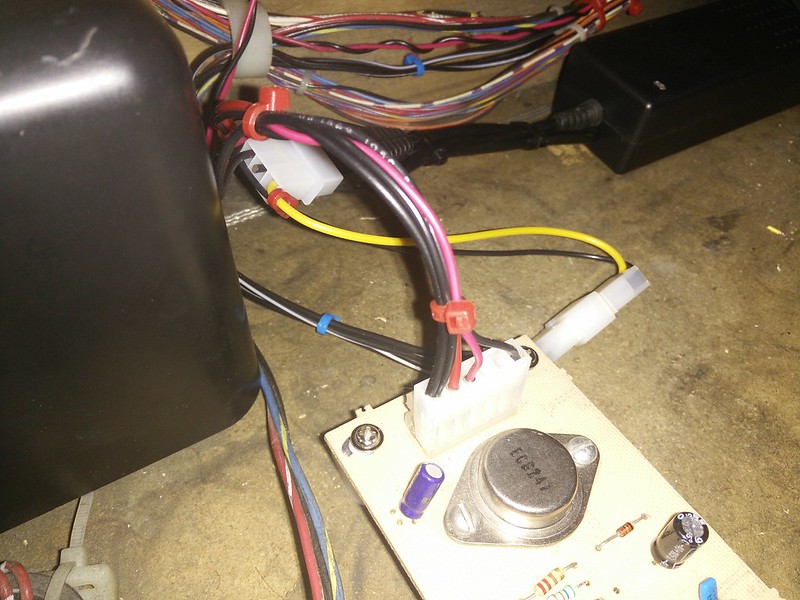
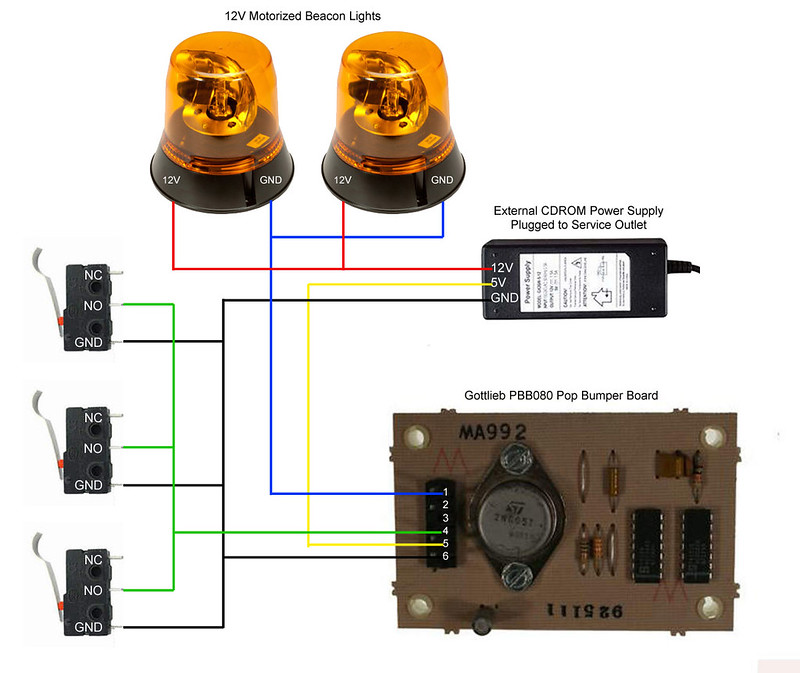
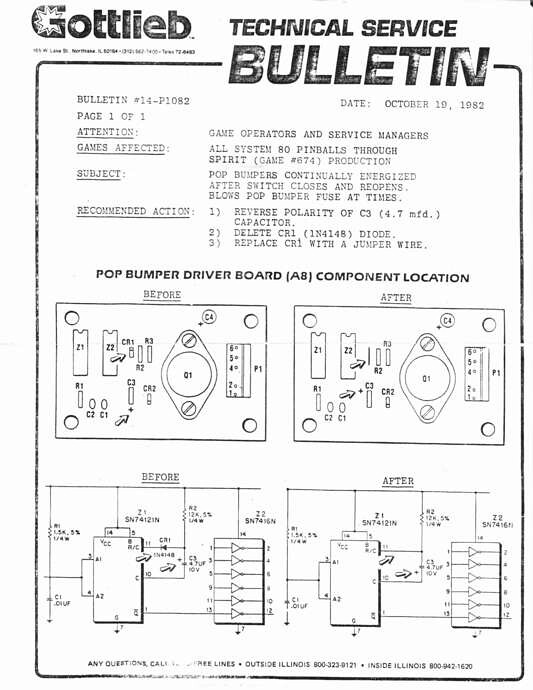
This Gottlieb pop bumper board would allow the propeller to get constant power to spin for anywhere from 1-7 seconds. I figure this could be applied the same way for driving the beacons for my topper. This method does require more work such as adding a dedicated power supply and inline switch(s) to trigger. I picked up a used and confirmed 100% working pop bumper board from ebay for around $32cdn shipped. There are some things you will need to do before you can start using the board as per Gottlieb bulletin here. It is all simple thru hole stuff so anyone with basic soldering skills should be able to do all this in 5-10 mins.
I only found out after that Rottendog makes a replacement for this pop bumper board for around the same cost with more modern components.
I hooked everything up temporaily on a work bench and you can but in the video below the beacons only come on for a split second whenever I would engage the DB3 switch (listen for the clicking).
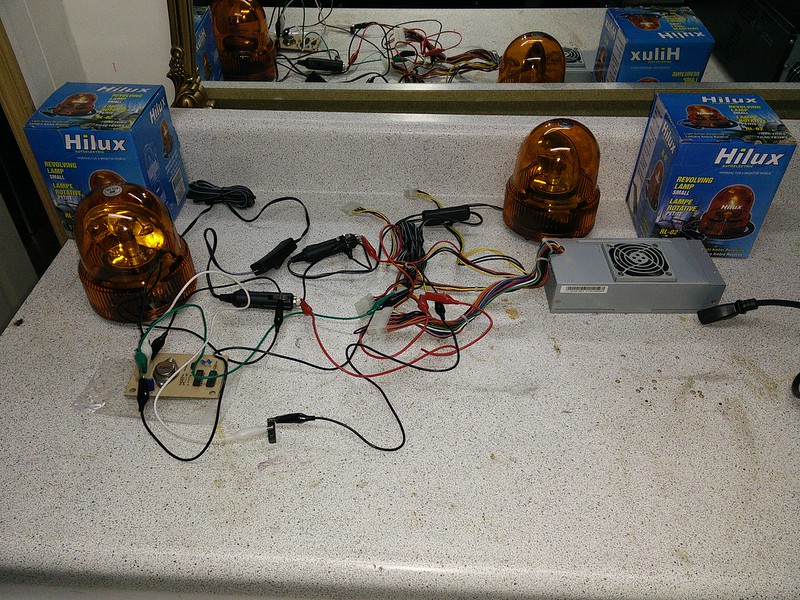
Now to address this you will need to change R2 resistor and C3 cap on the pop bumper board to get the beacons to turn on for the right amount of time. Here are some resistor and capacitor values to get specific timing
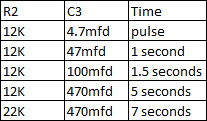
I changed R2 with 22K and C3 with 470mfd to get 7 seconds of power to both beacons. You can see in the video how long the beacons stay on after I engage the the DB3 switch just once.
Now my next problem was how do i tie the beacons into the gameplay. I wanted to piggy back off a few of the game's existing switches. I asked Menace for his thoughts and could this mess or blow up the switch matrix. He advised me to check the pin outs with my DMM from the Gottlieb pop bumper board for any voltage since the board itself required 5v in order to drive it's components. It turns out it did have 5v to the pin out to the switch so I didn't wanna take a chance. It would have saved me a lot of work but in turn could cause me (or Menace) a lot of grief by having to call him in to troubleshoot and fix it
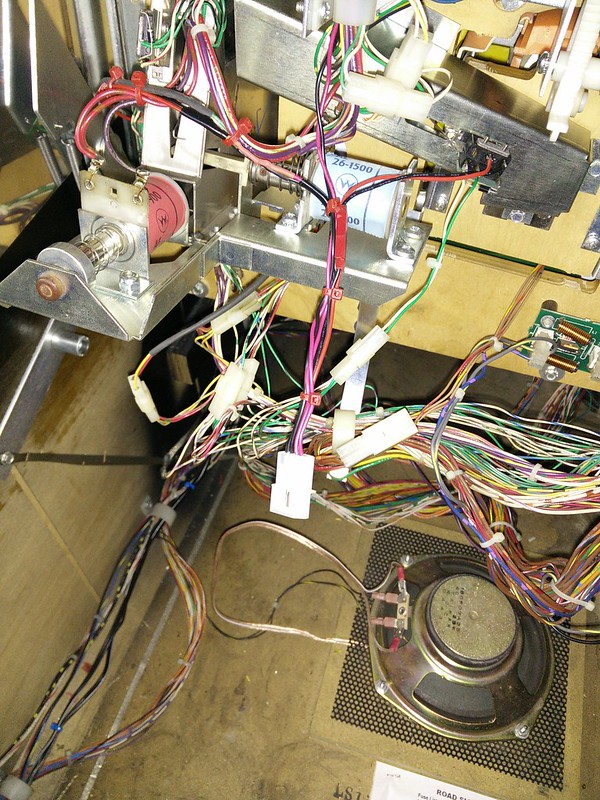
I added an extra switch inline and cut the wire form actuator so it would get triggered the same time as the game's switch as seen here. The existing #2-56 metal screw were not long enough to thread through both switch bodies so I used some 1" #2-56 nylon ones I had in my parts stash. These were later replaced with 3/4" #2-56 machine screws with an allen head from a local place down the road called Bolts Plus on Steeles.
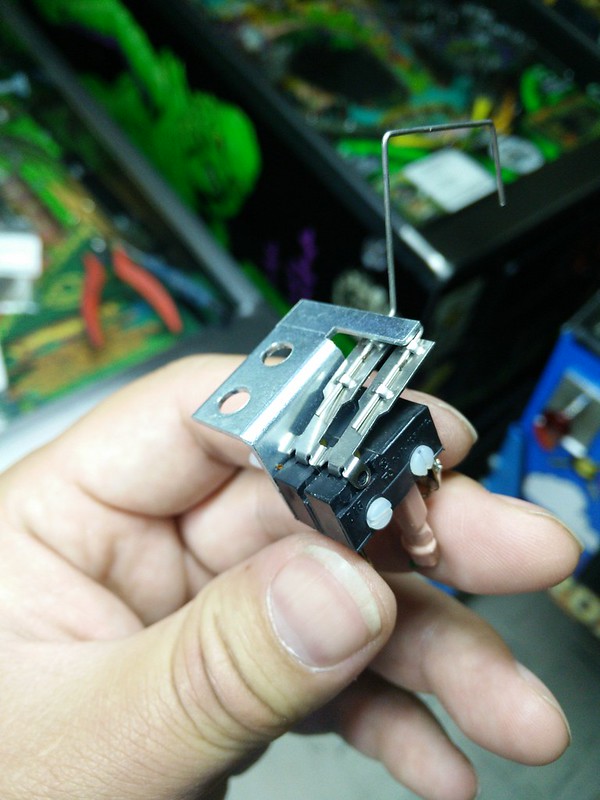
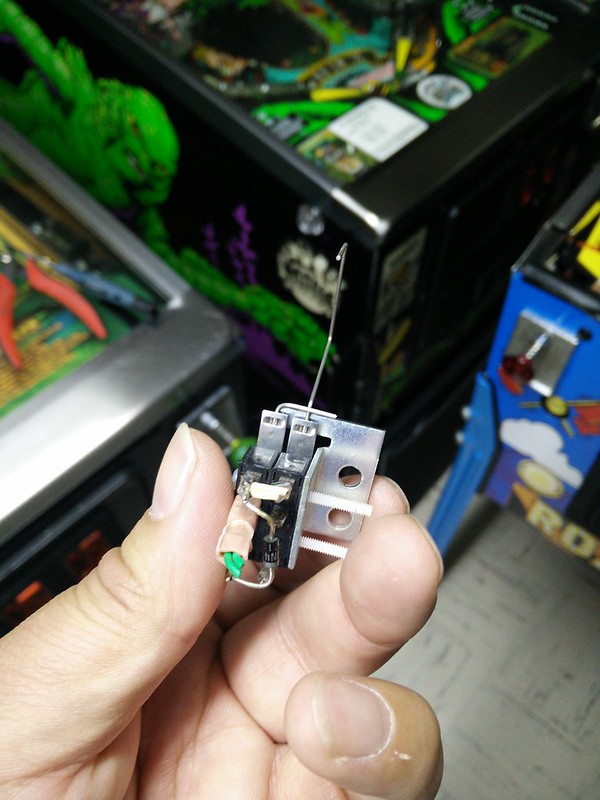
I wanted the beacons to go off when:
1) Shoot the ball into Ted's mouth to start multi-ball
2) Shoot the ball into Ted's mouth for Jackpot
3) The ball gets diverted to left shooter lane for Flying Rocks
4) Ball gets diverted from right ramp so it comes down the left side feeding mini flipper for blast zone shot
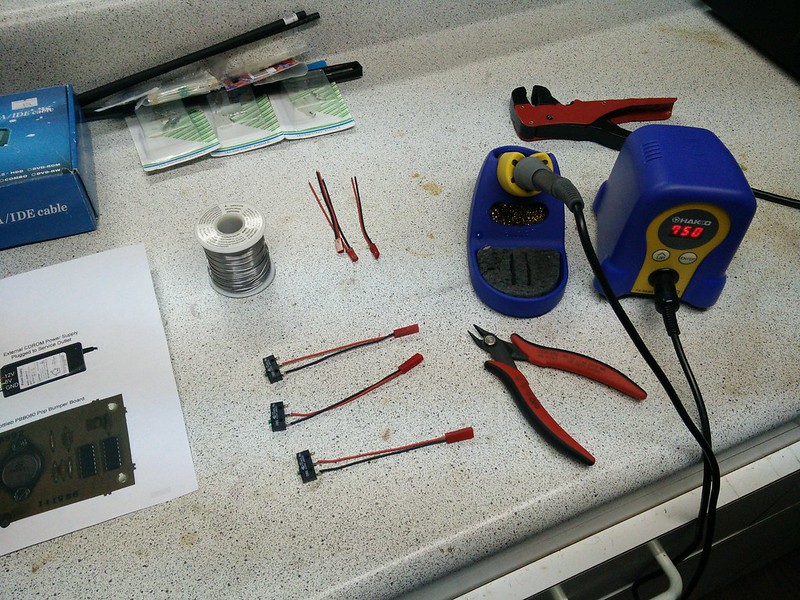
#1 and #2 trigger point under playfield subway for Ted
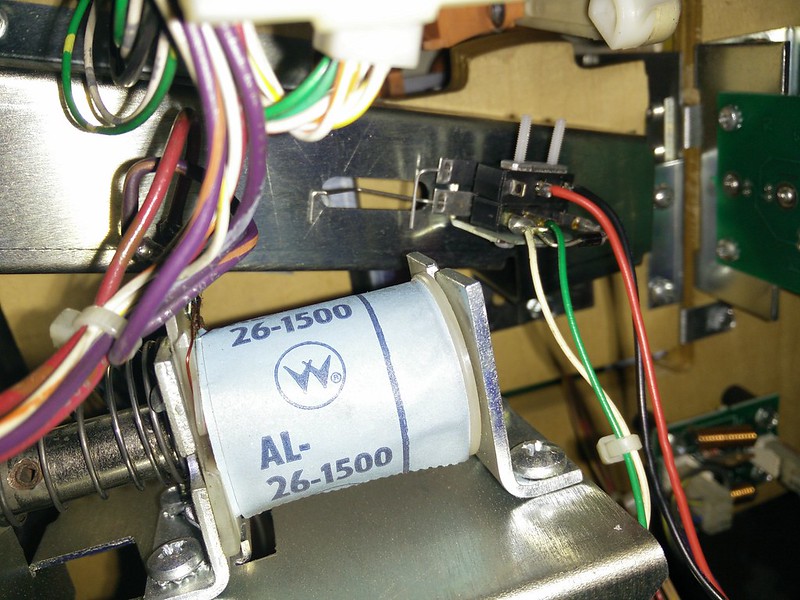
#3 trigger point roll over switch
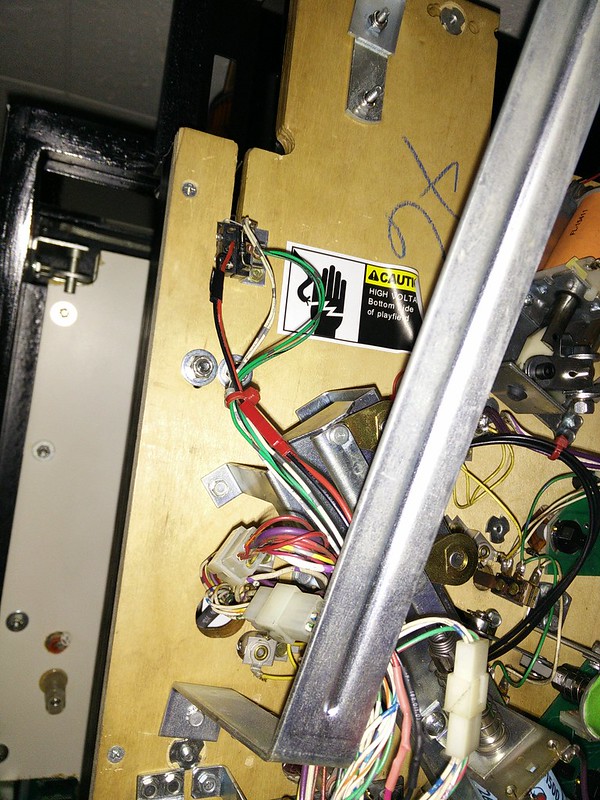
#4 trigger point roll over switch
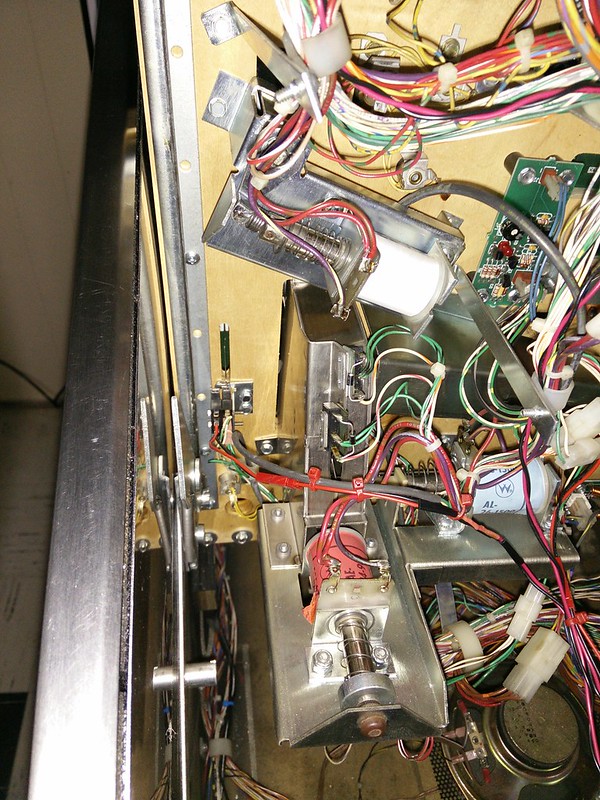
I ran all the switch wires towards the bottom of the playfield and used a 2 pin molex connector so that it could be easily disconnected if I ever needed to pull the playfield out of the cab.
