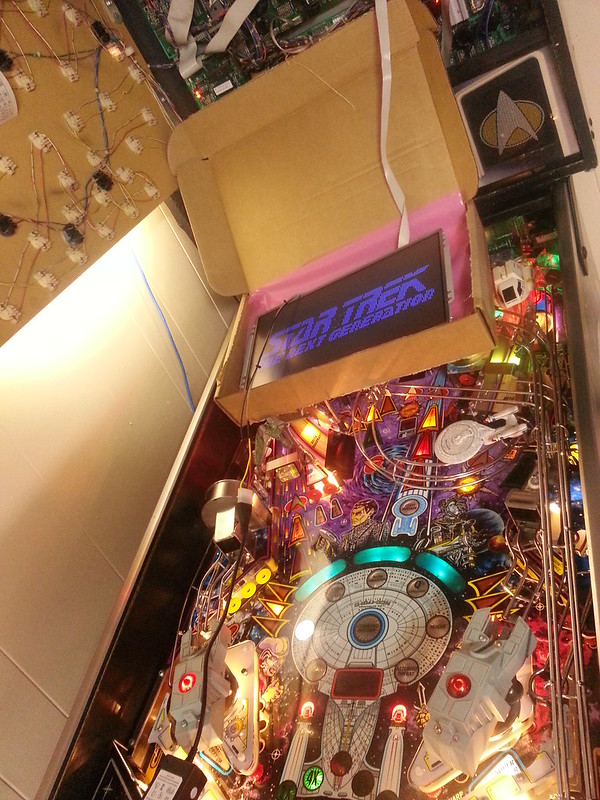
I finally got my ColorDMD which I ordered back on Feb 8th when it was released. I was in no real hurry to get it and thought I could save $50 in taxes by having it shipped to Adriano's co-worker in Rochester who comes up to the Toronto office every few months. Things didn't work out but Adriano and Walt were able to swing by on their way back from Allentown two weeks ago.
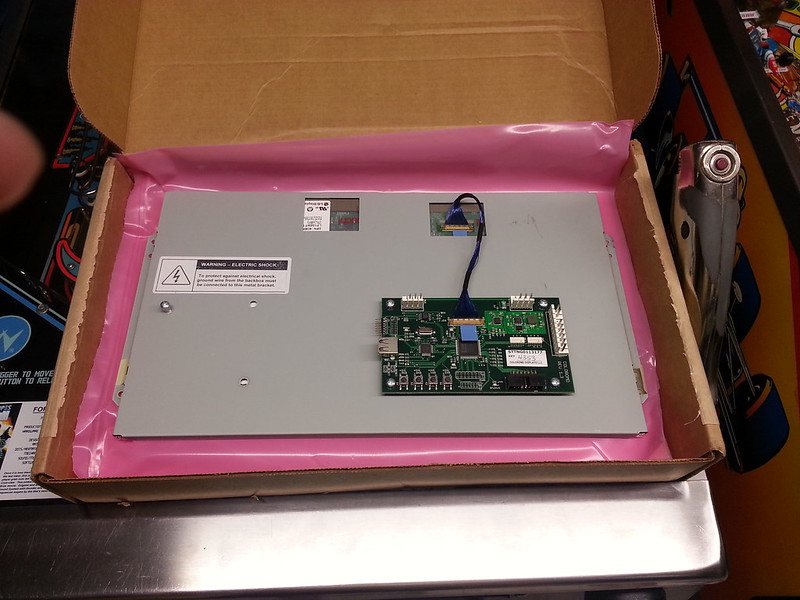
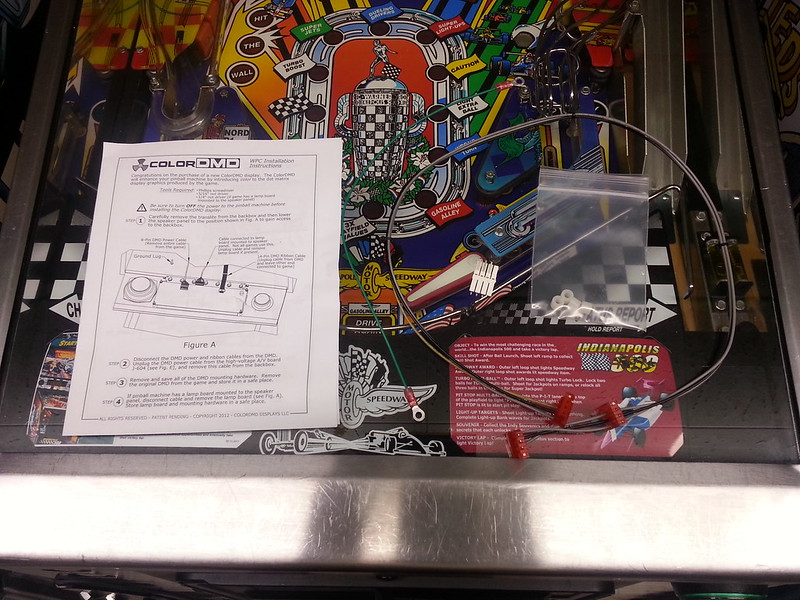
The kit was packaged very well and came with everything you needed to do the installation except for maybe a few zip ties.
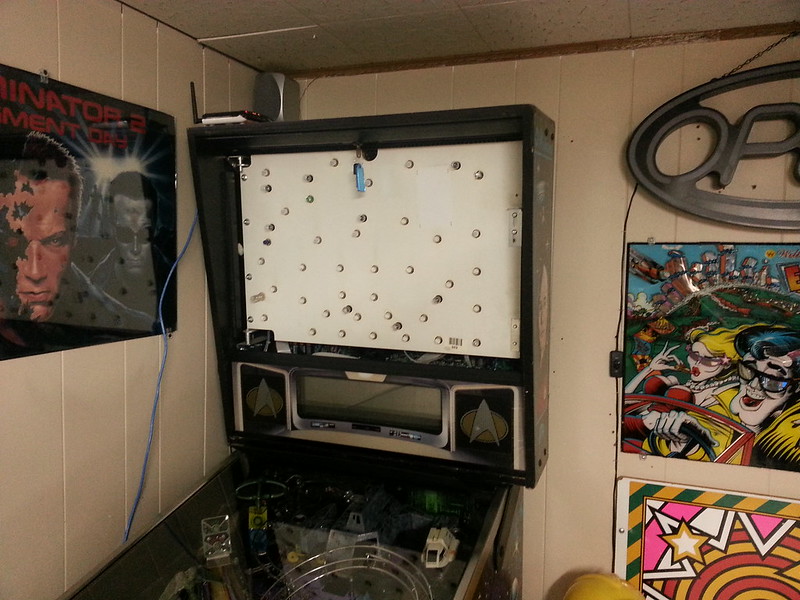
Removed the backglass and proceeded to remove the old plasma DMD by disconnecting the ribbon and power cable.

Here is probably the hardest part of the install which was removing the power cable and only because you have to go through the spaghetti factory of wires You can skip this step if you want as it will make putting back the original DMD easier should you decide to sell the ColorDMD off separately or else you can just mark it up to $6500 like the guy in London (http://london.kijiji.ca/c-buy-and-sell- ... Z485127338) and you will be doing just fine.
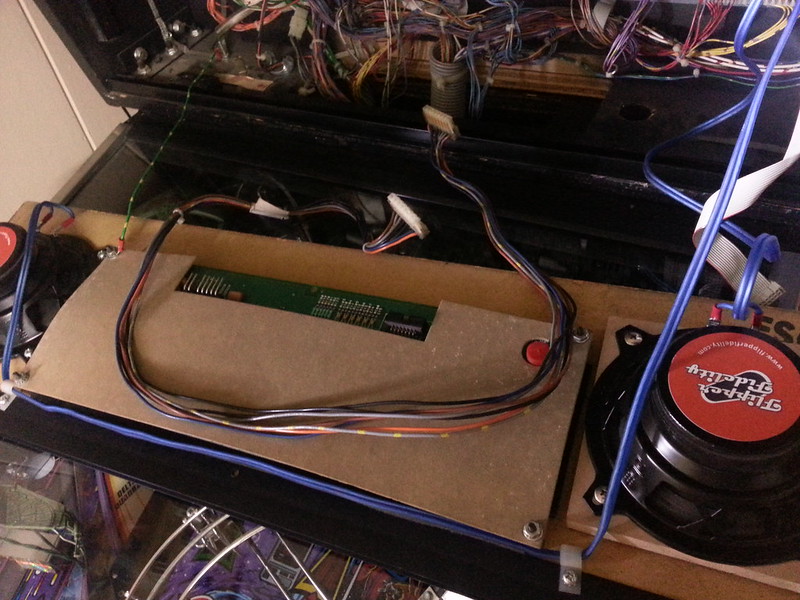
Save all your old DMD mounting hardware once you remove the original DMD
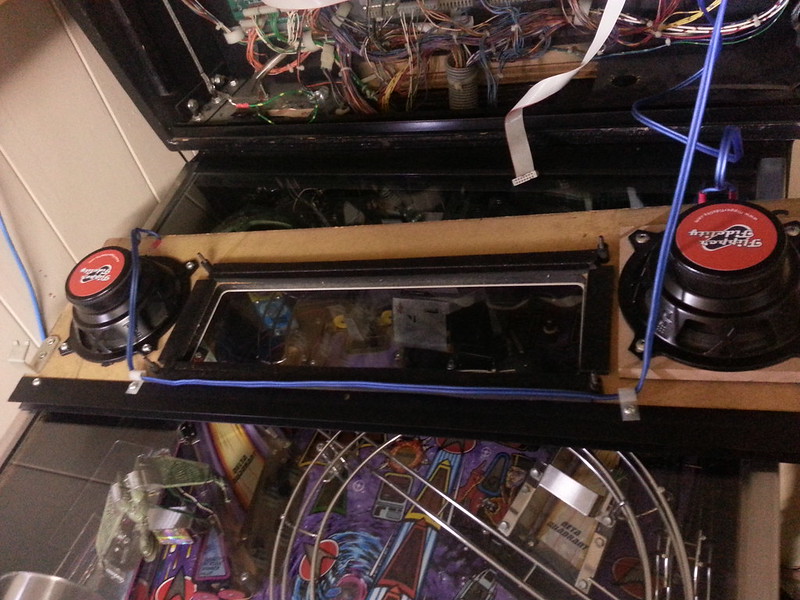
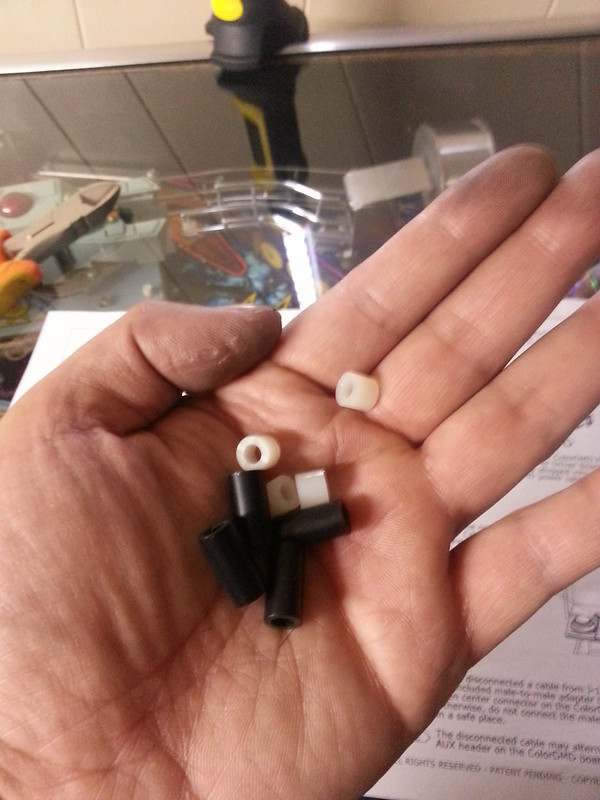
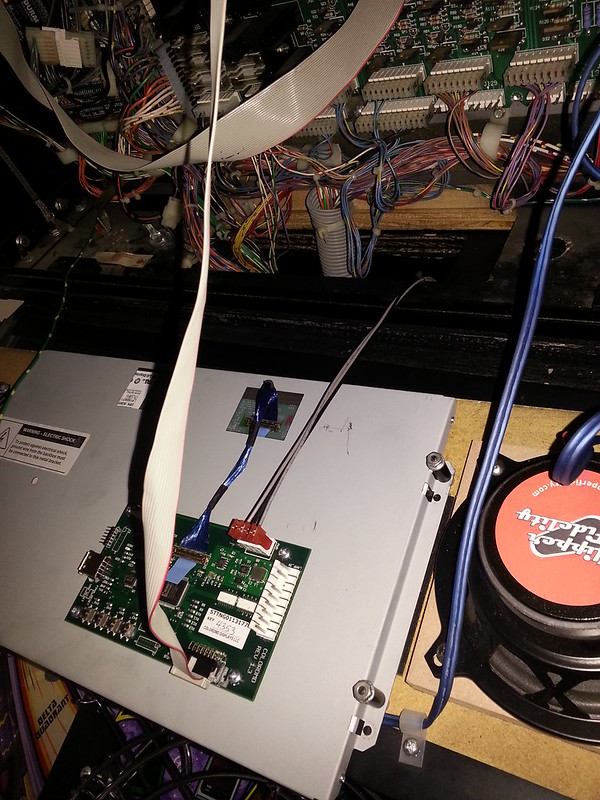
Put the 1/4" white spacers first before the ColorDMD and then use the original 5/8" black spacers before the washer and nut. Also pay attention to the orientation I have mounted the ColorDMD or else you might have it installed upside down. The kit comes with a new ground wire but I just re-used the old one from the old DMD since it was already attached to the cab's main ground.
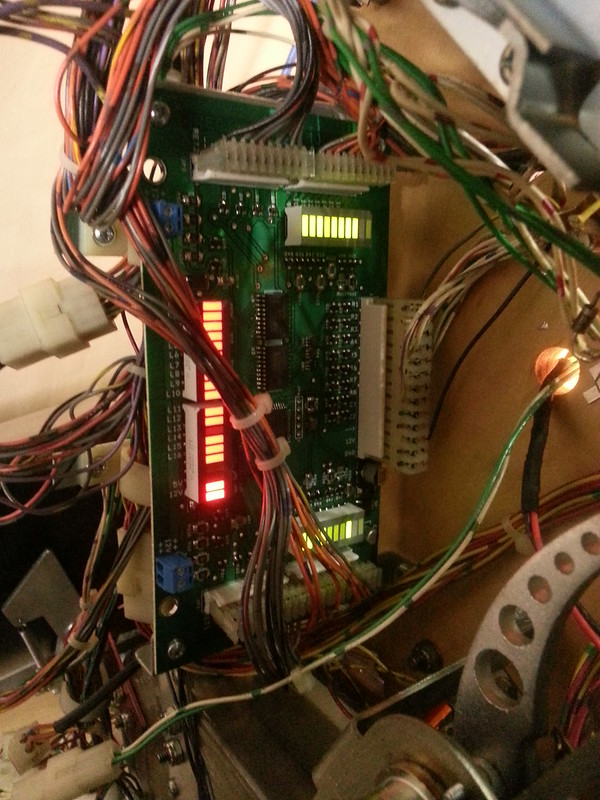
Using the harness supplied in the kit, locate the single connector on one end of the cable and plug onto the PWR pin out on the ColorDMD board. Then on your WPC power board locate J116 (lower left corner) and remove the existing connector and plug the ColorDMD there. The kit also comes with a Z-connector for you to piggy back the existing connector that was plugged on J116. You also have the option of not using this Z-connector and plugging the existing connector to the AUX pin out on the ColorDMD board.
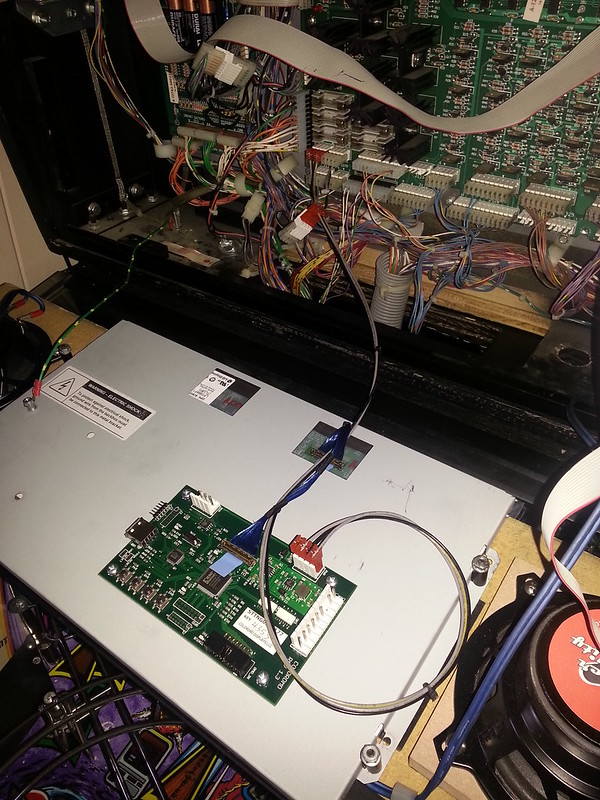
I plugged the ribbon cable into the ColorDMD, double checked all my connectors and powered it on and success! (sort of)
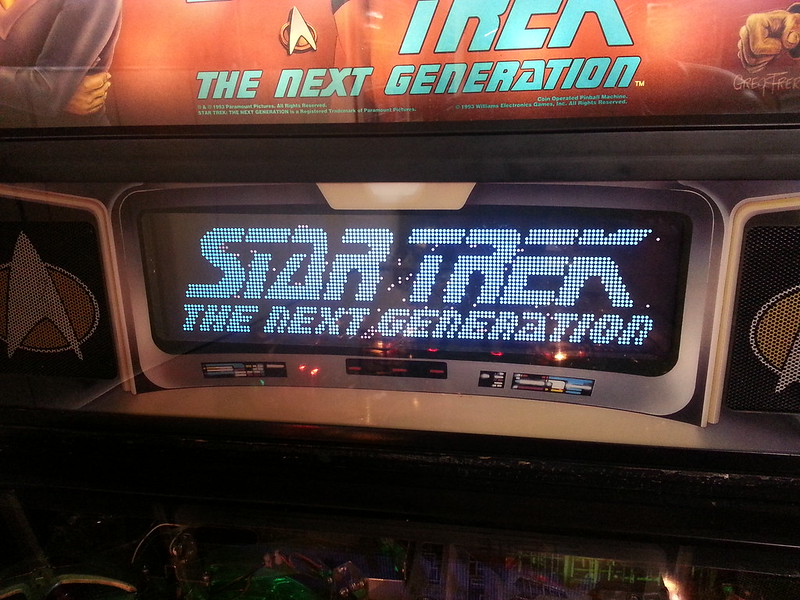
When I say sort of I initially didn't have flippers when I started a game and turns out I was off by one pin by the Z-connector piggy back. Anyways, all was good afterwards and first game with my ColorDMD got me on the honor roll. I recently had all previous scores reset when I updated to the latest recommended ROM (LX7) as per the website. I also haven't had Adam over my place yet but will once I get my punching bag installed :lol:

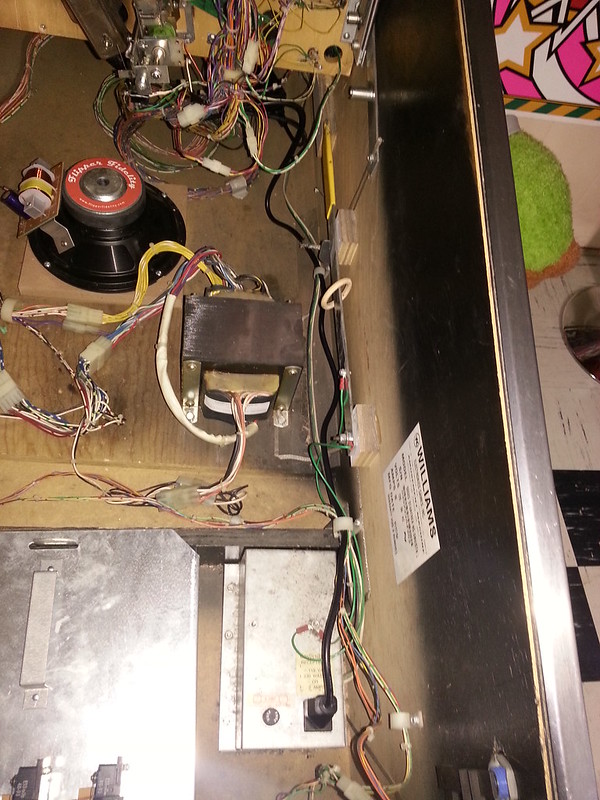
The only other odd behavior I am noticing since the installation of the ColorDMD is with my right cannon. I don't know if it is opto related because it was working fine every since I got the game in January. Whenever a ball get fed to the right cannon, it would move and after you fire it would return to the home position. The flasher dome on it will still be flashing and game will be asking you to fire even though there is no ball in there. I would fire and see the coil kick out and then it is fine. I am going to quickly put the original DMD back in and see if the same thing happens as I know low voltage can cause games to do some weird stuff. The left cannon works like normal and haven't seen anyone on pinside report these symptoms on their STTNG. Most say their flippers are weaker and cannons move much slower after they installed their ColorDMD. Other titles like MM, TAF and WH20 seem to be fine but don't have as much shit packed into it like STTNG.
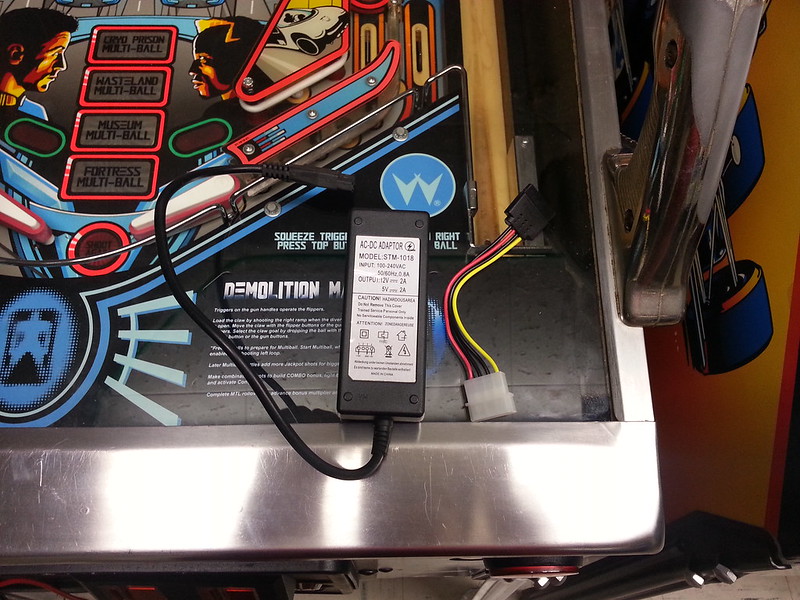
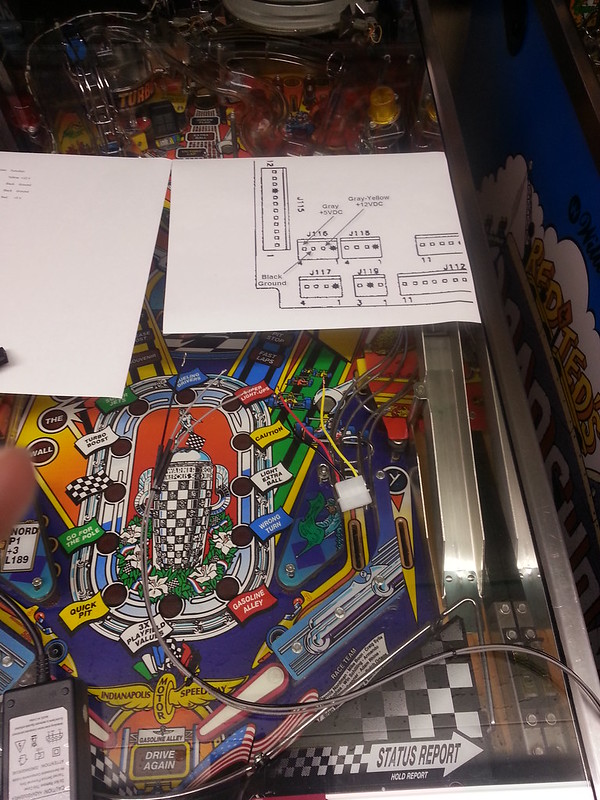
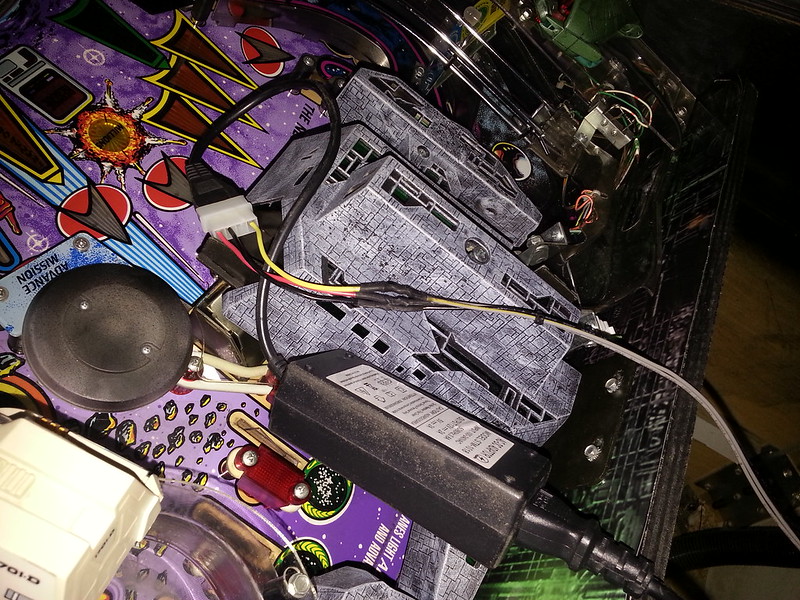
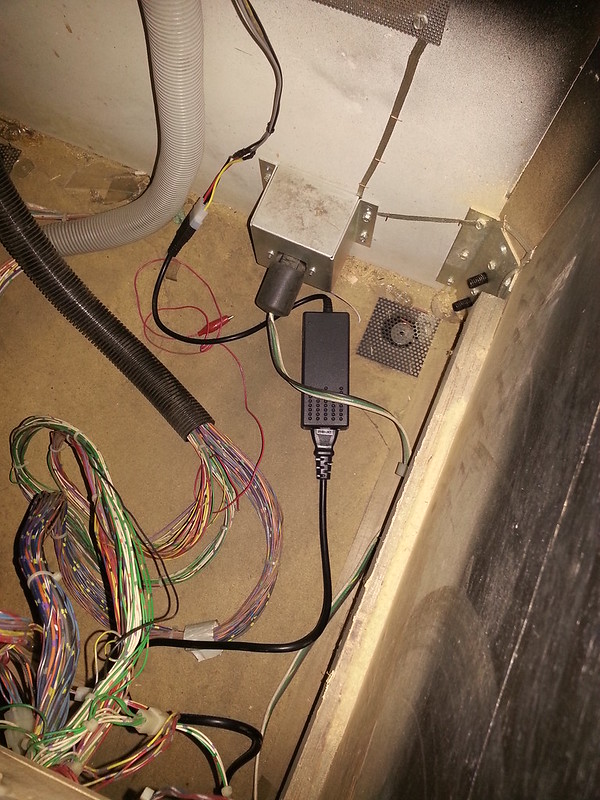
The working solution for STTNG seems to be replace caps and bridge rectifiers which might be old and weak. I plan on using a separate power brick to power the ColorDMD via service outlet anyways so this takes all extra load off the power drive board. I use wireless remotes to turn all my games on/off so when I turn my games off it cuts the power to the service outlet and vice versa when I turn it on. I will report my results in a few days and see if this fixes this minor issue.
I highly recommend this product for anyone who has a DMD in one of their games that is dying or dead. If you got a game that is supported by ColorDMD you might as well upgrade that display and take the old DMD to put in the other game.
-Mike
The kit was packaged very well and came with everything you needed to do the installation except for maybe a few zip ties.


Removed the backglass and proceeded to remove the old plasma DMD by disconnecting the ribbon and power cable.


Here is probably the hardest part of the install which was removing the power cable and only because you have to go through the spaghetti factory of wires

Save all your old DMD mounting hardware once you remove the original DMD


Put the 1/4" white spacers first before the ColorDMD and then use the original 5/8" black spacers before the washer and nut. Also pay attention to the orientation I have mounted the ColorDMD or else you might have it installed upside down. The kit comes with a new ground wire but I just re-used the old one from the old DMD since it was already attached to the cab's main ground.
Using the harness supplied in the kit, locate the single connector on one end of the cable and plug onto the PWR pin out on the ColorDMD board. Then on your WPC power board locate J116 (lower left corner) and remove the existing connector and plug the ColorDMD there. The kit also comes with a Z-connector for you to piggy back the existing connector that was plugged on J116. You also have the option of not using this Z-connector and plugging the existing connector to the AUX pin out on the ColorDMD board.

I plugged the ribbon cable into the ColorDMD, double checked all my connectors and powered it on and success! (sort of)

When I say sort of I initially didn't have flippers when I started a game and turns out I was off by one pin by the Z-connector piggy back. Anyways, all was good afterwards and first game with my ColorDMD got me on the honor roll. I recently had all previous scores reset when I updated to the latest recommended ROM (LX7) as per the website. I also haven't had Adam over my place yet but will once I get my punching bag installed :lol:

The only other odd behavior I am noticing since the installation of the ColorDMD is with my right cannon. I don't know if it is opto related because it was working fine every since I got the game in January. Whenever a ball get fed to the right cannon, it would move and after you fire it would return to the home position. The flasher dome on it will still be flashing and game will be asking you to fire even though there is no ball in there. I would fire and see the coil kick out and then it is fine. I am going to quickly put the original DMD back in and see if the same thing happens as I know low voltage can cause games to do some weird stuff. The left cannon works like normal and haven't seen anyone on pinside report these symptoms on their STTNG. Most say their flippers are weaker and cannons move much slower after they installed their ColorDMD. Other titles like MM, TAF and WH20 seem to be fine but don't have as much shit packed into it like STTNG.
The working solution for STTNG seems to be replace caps and bridge rectifiers which might be old and weak. I plan on using a separate power brick to power the ColorDMD via service outlet anyways so this takes all extra load off the power drive board. I use wireless remotes to turn all my games on/off so when I turn my games off it cuts the power to the service outlet and vice versa when I turn it on. I will report my results in a few days and see if this fixes this minor issue.
I highly recommend this product for anyone who has a DMD in one of their games that is dying or dead. If you got a game that is supported by ColorDMD you might as well upgrade that display and take the old DMD to put in the other game.
-Mike

