• We have upgaded to the latest version of XenForum and the process finished without any errors!!!! Enjoy the new forum!

Dr@No's fun filled (and often long-winded) restorations

DRANO

Super Member
Nov 15, 2012
2,821
517
113
Mississauga
nice work! Hope you didn't mean 9/16" on the drill size for the men...that's way too big!

Welcome to PREV buddy! (AKA my custom metalwork saviour) :D
I'm waiting on pins and needles for that package.

Sorry, you're correct, I was having a lapse.
5/32" was the appropriate drill bit.

Make sure to post in the "Introduce Yourself" thread too!
 

DRANO

Super Member
Nov 15, 2012
2,821
517
113
Mississauga
NO SLEEP TILL A-TOWN!!!
19 days left


Friday...
I always seem to be rushing around at the end of the week to ensure that I am preparing for a reasonably productive weekend. This usually means collecting everything I can from my shop at work and then loading up the car with stuff I can work on at home for the next couple of days.
Before leaving today I planned to load up the (now repaired) main cabinet, paint stencils, player fogures and a bunch of other small odds and ends.

However, before all this happened, I still managed to get a coat of white paint on the figures, spray the edge of the control panel and even finish up touch-ups and priming on the cabinet and sanding of the bottom panel.


Later in the evening I took on a more relaxing task and started painting the figures.
First flesh tone, then red details and some black for the umpire.
I'll let these dry and then come back for the brown and green.


Saturday I'll start to tackle the lower cabinet paint.

Dr.@NO
 
Last edited:

DRANO

Super Member
Nov 15, 2012
2,821
517
113
Mississauga
NO SLEEP TILL A-TOWN!!!
18 days left


With Orthodox Easter at my in-law's fast approaching, I wanted to make sure I got a lot done on Saturday.
I let the head cabinet cure for a week before I would even attempt using adhesive stencils. With just 18 days to go, I knew that the lower cab had to get its base coat done ASAP.

So, out I went to the backyard again with my bag full of spray cans :)
I lightly sanded and prepped the cab for its final finish. I blew through 4 cans of the MOLOTOW grasshopper green. Have I mentioned how I love this paint? It stinks something awfull and, even when you bring it indoors it seems to off-gas for days... but it provides a beautiful satin finish and seems really high quality. They stock it at Curry's art supply and there's a ton of colour selection.

No real surprises with the cab. I just repeated the same process as before and it turned out great!
Now... just 5-7 days of waiting.


While I waited for things to dry I figured I would try out my first stencil on the head. After all, I'll have to try it at some point, so better figure out how well (or badly) it's going to go.

Just like applying new decals to a WPC game, I get everything lined up just how I want it and then place a heavy weight on half of the material. I fold back the other half and peel off the backer. While it's folded over I also cut away one half of the back and then lay the stencil back down gently, smoothing as I go.
Once half is down, simply repeat for the other side. Now I can peel back my pre-mask and expose the final masking layer.
My stencils were cut sightly under so I left a little extra masking on them or added painters tape where needed.

The most important step now was to use a hair dryer to warm the vinyl and press it down into the paint to avoid bleeding.


The preparation paid off and the final result was excellent.
I used a warm white from the same line of paints for consistency.
The warm sun on the vinyl mask also helped keep it maliable and it peeled back very easily.
The only dead giveaway that this is not the original process is the raised edges on the paint left by the stencil. You can see them in the 'after' photos.
To address this, once the paint is no longer glossy, I run the back of my fingernail across all the edges. This knocks them down slightly and the whole thing just looks way more professional.

After a couple of hours I did the opposite side and set it down for at least another 48hrs before I'll attempt the red.

Overall, I was very pleased with how tight the main cab and stencils turned out.


Before I retired for the night, I threw the legs into a bucket of rust remover just to clean up the lower 3" and to easily remove the levelers before I strip and re-paint everything.


That's all for today.

Dr.@NO
 
Last edited:

DRANO

Super Member
Nov 15, 2012
2,821
517
113
Mississauga
NO SLEEP TILL A-TOWN!!!
17 days left


As expected, Sunday was a pretty light day. With the weather so nice I was outside with the kids most of the morning and then we had Orthodox Easter dinner at my in-laws’.

By the time we got home there was just enough time to whip the kids into bed and watch the Game of Thrones season premiere :)
Needless to say, not a lot got done.

However, it wasn't all bad.
I was still able to set up the figures and complete the painting while I watched some TV.

Here they are; now complete with belts, gloves, shoes... and even some grass beneath their feet.
I love the lack of detail on these models. It really gives them that look of an antique toy and a time when things were not nearly as mass produced as they are today.


[url=https://flic.kr/p/s7crFt]


One thing I did a little differently was painting the brown chest blocker on the catcher.
This never seemed to be done on the original, but I did notice that the casting had the detail already there, so I just painted it in. I think it looks better.

I'm sort of playing the waiting game now with my cabinet and making sure to allow enough time for the paint to cure. I'd love to start re-assembling stuff but I want to keep the cabs empty so it's easier to work on them.

I'm struggling now to find things to do in the interim... so, the last thing I did before retiring for the night was check in on my rusty legs.
I pulled them out of the bath and most of the levelers seemed to move pretty freely and plenty of the rust had scaled off. One of them, however, was really seized.

I proceeded to wage war on this rusty mess!!!
There was no way I was going to search out new legs that were correct for this era and I've already spent a ton on this restoration. Probably $100 in spray paint alone ;)

[url=https://flic.kr/p/raoVnX]


[url=https://flic.kr/p/s4UtYS]


After I disintegrated the old foot I was finally able to get two wrenches on it and show it who's boss.
Drano 1, legs 0

I am fast approaching single digit days on this project so there is definitely a sense of urgency.

With any luck, by the time this weekend rolls around I should be ready to start putting things back together.


Hopefully my metal parts and hardware will arrive today!


Dr.@NO
[/url][/url][/url]
 
  • Like
Reactions: brad808

DRANO

Super Member
Nov 15, 2012
2,821
517
113
Mississauga
NO SLEEP TILL A-TOWN!!!
16 days left


My last package arrived Monday!

This included my repro metal players’ base (thanks Mike!) and a bunch of hardware.


I decided that I would still have time to send this stuff out for plating so, in a panic, I also proceeded to strip the bat assembly and cigarette holders from my 1959 Pinch Hitter and get it all done in one shot.

It's been a few years since I first went to Sun Polishing & Plating, but MWONG has been using them recently and said their turnaround times were still pretty decent. I called up and got them to agree to a 5 business day turnaround.


Here's what I'm sending this time. 8 players bases, 1 pitcher's cup, 2 bat handles, 3 cigarette holders. All very visible and high profile parts. I couldn't half-ass the project now.


The 7 original bases had been peened very badly from direct ball strikes so I spent some time grinding them down with a Dremel and file.


[url=https://flic.kr/p/rQF5dG]


And finally, the cigarette holders still had 50+ years of nicotine and build-up :(

You can see where I've started to clean it up on the far right.


[url=https://flic.kr/p/rbgbY7]


Here's a shot of some of the new hardware I purchased for the project. Slot head anything is hard to come by at your local big box hardware store, but Fastenal stocked a lot of great pieces that will provide some great finishing touches to the project... like these brass oval head screws I'll be using for the side rails.

[url=https://flic.kr/p/rbgnz7]


I'm itching to do more stencil work on the cabinets, but hard to do in the evenings at home.
I may have to just wait until Saturday/Sunday :(

That's all for Monday.
Dr.@NO
[/url][/url][/url]
 

DRANO

Super Member
Nov 15, 2012
2,821
517
113
Mississauga
NO SLEEP TILL A-TOWN!!!
14 days left


TWO WEEKS!!! :eek::eek::eek:

I had to take a day off Wednesday, but it was for a good cause. Got to meet another PBrev member, got to witness a bit of the Warlock/Brewmanager 'battle of the beef" and also got to pick up a Grand Lizard and bring the title home once again. Oh yeah... got to play some pinball too ;)

To make up for the missed day I made sure to load up the truck the next morning with stuff to do.
I made the most of my lunch hour and applied both red stencils to the head. I used some heat and pressed them down to make sure the stencils were making good contact.


I sprayed both sides at the same time to make things move more quickly. I was concerned about running and did it in very light passes... maybe 4 or 5 times with a 3-5 minute wait between. After a few more minutes I heated up the mask with a blowdryer and proceeded to gently peel it back.


SUCCESS! No lifted paint and the alignments turned out great.


I was eager to get it home and start putting the head back together.
I started with the trim and then proceeded to put all the 'guts' back inside. I removed all the old 44 bulbs and replaced them with shiny new 47 bulbs that give off a little less heat. I also installed two large LED bulbs to illuminate the man-running unit. The unit was slid back into place (after stapling the side art back in) and finally I test fit the repro glass. It was pretty snug, but otherwise I am super happy with th results.


My final task was to place the head on the main cabinet and mark where the white stencils need to line up.
Probably should've done that before re-installing all those heavy parts ;)


It was a BIG day! Starting to feel like I finally got a lot done.
Tomorrow maybe I'll get started on the main cab stencils too.

Dr.@NO
 
Last edited:

DRANO

Super Member
Nov 15, 2012
2,821
517
113
Mississauga
NO SLEEP TILL A-TOWN!!!
13 days left


Home stretch...
Today the main cabinet followed me to work.
Another hectic lunch hour to apply 3 stencils and jump into the paint booth before the shop guys finished their lunch. I ran a little over but managed to get the white layer down.

I came back at the end of the day and peeled off the vinyl. I only had one small area of paint that peeled up. About the size of a pencil eraser; easily fixed.

I'll likely wait until Sunday to do the red... weather permitting. Otherwise, it'll have to be Monday at the shop again.


I didn't do much in the evening. Just decided to finally pull the legs from the rust remover bath and scrub the bases clean. Over the next day or two I will strip the rest of the legs and then repaint.
They may not look like much, but at least the levelers are no longer seized and all the gunk at the bottom is gone.


Enough for tonight.
 
Last edited:

DRANO

Super Member
Nov 15, 2012
2,821
517
113
Mississauga
NO SLEEP TILL A-TOWN!!!
11 days left


Wen't to the church of the silver ball on Friday so I didn't spend much time doing anything on the project. Not much to do anyway... just waiting for the white paint to cure a bit longer before I finish up the red stencils on the main cab.
Saturday wasn't much better, but I did get a start on the legs.
I used some stripper to get years of paint off of them and then gave them a light sanding.
Tomorrow I'll get these primed and painted and, if the weather holds up, I'll be shooting the red on the cab :)


Fifty

Active Member
Apr 22, 2014
605
149
43
50
Ottawa, Ontario
I'm not trying to hi-jack your thread, I just wanted to share this with you because you provided me with the inspiration to do it. That's right you inspired me! Presenting my first Drano inspired PF repair;

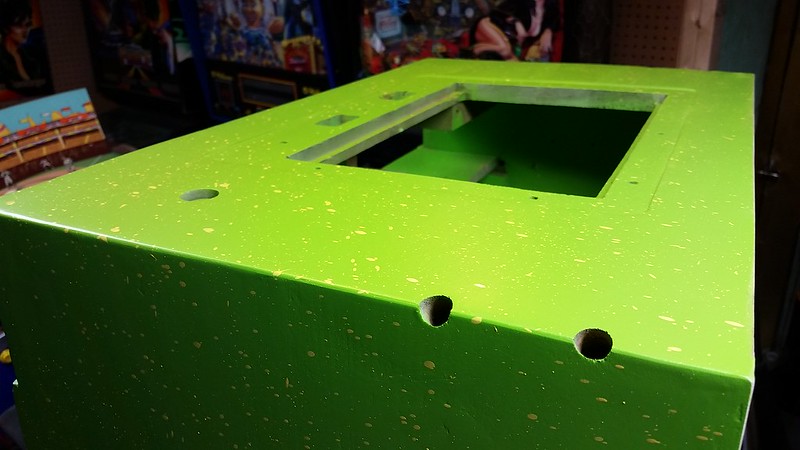
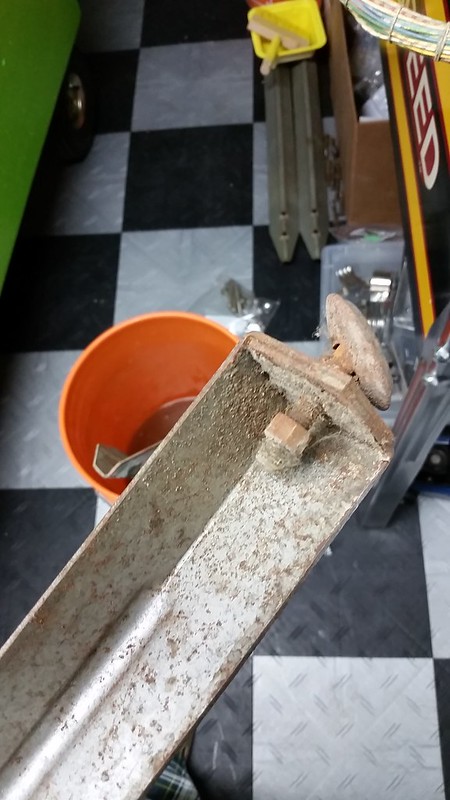
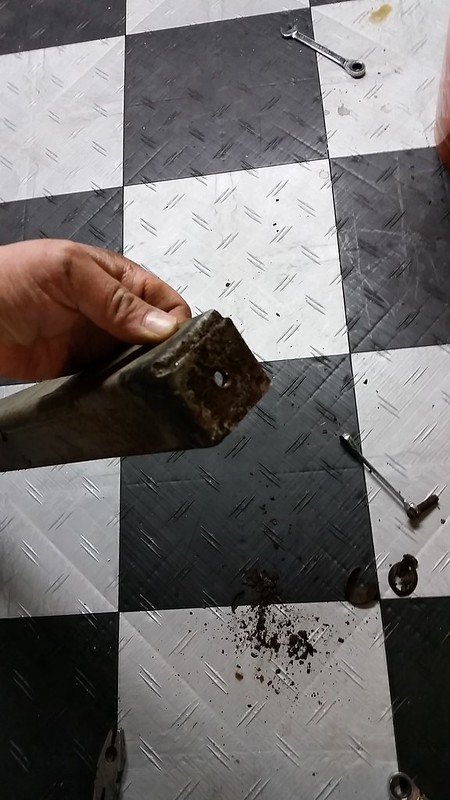
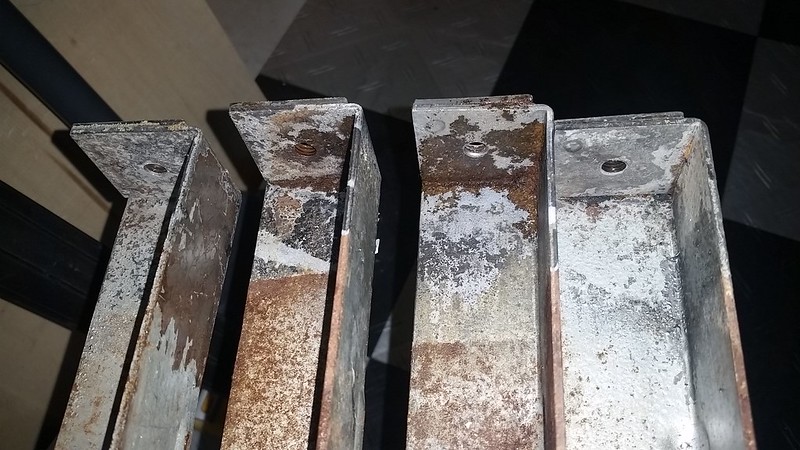
Here is the hole I'm trying to repair. It's minor, but it really bothered me.
20150329_160816.jpg

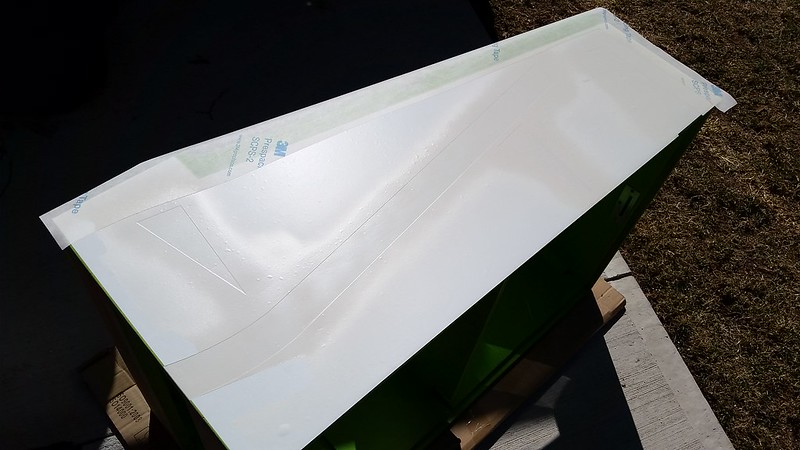
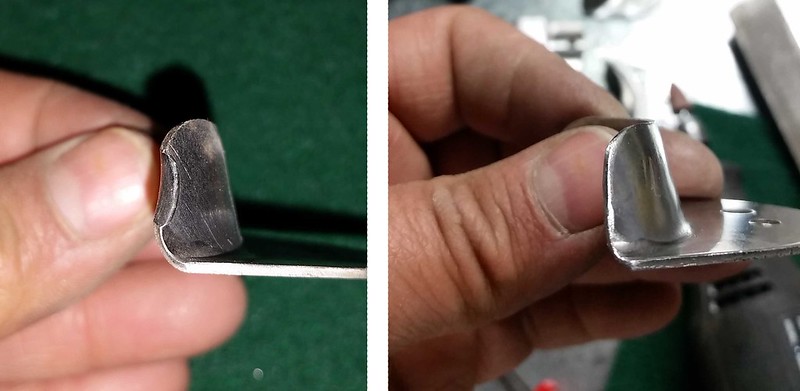
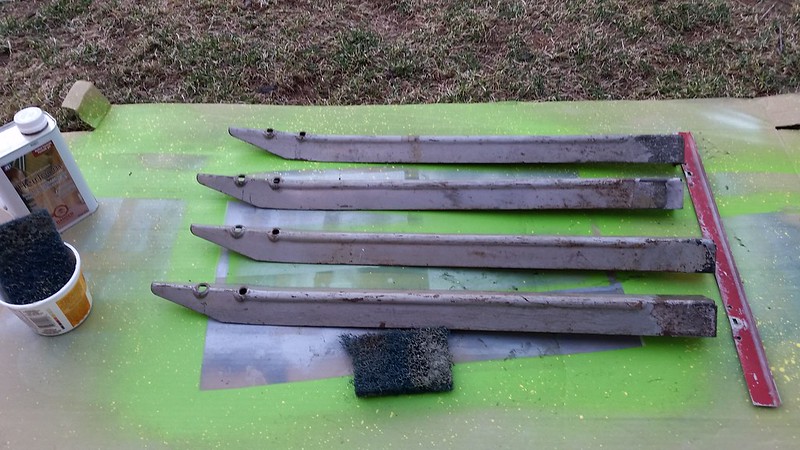
First the Bondo. I couldn't figure out how to take the plastic top off and get the hardener out. I see this repair going well… :(
20150418_111032.jpg

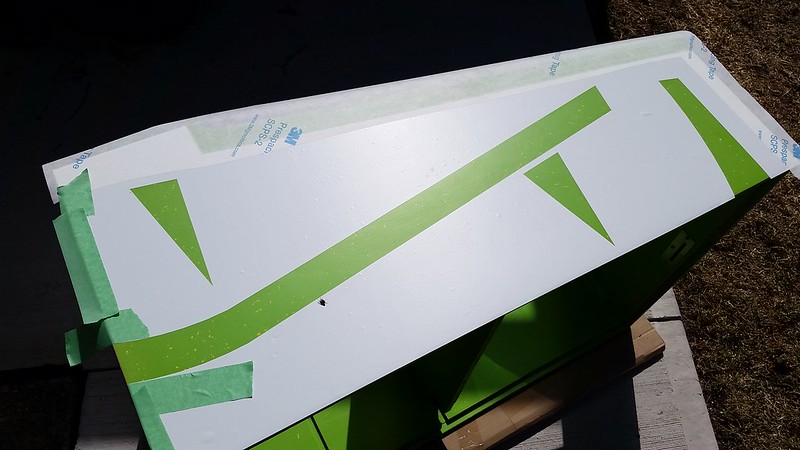
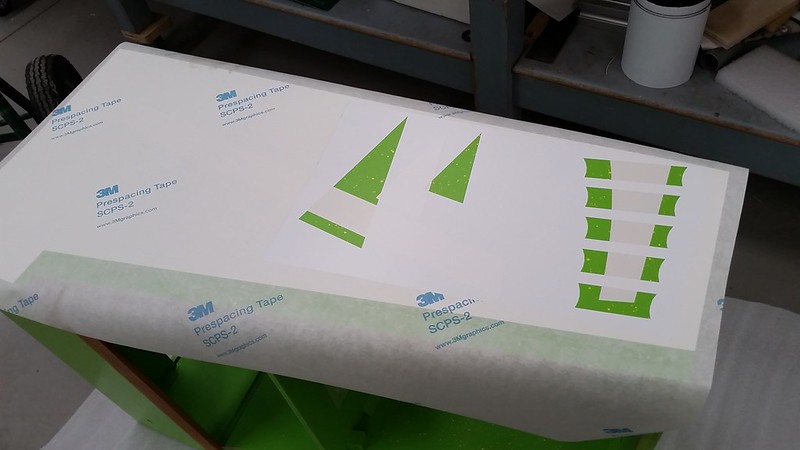
Tape removed. Bondo dry. Ready to be sanded then painted.
20150329_160816.jpg

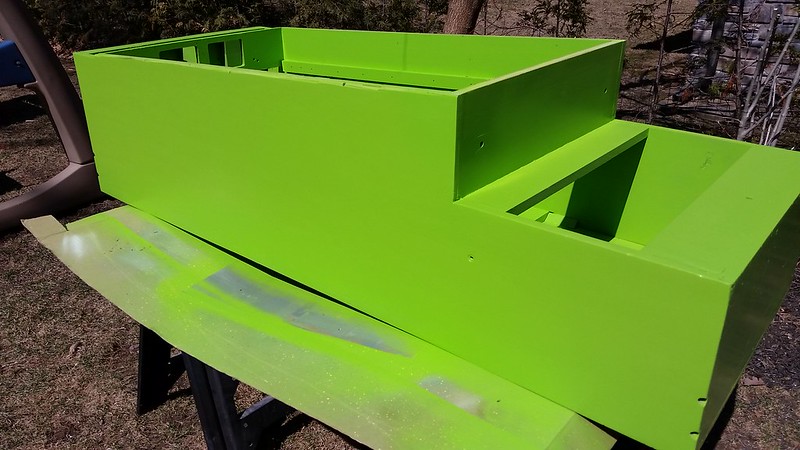
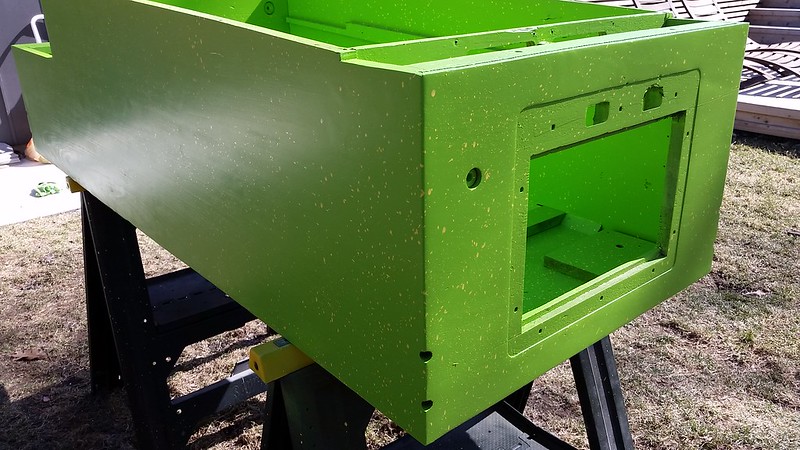
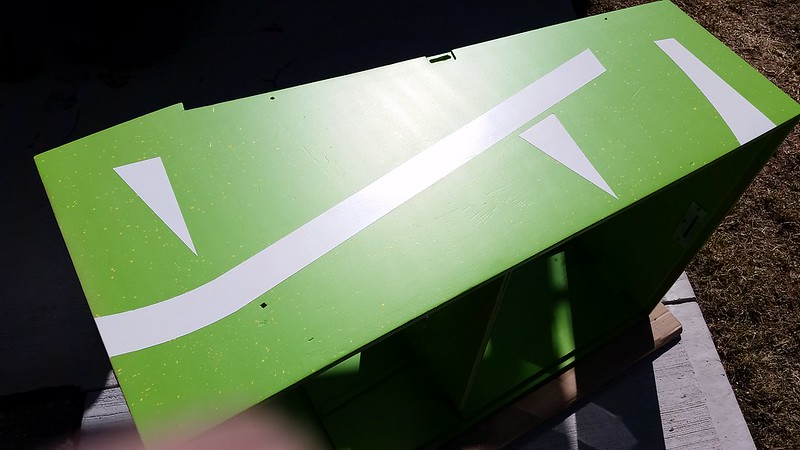
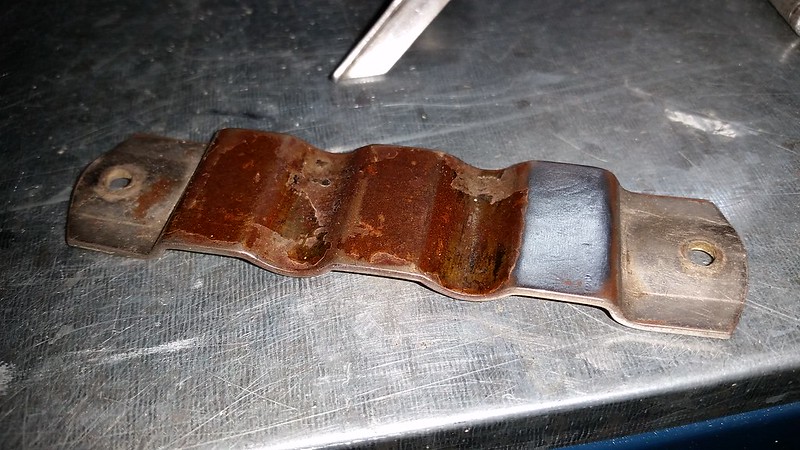
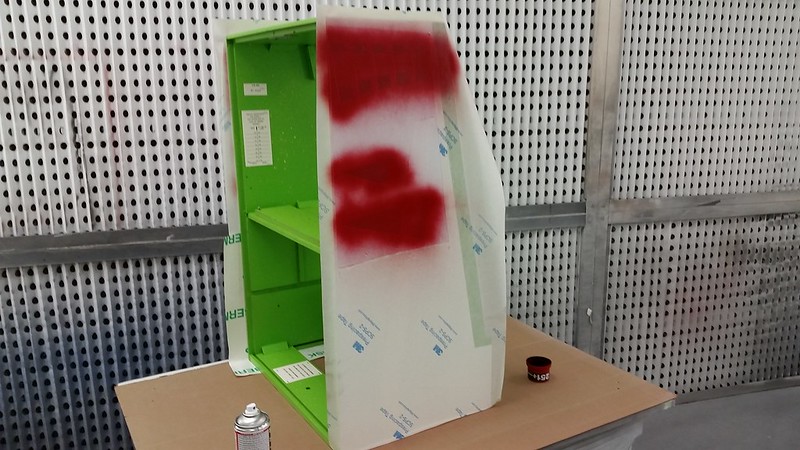
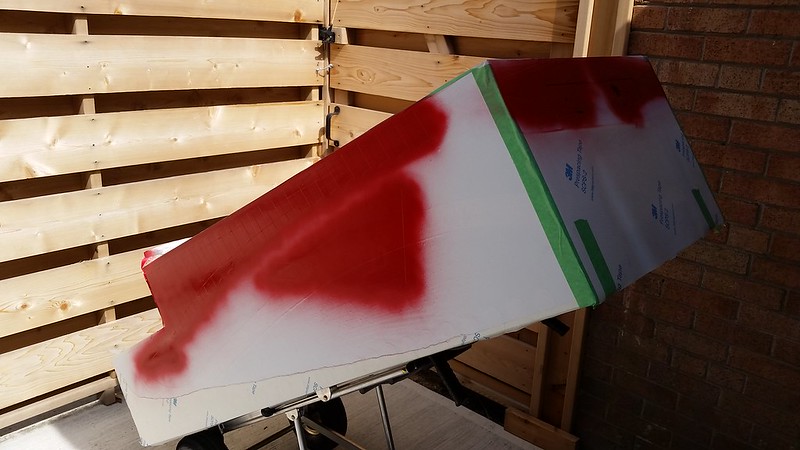
After the paint has been applied. The blue is not an exact colour match, but this is in a fairly inconspicuous area and matching it exactly would have been nearly impossible as the colour transitions from light to dark. It's sort of a grainy colour.
20150419_110307.jpg

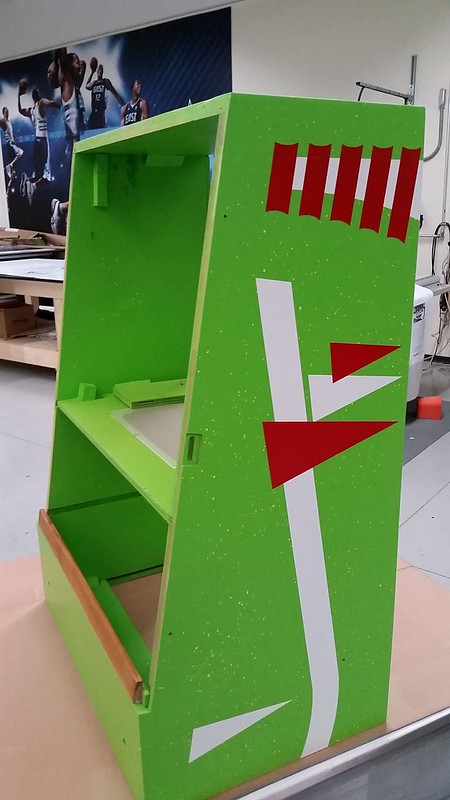
I'm very happy with the repair. I just need to apply a water thin super glue over top of it and then polish the crap out of it.

Thank you for providing me with the inspiration to do this. I hope my post gives you that extra push to get things done!
 

Attachments

  • 20150418_120015.jpg
    20150418_120015.jpg
    207.7 KB · Views: 43
Last edited:
  • Like
Reactions: DRANO

DRANO

Super Member
Nov 15, 2012
2,821
517
113
Mississauga
Well done Tim!
Hijack away :)

That 'dithering' or grainy colour as you described it is a byproduct of the screening process.
Even high end restoration guys like Chris Hutchins don't have an answer for dealing with it. Most will just repaint the entire area with a smooth airbrush fade from one colour ot the other and paint right over the grains/dots.
I suspect there is a way to acheive it with waterslide decals as well but have not tried it. I have a perfect opportunity coming up with a Special Force playfield.

In either case, nothing that you need to concern yourself with considering the size of your repair.

Great work!
 

DRANO

Super Member
Nov 15, 2012
2,821
517
113
Mississauga
NO SLEEP TILL A-TOWN!!!
10 days left


Wow! 10 days... it's about to get pretty real, and fast!

Without further ado, Sunday was a huge day. Anyone living in the GTA knows that we were getting some gale force winds yesterday. Not good for my plans to finish spraying the cabinet in my backyard.

I cursed and cursed all morning as I really didn't want to have to bring it back to work again and shoot it in the spray booth. That would only add another day.


So, I took the kids to the park and flew some kites.


I had hoped winds would die down by the time I got back, but no dice.

I've never been accused of being patient, so off I went to find as much shelter as possible in the backyard and spray this sucker.


I quickly brought it inside to warm up a little and then proceeded to start peeling.
Success! The results were better than I could have hoped for and I had mounted the last big hurdle of this project.

I then decided I would prime and paint the legs. It's not like mother nature could get the better of me today :D
Of course, disaster struck and the winds forced me to spray too close to the work and I got a lot of runs.


Not wanting to wait 48 hours to let the paint cure and then sand it smooth, I simply stripped it all and started again. This time shooting in very short bursts and taking my time. Second time was the charm.

These babies will have to sit about a day before I can flip them over and shoot the back side. I should be able to install them later in the week.


Kids in bed,
Game of thrones watched,
Mad Men tolerated,
and 30minutes left to futz around some more.

After all, these moments are why I do this! I'm so close to completion that I could hardly contain myself and I decided to apply the trim, door and even placed the control panel temporarily.
Now I could sleep easy.


Dr.@NO
 
  • Like
Reactions: bleargh45

DRANO

Super Member
Nov 15, 2012
2,821
517
113
Mississauga
NO SLEEP TILL A-TOWN!!!
8 days left


I hopped in the car today and ran over to Sun Plating to grab the parts I dropped off last week.
$100 worth of plating on 14 pieces. Not bad I guess... except a few pieces had some flaking. Mike Chestnut they are not... but the bad areas would be mostly hidden and I didn't have a lot of options here.
So, off I went to start putting the playfield back together.


However, before I could get to the men, I re-installed the remainder of the interior components.
I also noticed the game was completely over-fused across the board and changed everything back to spec 10amp slo-blo.


Next step was lining up the head. After all, I needed something to lean the playfield against ;)


Putting the men back on was a lot of fun. Again, one of those moments you look forward to from the onset of the project. The umpire, pitcher and catcher will have to wait until I get the pitching unit installed... but we have a full outfield and basemen.


Next I installed the bat. Here's a picture showing the original 'home made' bat that must have been am OP hack. Next is an original (correct for the era) bat that I was able to purchase via a guy on Pinside, and lastly is a more modern slugfest bat that I purchased as a back-up in case the original breaks in Allentown.


I also had these really nice new red anodized buttons from Steve at the Pinball Resource. I was really excited to install them on the start and pitch buttons. After closer inspection, these gottlieb buttons were larger than their Williams counterparts :(
So, plan B is simply to polish up the originals and no luck with the red.


And finally, some bling.
Here's a close-up of the newly chromed cigarette holder (also procured from my pinside pal).


That was it for Tuesday night.
With any luck, I'll be powering this baby up tomorrow!

That's it for now.

Dr.@NO
 

singlezero

Active Member
Jul 10, 2014
262
60
28
Orillia ontario
all i can say is it looks truly amazing. ! i am just in awe. talking with a friend of mine we are constantly commenting on the amount of detail that has gone into it! and it looks like you are ahead of schedule. Any plans of maybe slipping in a restore of some sixties wedgehead before A town? i have lots of questions but ill wait until after the deadline to ask.

I just cant imagine how you could better this restore in an encore of any other machine