I have been following this mod for well over a year when Pinball Mike D announced it on pinside. I thought it looked great and said to myself that if I ever got a Creech I am for sure going to get one of these kits. Even though I hadn't found myself a Creech yet I signed up to be on his next pre-order last summer. I get my Creech last November and few weeks later I get a PM saying the next round of pre-orders will be filled in December... perfect timing
Anyways, I had my kit shipped together with my good pal bigbossfan who also just drove 1800kms round trip to get his Creech too. Unfortunately his game is in pieces right now and in the middle of full out shop job but he is looking forward to getting it back together and working with this mod. I was finally able to connect with him last week when I went up snowboarding and picked up this kit and a bunch of parts we split shipping on as well.

The kit included everything you need such as machine screws, washers, zip ties, etc... You can definitely tell someone put a lot of thought and care putting all this together.
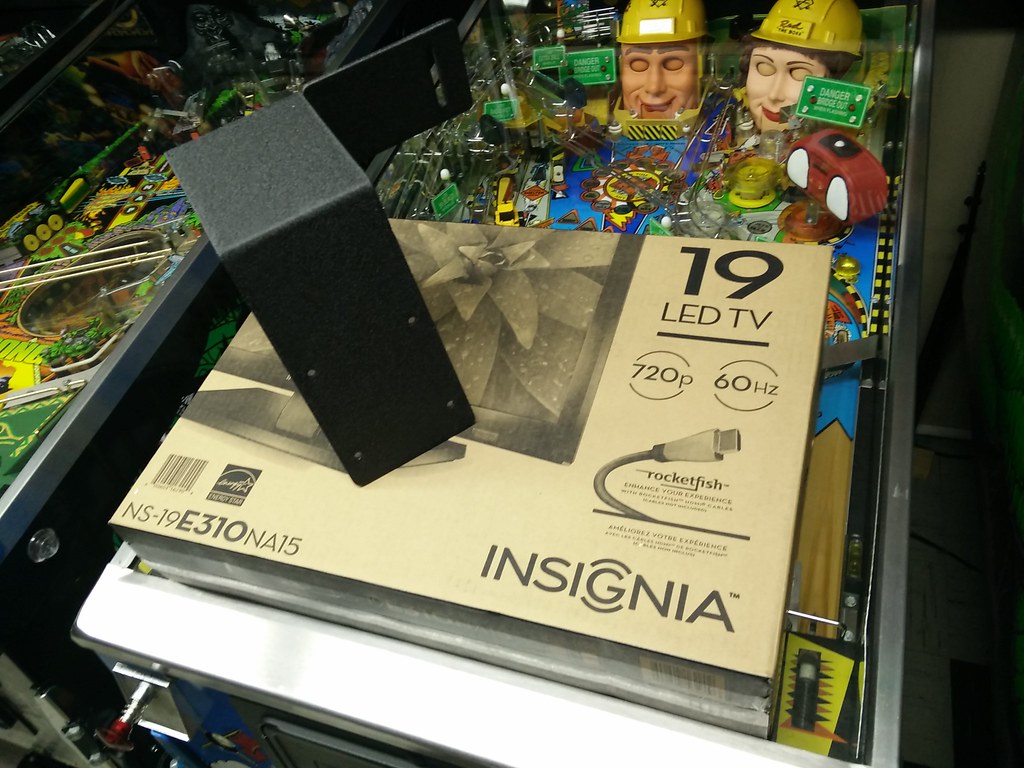
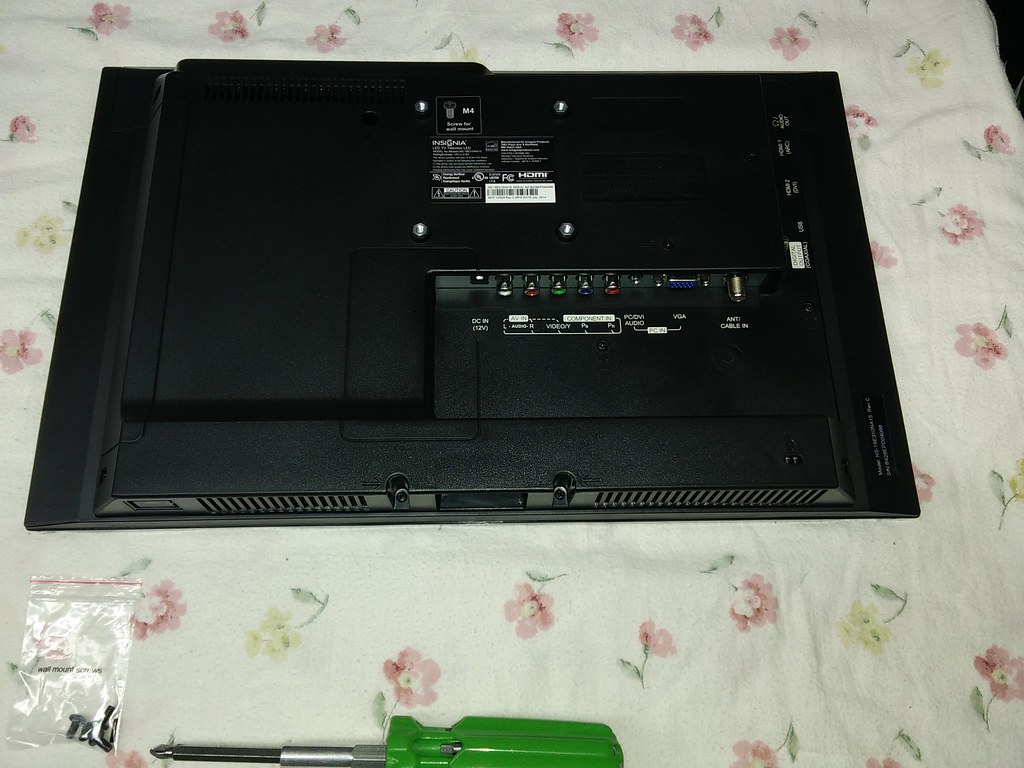
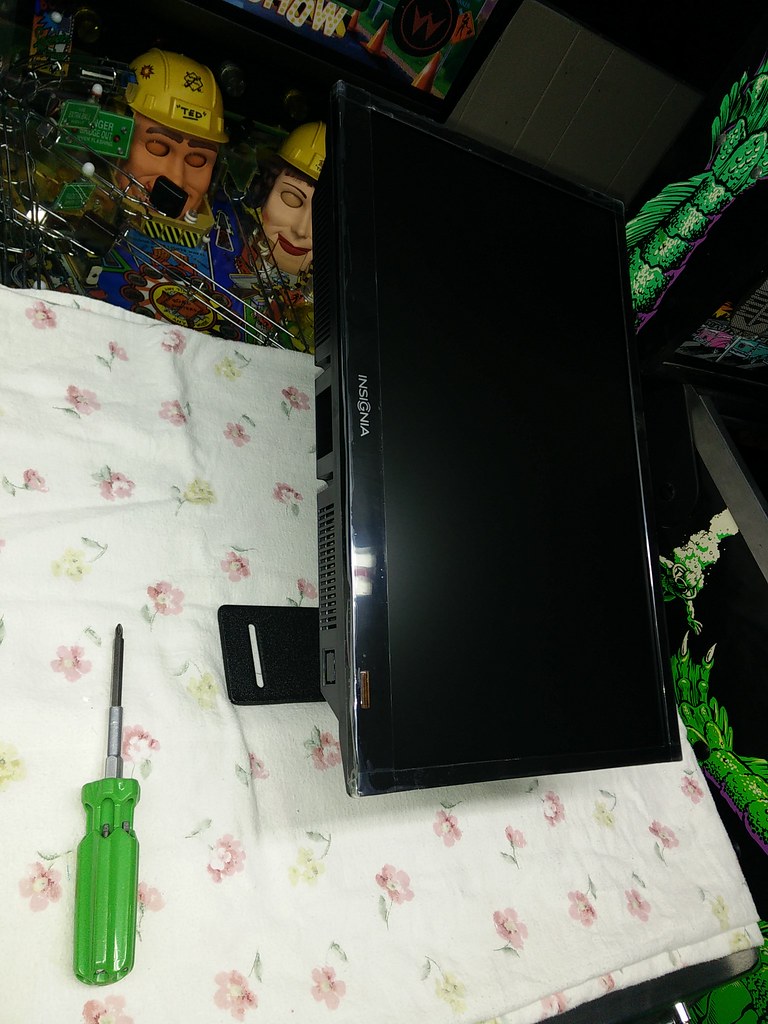
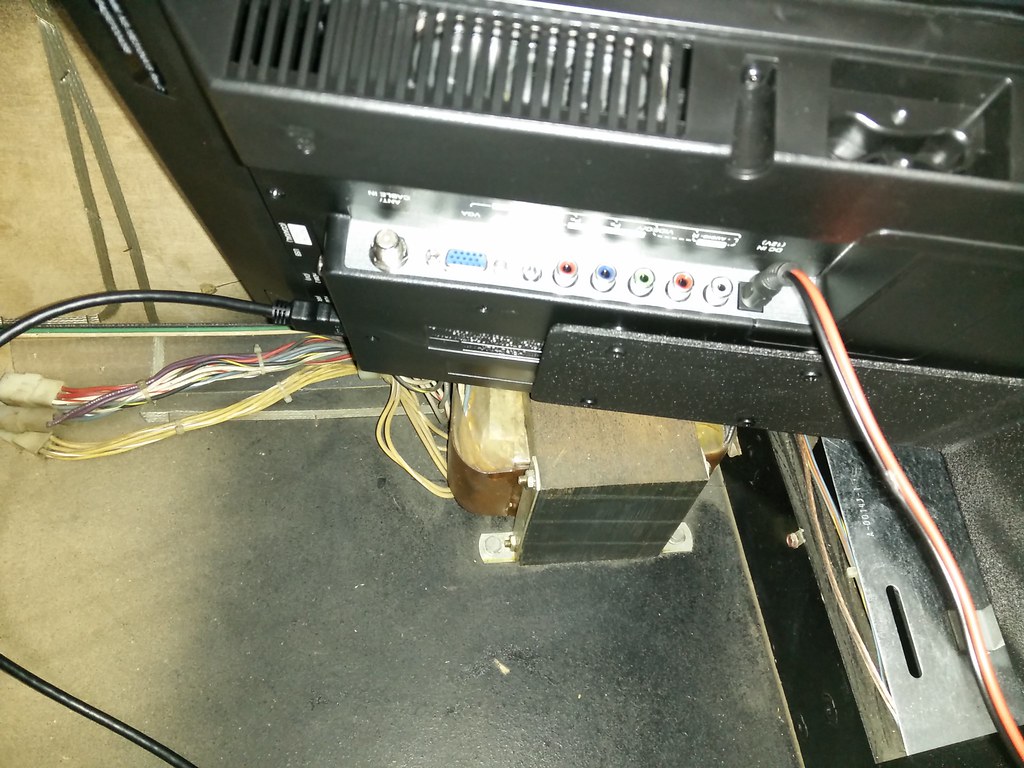
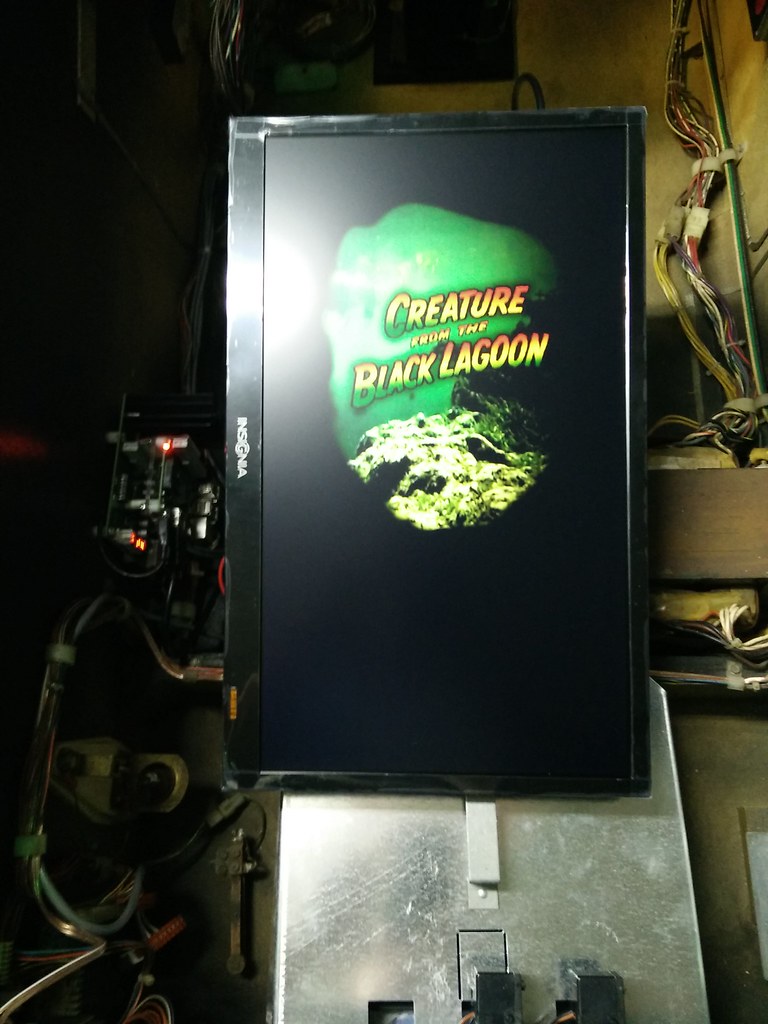
The kit also comes with this very sturdy black powder coated mount for this 19" LED TV I picked up on sale a few weeks back at a local Best Buy for $99.
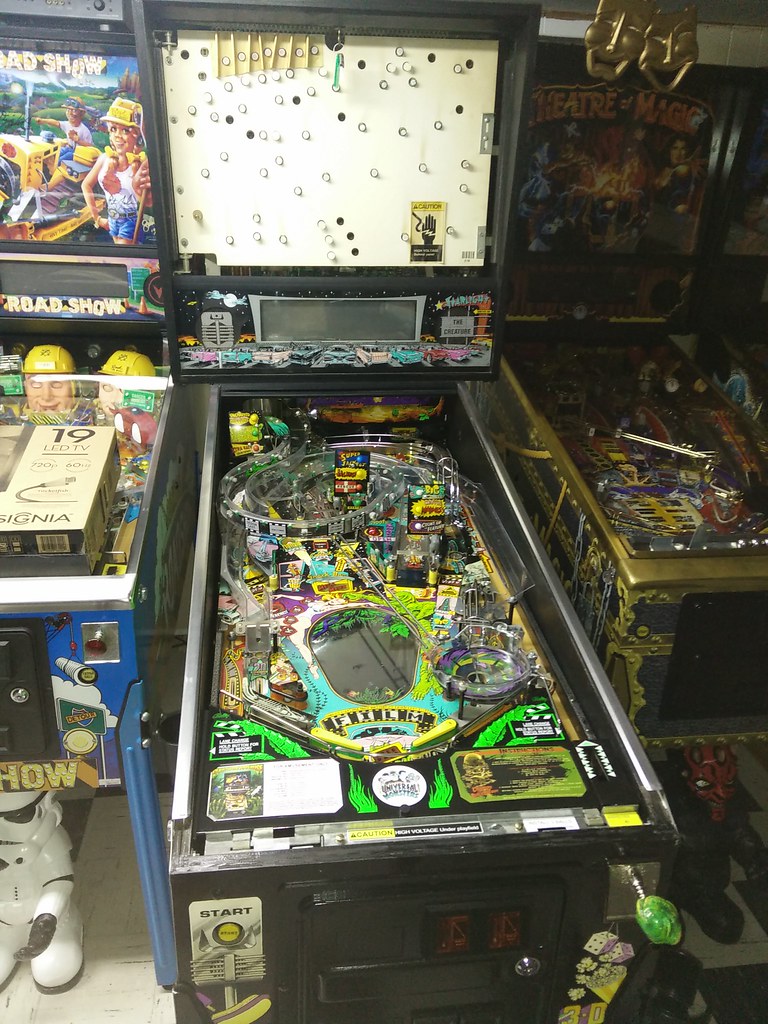
Now let's get started with the install and remove the playfield glass, translite and balls from the machine so they don't fall out when we lift the playfield up.
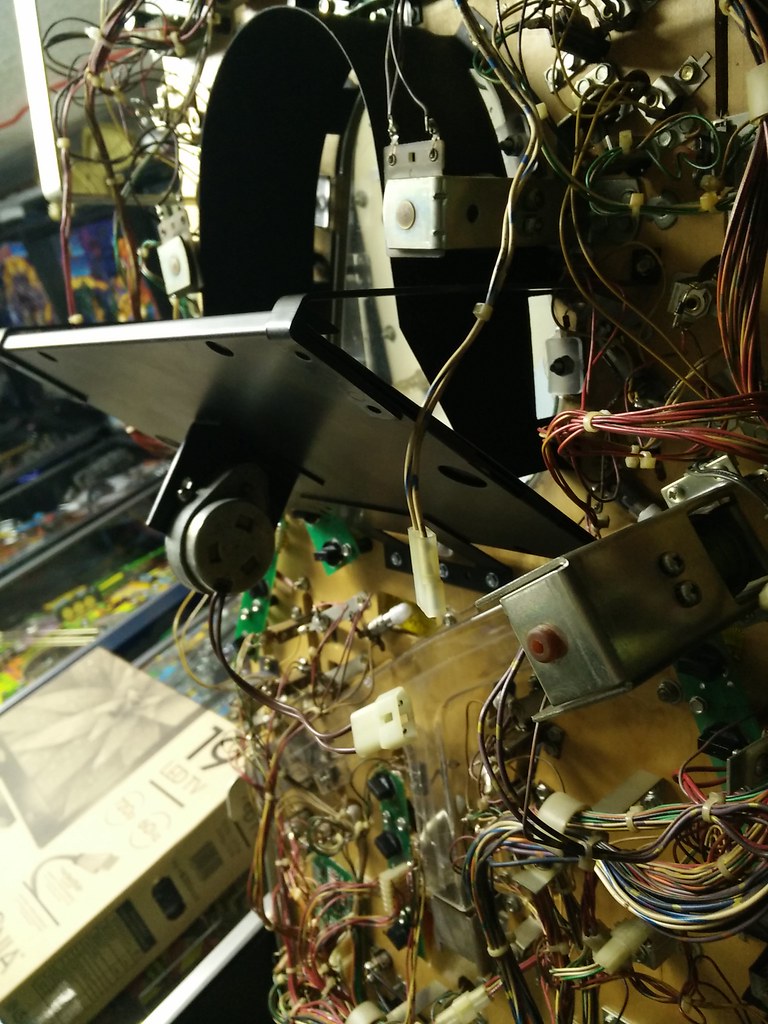
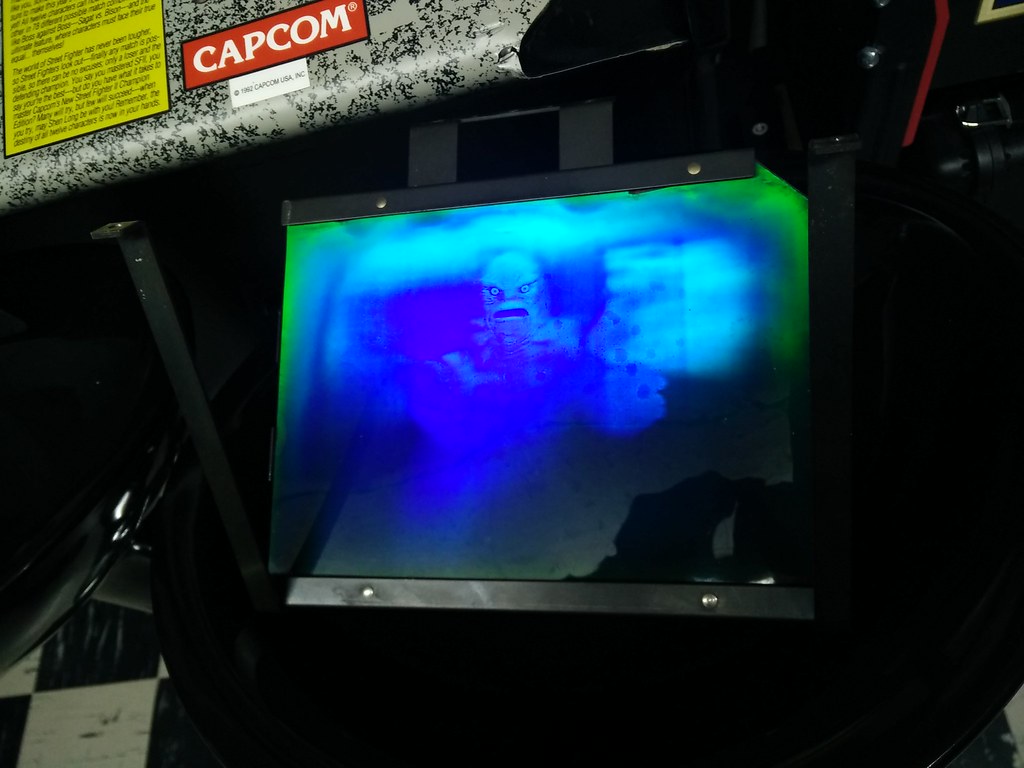
Once you lift the playfield up you need to locate the connector for the motor behind the hologram. Disconnect it and secure it with a zip tie to the nearest game wiring harness so that it isn't just dangling.
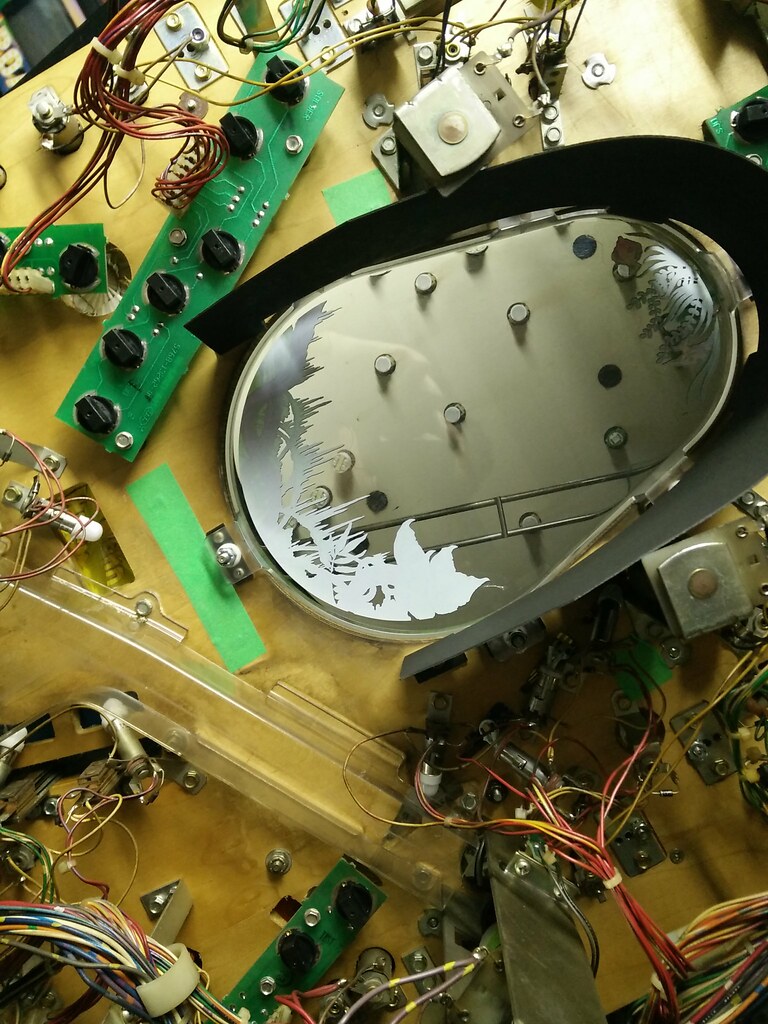
There are five screws in total holding the hologram bracket in placeunder the playfield. There is one on each support arm and three in a row on the very bottom. I used some painters tape as per Mike D's suggestion so that no wood dust would shake loose from these holes left behind and fall onto the LCD screen.
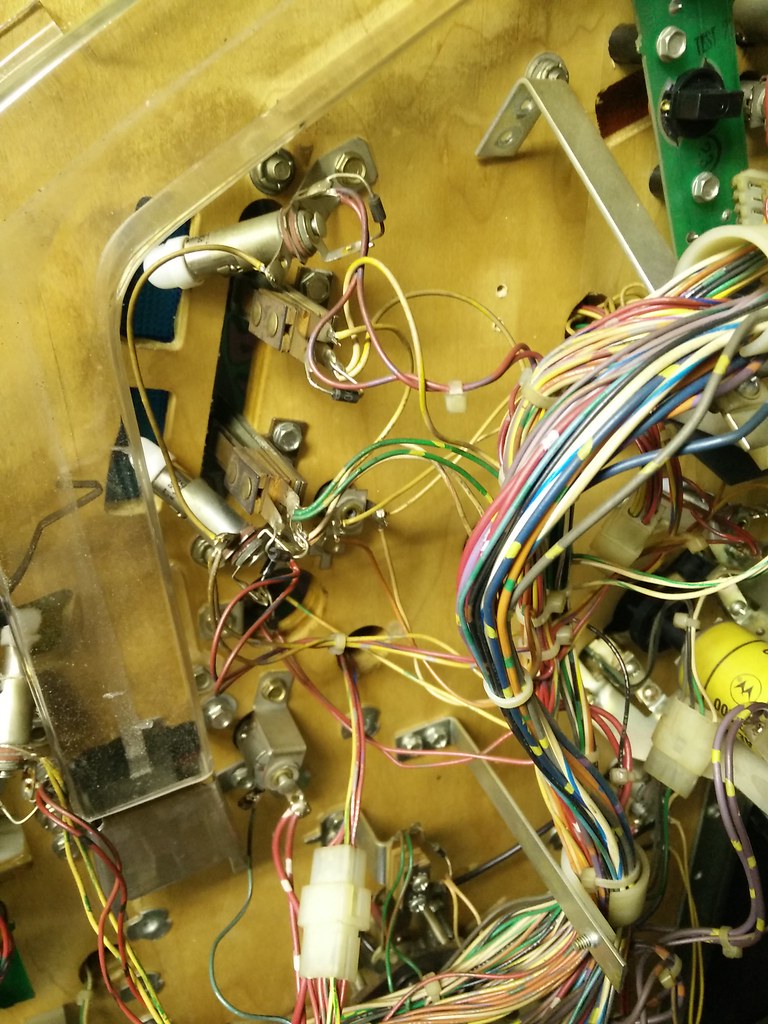
Now we have to remove some wire harness stand up supports from under the playfield so that they do not hit the LCD screen when the playfield is put back in the down position. The first stand up is locate to the right of the snack bar scoop hole and behind two of the menu target stand ups.
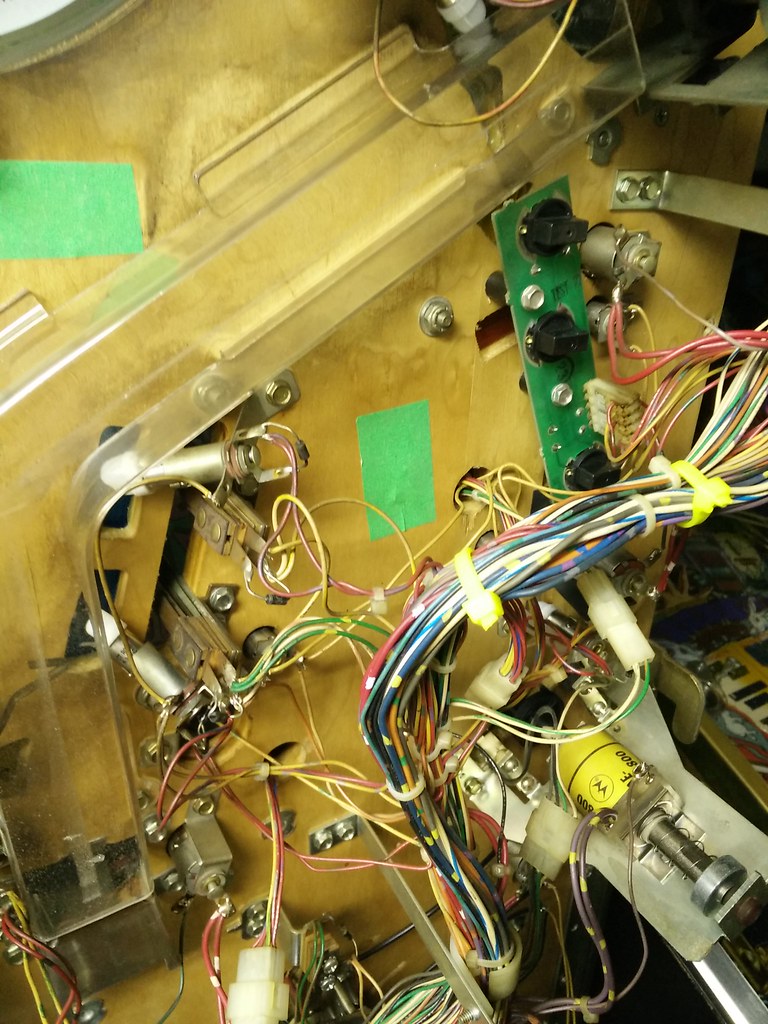
I used two bigger zip ties on each side before I remove the stand up and used some painters tape to cover up the screw holes left behind.
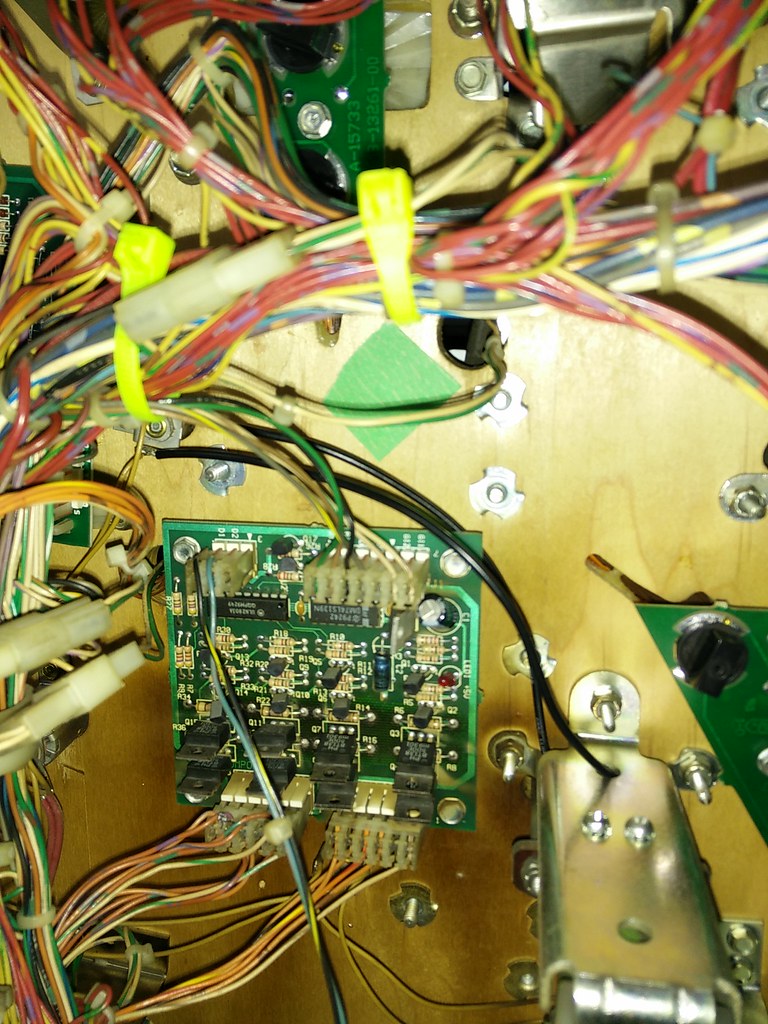
The other stand up that needs to be remove is just above the chase lamp board next to the pop bumper.
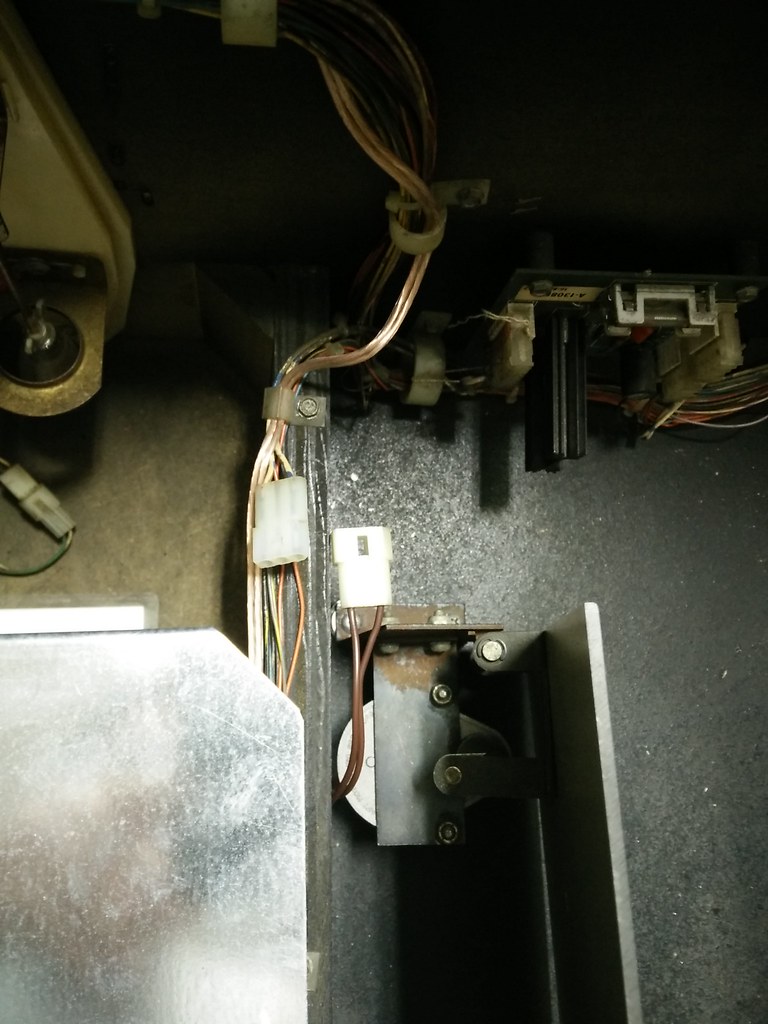
Now in the lower cabinet locate the connector for the mirror motor and disconnect it before you start to remove it. It should only be held in with two machine screws and some washers.
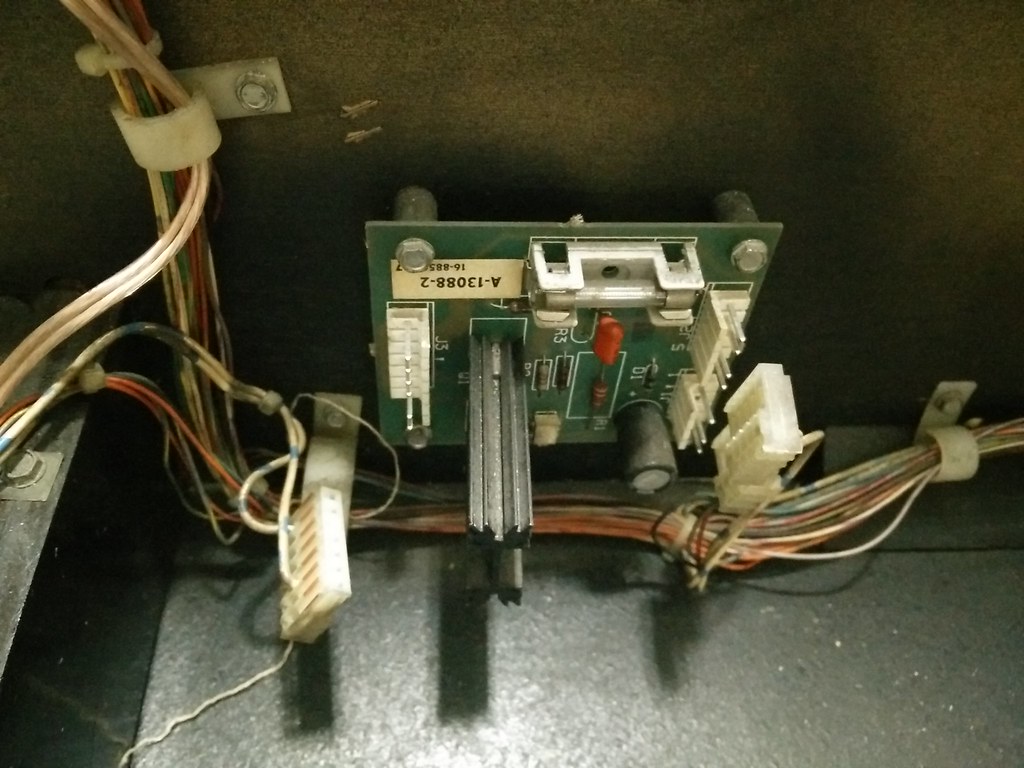
If you trace the connector from the mirror motor it should lead you to J3 on the triac driver board. I removed this connector from the game instead of leaving it dangling inside since it is no longer used. Then I disconnected J1 and J2 on the other side of the triac board before I started to remove the four screws securing it to the cab.
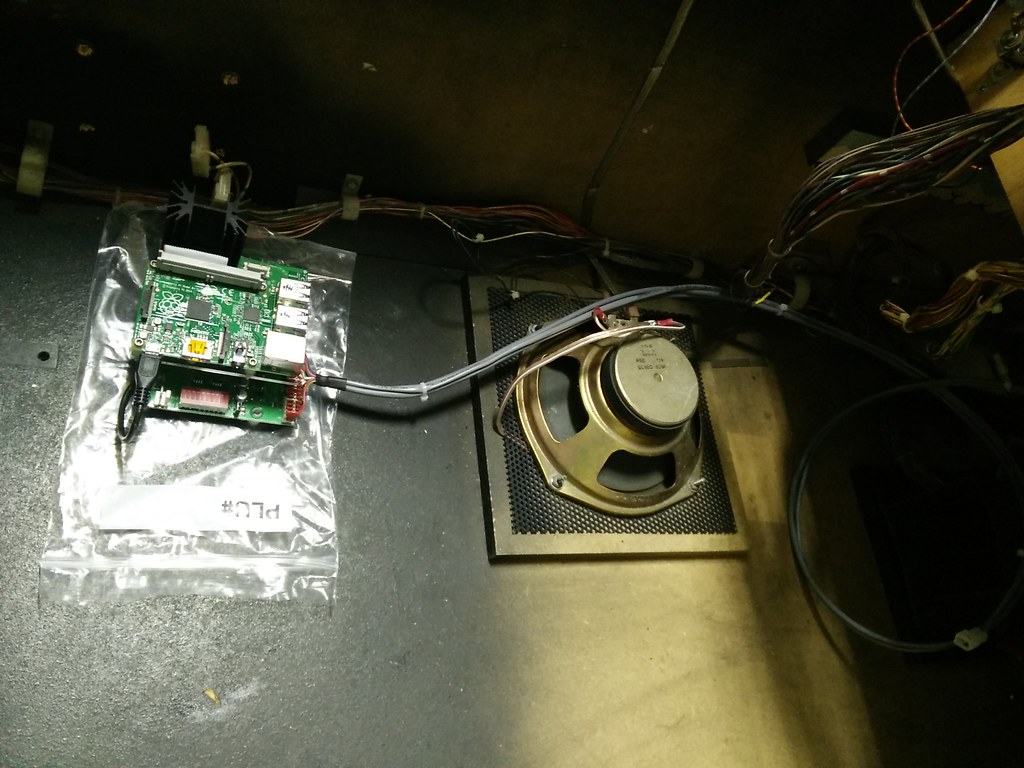

Now I temporarily laid Mike D's new board close to where it will finally be mounted on the side of the cab and proceeded to run the wiring harness up to the head.
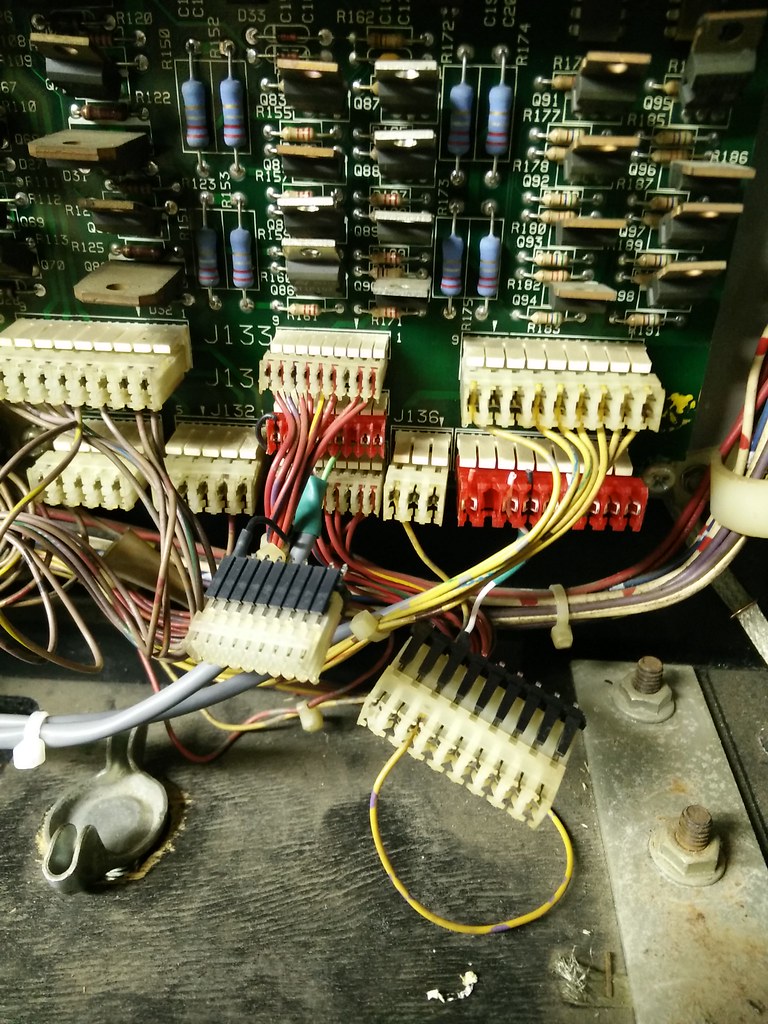
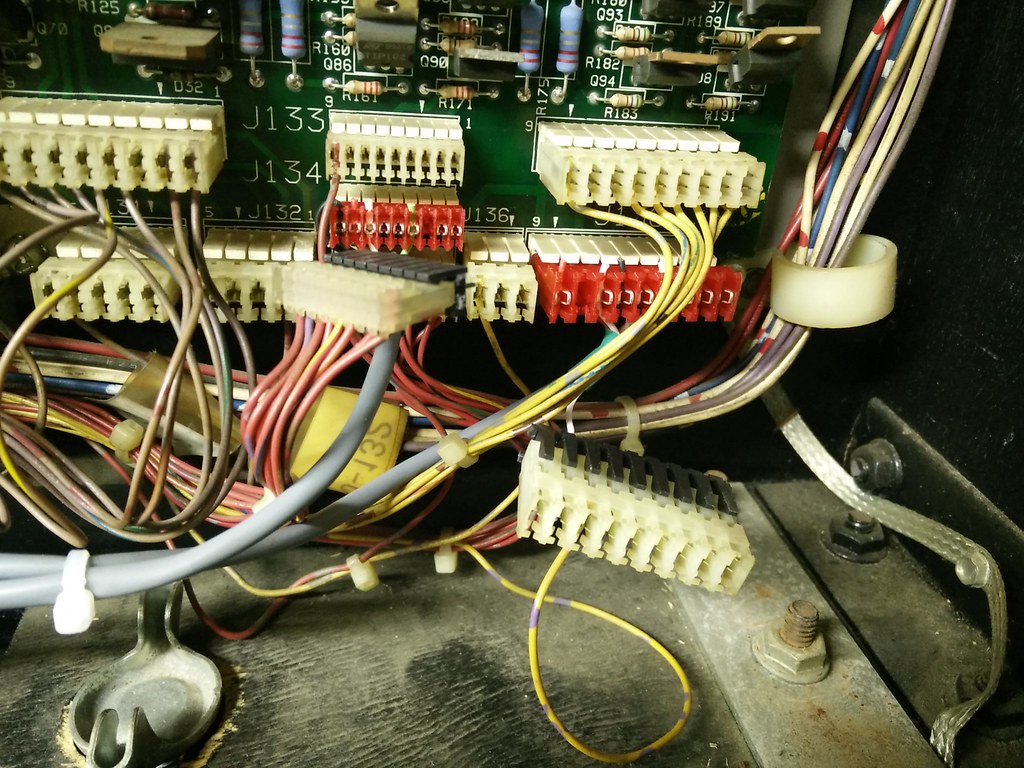
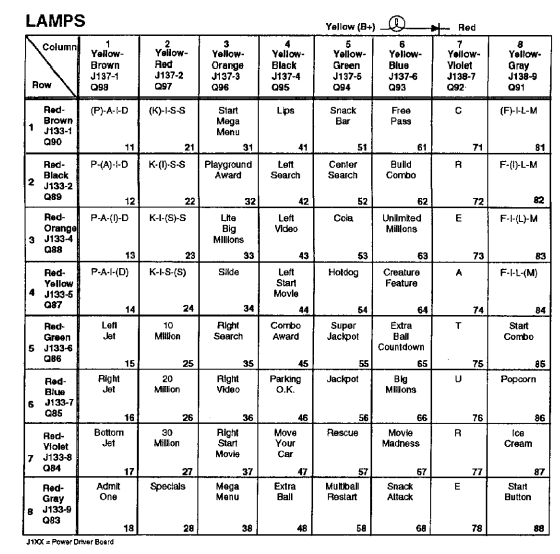
The harness from the mod taps into J134 and J138 on your power driver board. All you have to do is disconnect them, connect the red connectors from the new wiring harness and then you should be able to piggy back off each one as shown above. Once these connections have been made you are pretty much done up here. You can tidy things up by running the new wiring harness through the existing holders in the cab or you can use some zip ties to carefully secure onto the existing wire harnesses.
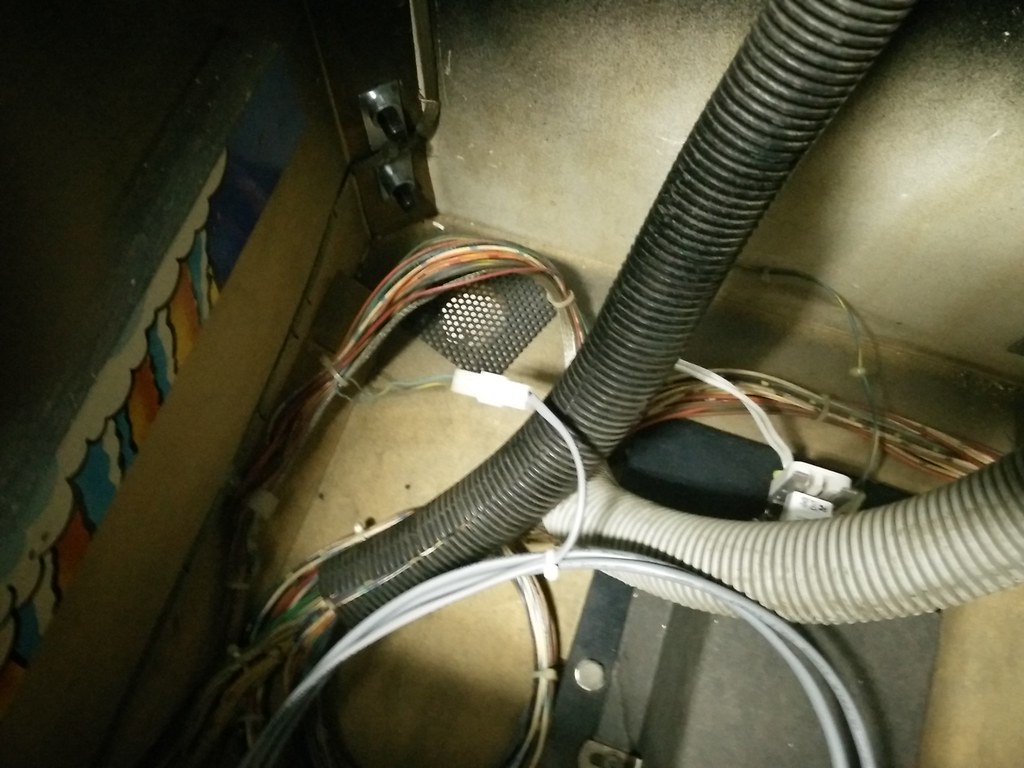
The next tie into the game from the new harness can be found near the very back of the cab. There should be a connector that can be traced from the bulb to the game's main harness. Disconnect it, plug it into the new wiring harness and don't worry about which direction as it can only be plugged in one way. If you actually manage to physically in the wrong way then kudos to you

Now that I have all the proper tie ins to the game I am ready to mount Mike D's board to the side of my cabinet. Now this will probably vary from everyone's game in terms of how your original triac board was mounted because some might be higher or lower. I opted to use existing two top holes in the cab for the bottom of the new board and I made two new holes for top. The reason for this is because I wanted to have easy access and enough clearance to unplug and plug the USB flash drive in case I wanted to change videos or images. Otherwise Mike D's board lines up perfectly with the existing holes for those who are worried about making new holes on their precious game
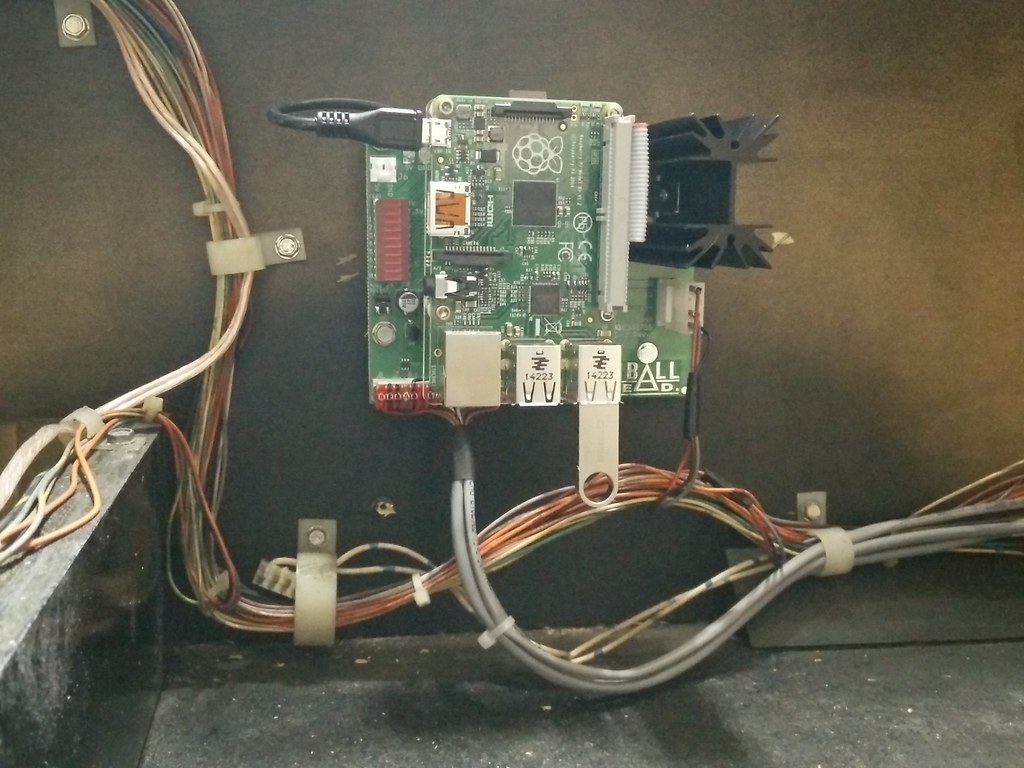
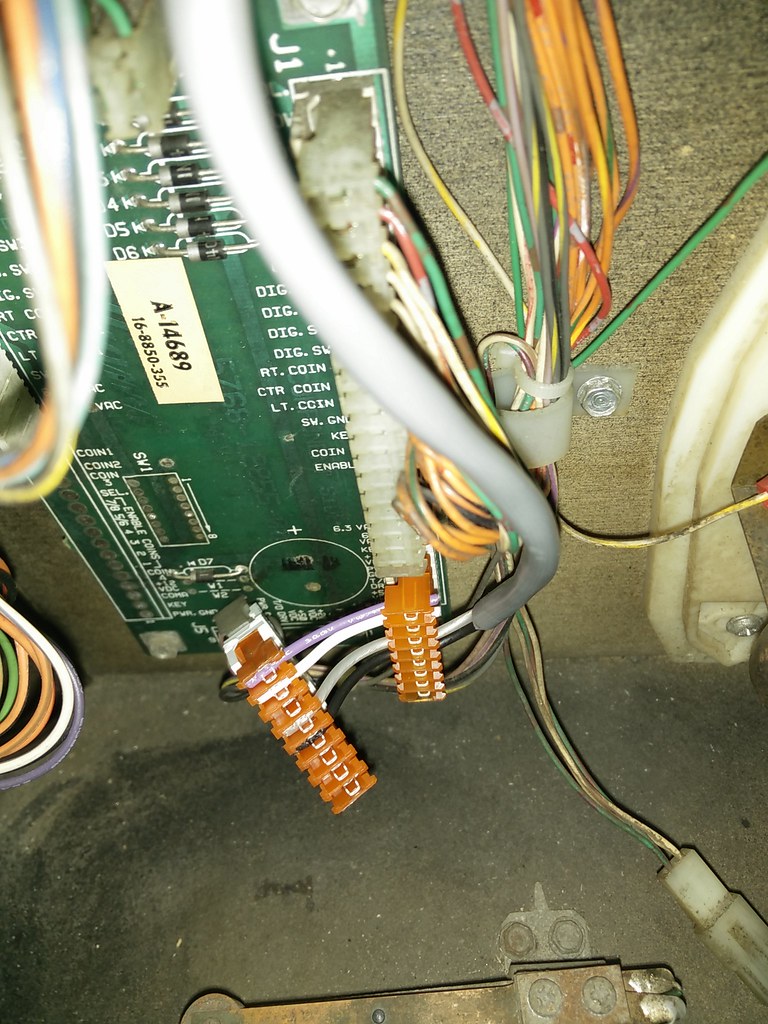
One last connection needs to be made to the new board just below the big heatsink so the board gets power. Locate the J1 connector we disconnected earlier from the mirror motor triac board. I had to replace the old IDC connector and re-crimp with molex as one of the wires popped out. If anyone is interested I can show you how that was done in a later post. Anytime you need to replace an IDC connector always use molex as it provides a far superior connection. Since you have easy access to everything you might as well take this time to insert the microSD card into the Raspberry Pi, USB flash drive and make sure the micro USB connector from Mike D's board is connected too.


