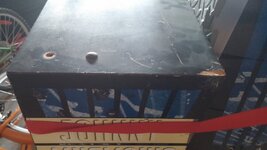
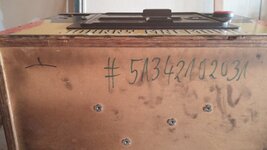
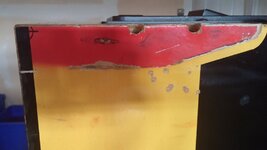
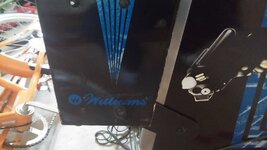
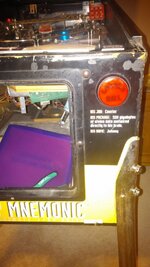
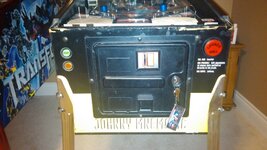
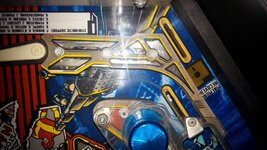
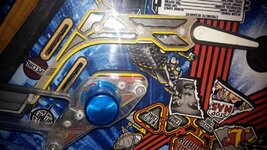
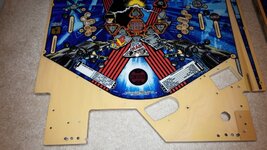
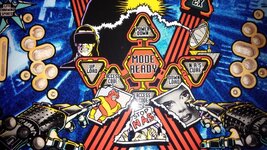
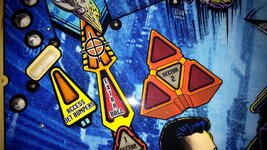
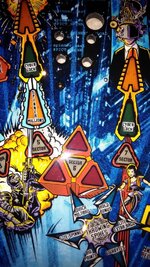
Some background. I have been in the hobby for 3 years. I started with an NIB ACDC Premium. It took me 3 months before I figured out that almost half the bulbs on and under the playfield were not working (burnt out). It took me another 3 weeks to work up the courage to actually raise the playfield and replace them...it was bad enough having to place the ball in the lower playfield when I first got it....took me and my son an hour to remove 3 screws to lower the small playfield and place that ball in there. I meticulously cleaned and wax that playfield every month, because the distributor provided me with Novus and carnuba wax and instructions on how and when to clean it. I hadn't discovered PB Rev yet let alone Pinside or MAACA. Then after six months of owning and playing the crap out of my machine, I discovered that there was an actual living breathing thriving community of like minded pin heads out there! I look back now and can't believe how intimidated I was with anything technical on my pinball machine. Fast forward 2 years.....after meeting, playing and most importantly talking pinball with many of you in this community, I figured I had garnered enough skill and knowledge to refurbish one of my favourite machines....JOHNNY MNEMONIC. The hunt is a big part of this hobby...the catch is even better! I have been a lurker when it comes to forums....I prefer face to face. During the refurb process, I realized that without those posters who have shared thousands of threads regarding tips and techniques, I never would have attempted this! The main purpose of this thread is to give back to the community that has given so much to me (corny, but true). The other purpose of the thread is to show how much I love PINBALL!
You are using an out of date browser. It may not display this or other websites correctly.
You should upgrade or use an alternative browser.
You should upgrade or use an alternative browser.
My JM Refurb Adventure
- Thread starter Budfan
- Start date
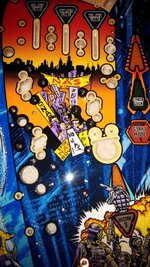
Now, here is something I recommend that you do if you are taking a project pin home....play the shit out of it! This is when you will start to know what is working and what is not. I take a pen and paper and as I notice things I start writing them down....even those annoying test report messages.... write them down. Now, once you've played it for about a week...yes a week at least....you should have started a nice list on what you want to repair/replace/mod. In this case I played it for almost 3 weeks.
So now, I had a list....
Change all bulbs to LEDs...138 bulbs needed
New playfield, preferably NOS lightly used
New ramps
New cabinet decals
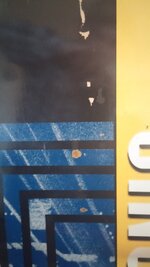
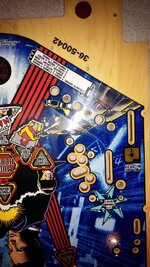
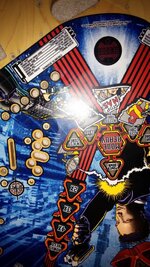
New translite (don't have a picture of the one it came with...but it had more holes than swiss cheese)
New ramp decals (more on that later)
New legs
New launch button
New flipper buttons
New flipper assemblies
New leg brackets
New cabinet protectors
New side rails (old ones were beat up bad) - Stainless steel...keep original
New hinges - stainless steel
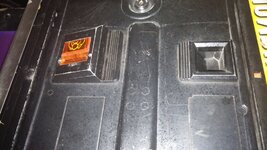
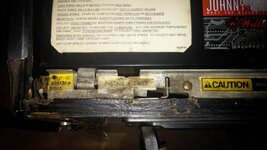
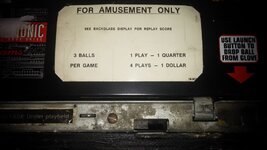
Coin door needed to be cleaned...(more later)
New spinner decals
15 new mini switch armatures (switchs worked...but armatures were bent awkwardly so contact not being made)
5 new flasher sockets
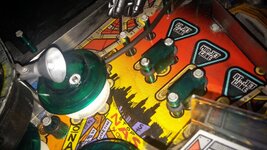
5 new flasher domes
This was my initial list....now to source. I decided that I would not move ahead unless I procured a decent playfield first. So...off to Pinside with a PPW post.....
Now that I had secured that playfield, I started to source the parts.
Ramps and ramp decals from Australia;
Pinballlife for almost all the other parts (trim, switches, legs, brackets, etc);
Marco for the flasher domes...only because they were the only ones with them in stock;
Cometpinball for all my LEDs....no better customer service than Art! ;
Cabinet Decals....some guys on the other side of the ocean (more on that later);
Translite....another Pinside PPW thread (that made a total of 12 pinside thread posts for me after a year and a half of being a member).
Now that those were ordered....time to tear this bitch down! Episode two will continue tomorrow....
Thanks for sharing and I have seen this JM before, during and after restore. Terry has been very meticulous every step of the way and this machine looks and plays amazing. It's nice to see a game like JM get this kind of love as it is one of my favorites in my collection.
DRANO
Super Member
Chris Bardon
Well-Known Member
Nice start-pretty soon you'll have the most expensive JM in the world (in terms of money into it)  It's a fun game though-enjoy! I'm always amazed that people have things like playfields for old games like this still lying around.
I'd really like to tackle a full restore like this someday, but I just don't have time to sink into it these days. I can keep the games I have running, and have done a couple of teardowns/cleans/repairs on some of them, but a full on restore isn't in the cards right now. There was a great thread that Bryan Kelly did on pinside about an IJ restore that's one of the better documented jobs like this that I've seen if you're looking for more inspiration.
I'd really like to tackle a full restore like this someday, but I just don't have time to sink into it these days. I can keep the games I have running, and have done a couple of teardowns/cleans/repairs on some of them, but a full on restore isn't in the cards right now. There was a great thread that Bryan Kelly did on pinside about an IJ restore that's one of the better documented jobs like this that I've seen if you're looking for more inspiration.
Thank you for your comments gentlemen. It was a bit more than I had budgeted...but lets just say that I agree with the Enabler...this was done for the love of pinball and most especially the love of JM! It is not moving for a long time. This project was done during late fall and late winter, it was time consuming, but believe it or not I still managed to watch every Leaf game! Now on to the tear down....
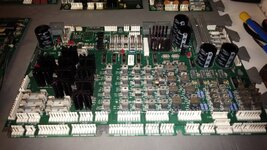
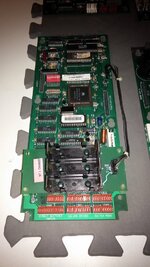
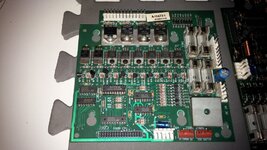
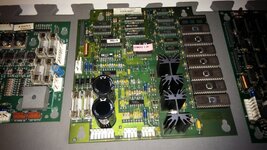
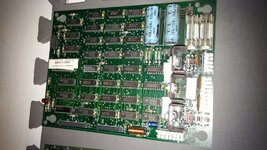
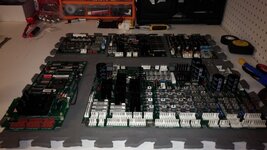
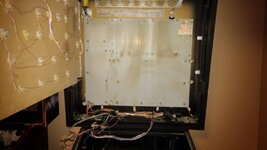
I took the advice of those respected professionals (McCune, Kelly, Nero etc). I took so many pictures of the tear down that I had to transfer half of them to my computer because my LG 32gb card couldn't handle them. Also, I took the most high definition pictures the camera app could do, because believe me when you get to putting the parts back on, you really need to zoom in to identify all the smaller parts and see where all the wires actually connect. So first things first....pictures of the back box and all the circuit boards. As you can see alot of the molexes were burned....some of the wires were soldered into the molex instead of pushed in....definitely not acceptable! Another order to digikey for the new crimped molexes. In order to make the order worth while, I ordered 5 of each size of molex connectors including the trifurcon connectors. I re-crimped all those bad molexes and the ones that sent power to the driverboard later (will discuss that later in the thread). However, as you can see the boards themselves where in fairly good shape and because I played the shit out of the game, I found only one problem on the board which was a blown resistor for the top pop bumper.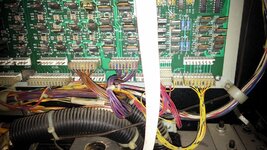
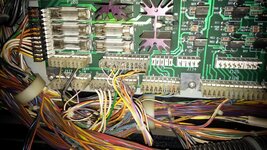
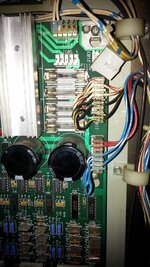
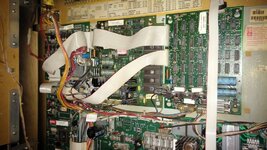
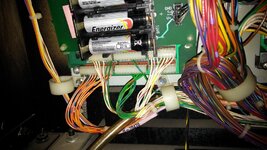
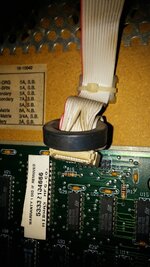
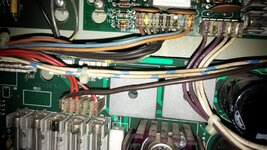
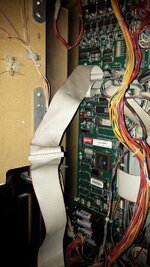
I took the advice of those respected professionals (McCune, Kelly, Nero etc). I took so many pictures of the tear down that I had to transfer half of them to my computer because my LG 32gb card couldn't handle them. Also, I took the most high definition pictures the camera app could do, because believe me when you get to putting the parts back on, you really need to zoom in to identify all the smaller parts and see where all the wires actually connect. So first things first....pictures of the back box and all the circuit boards. As you can see alot of the molexes were burned....some of the wires were soldered into the molex instead of pushed in....definitely not acceptable! Another order to digikey for the new crimped molexes. In order to make the order worth while, I ordered 5 of each size of molex connectors including the trifurcon connectors. I re-crimped all those bad molexes and the ones that sent power to the driverboard later (will discuss that later in the thread). However, as you can see the boards themselves where in fairly good shape and because I played the shit out of the game, I found only one problem on the board which was a blown resistor for the top pop bumper.


Here are the rest of the pictures I took. I was also writing in permanent sharpy on the side of each connector exactly where it was connected to...so that if I lost the pictures, I would at least know where to reconnect them. Remember, I took these connectors off in September...and reconnected them again in Feb (5 months). Next post will show the boards removed. That is when I removed and replaced that burnt out resistor. I had to practice soldering and de-soldering on old junk boards I had bought just to practice on. After about 40 removals and replacing of capacitors, diodes, rectifiers, Tip 102, connector posts....I had enough confidence that I wouldn't burn or destroy any traces. I guess I was wrong...but I didn't know that until I put the boards went back in in 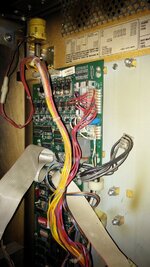
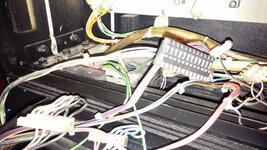
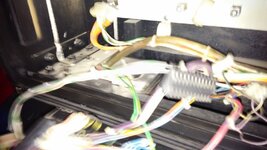
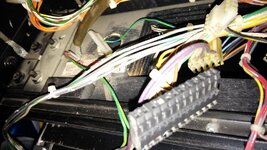 February....more on that later.


 February....more on that later.
I forgot to add, that JM had a reset issue. Every 5th or 6th game it would shut down and reboot...so I had to research that and found out that there were a few causes for it. Having the driver board out, I was able to determine that the bridge rectifiers were the culprit. So I replaced them all.....and I was right because when I fired it up in February....I didn't get a reset...but more on that later.
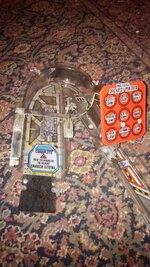
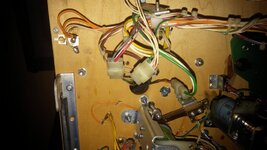
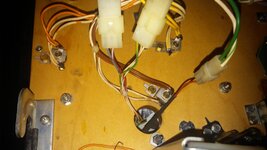
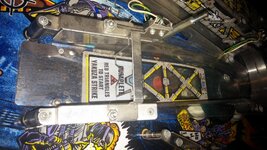
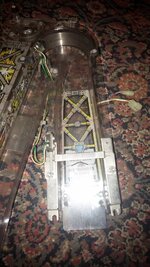
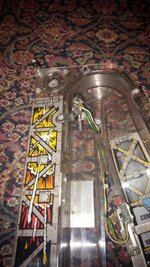
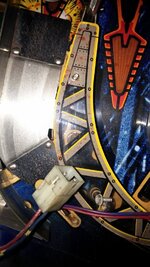
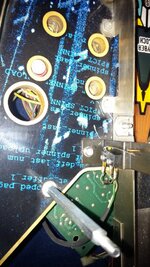
Take pictures of every part of the ramp...every where there is a screw or post that connects....trust me this comes in handy later on! Take pictures of where any ramp switch or lamp connection is made under the the playfield. An get your permanent sharpy and draw connecting lines to each side of the connector....Don't draw the connector lines in the middle for each one. I recommend that you draw one line to the left on first connector, then next one in the middle, then next one on the right side. If you have alot of connectors that are similiar, then start drawing more than one line...ie two lines to the left, two lines in the middle, etc.
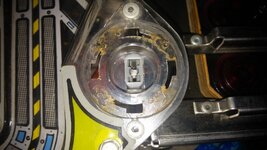
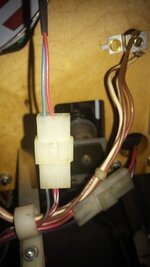
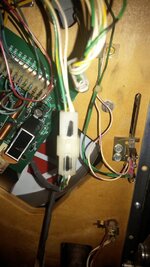
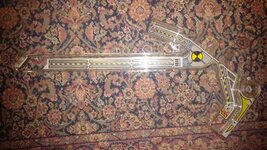
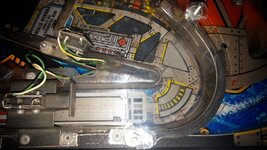
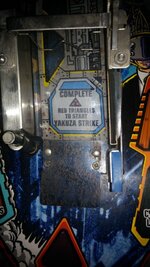
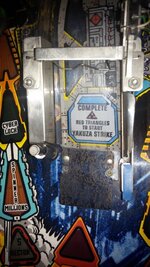
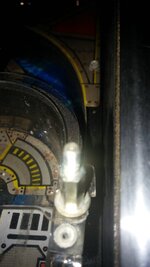


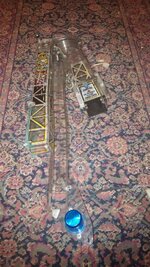
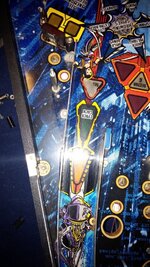
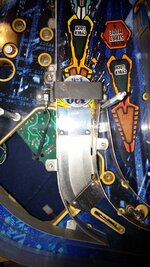
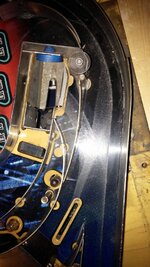
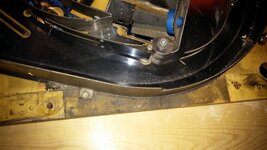
As you can see the ramps were not in that great of condition....so....I placed them in the corner of my shop to be dealt with later.
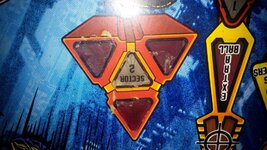
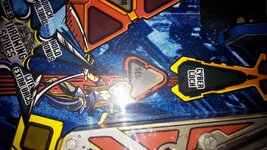
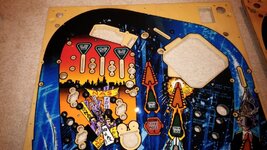
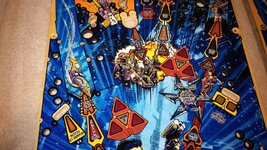
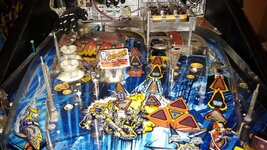
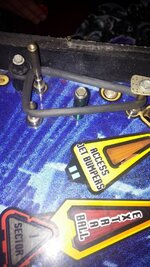
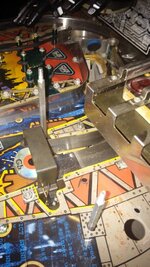
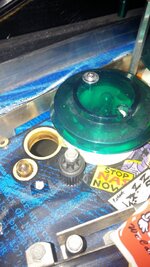
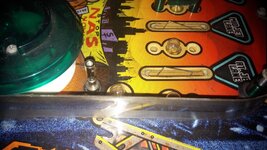
Now that those were removed I then took more pictures of the top of the playfield as I removed parts.
One big tip is this....when you remove hardware such as posts, fasteners, nuts, and washers you place them in a glad bag and label it. I have 4 bags of top tear down hardware...they are labelled Top Left Quarter, Top Right Quarter, Bottom Left Quarter and Bottom Right Quarter. I include the washers and nuts from the underside of each quarter of the playfield posts that are removed...makes it really easy to reassemble because you bags will be located at each quarter of the playfield during re-assembly.
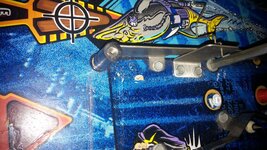
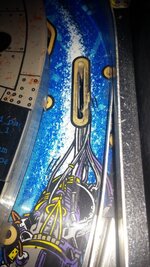
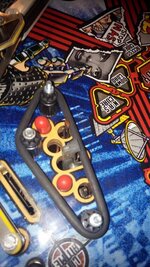
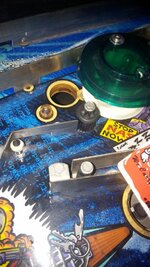
Now that you have those bags, you put them in your tumbler (I used corn cob bedding from Petsmart and as a media I use Mothers Metal Polish). I tumble each bag of hardware for no less than 24 hours. They come out pristine.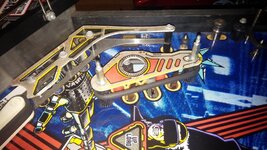


