Hello Everyone,
So its been about 4 months now I've been enjoying my Starship Troopers acquired from Revolution (Brock). I figured its time to get down and dirty and tackle removing that ramp so I can clean, wax and address the divots near the magnet. At the same time I would like to try and install LED's, replace rubbers and install a cliffy protector kit.
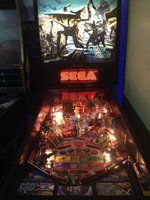
Removing that ramp toke me a night on its own lol. I was so worried I was gonna break something or remove something I wasn't suppose to. I tried to look online for instructions or a video on how to remove it but no such luck so I just removed one screw at a time and lifting the ramp. I hate detaching wires and plugs as I'm always scared I won't remember which wire goes to which but I had to detach the flashers, nuke signs and moving warrior bug. I was hoping I didn't have to remove the Warrior bug but to install the Cliffy's I had too.
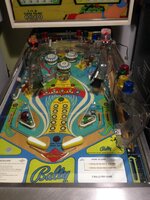
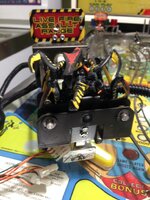
I put in 2 of Cliffy protectors as it was easily accessible now where the warrior bug was and I just removed the Hopper ontop of the Arm nuke hole.
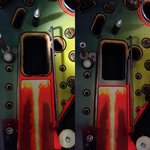

I wanted to skip the last Cliffy protector because It looked tricky having to remove the underground ramp and VUK but of course I couldn't leave it out.
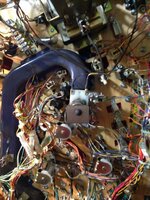
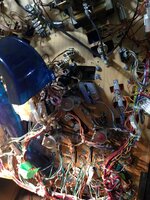

Next thing to fix was the divots in near the magnet. This was the number 1 priority and would make the most improvement to the gameplay.
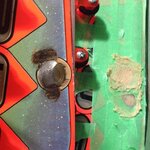
Put on some Wood Rebuilder compound that my work place uses for piano restoration.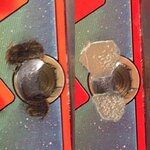
I think it turned out ok. I thought I would try to paint it to give some colour but not sure how to recreate this... might just leave it since you can't see this as its under the ramp. Will probably put on some mylar stickers as well.
So its been about 4 months now I've been enjoying my Starship Troopers acquired from Revolution (Brock). I figured its time to get down and dirty and tackle removing that ramp so I can clean, wax and address the divots near the magnet. At the same time I would like to try and install LED's, replace rubbers and install a cliffy protector kit.

Removing that ramp toke me a night on its own lol. I was so worried I was gonna break something or remove something I wasn't suppose to. I tried to look online for instructions or a video on how to remove it but no such luck so I just removed one screw at a time and lifting the ramp. I hate detaching wires and plugs as I'm always scared I won't remember which wire goes to which but I had to detach the flashers, nuke signs and moving warrior bug. I was hoping I didn't have to remove the Warrior bug but to install the Cliffy's I had too.


I put in 2 of Cliffy protectors as it was easily accessible now where the warrior bug was and I just removed the Hopper ontop of the Arm nuke hole.


I wanted to skip the last Cliffy protector because It looked tricky having to remove the underground ramp and VUK but of course I couldn't leave it out.


Next thing to fix was the divots in near the magnet. This was the number 1 priority and would make the most improvement to the gameplay.

Put on some Wood Rebuilder compound that my work place uses for piano restoration.

I think it turned out ok. I thought I would try to paint it to give some colour but not sure how to recreate this... might just leave it since you can't see this as its under the ramp. Will probably put on some mylar stickers as well.

