• We have upgaded to the latest version of XenForum and the process finished without any errors!!!! Enjoy the new forum!

Dr@No's fun filled (and often long-winded) restorations

Monkeybug

Active Member
Nov 14, 2012
577
122
43
Stouffville, ON
I demand revenge for our throw down. I want a rematch to get my quarter back! I have been practicing some new pitching techniques since my last ones didn't seem to work.
 

spiroagnew

Well-Known Member
Staff member
Dec 1, 2012
1,334
311
83
Scotch Block, ON
www.creditdotpinball.com
Please, let me re-tell the epic throwdown Drano and I had at Pinfest. I'm down 14 runs to 3: Drano hit his first home run ever on the machine, a grand slam, to help take the eleven-run commanding lead. However, when the dust cleared, I had scored twelve runs in the bottom half of the final inning, and won the game 15-14 in what has to be one of the biggest comebacks in recent Pitch n' Bat history. Dr. Pinball himself was there to witness this stunning victory, as well as most of the Ontario contingent: all looking on as the upset ensued. Drano was a good sport about it, however there was a tinge of defeat in his manner afterwards: the machine he so lovingly restored had betrayed him.

Photo credit to Tim.

a26df343bb803052cbd8341ac344d5ed.jpg
 
  • Like
Reactions: DRANO

WARLOCK

Administrator
Staff member
Nov 14, 2012
1,824
208
73
54
The Bluffs, Scarborough
What a great restore. Fantastic game. "Well done" hardly says enough though "me tinks".
Congrats on the best EM restore. There will be some serious throw-downs upcoming now...

Drano, Thanks for inspiring us to "push" beyond what we each thought we were once capable of doing.
The sky is the limit now! Much appreciated for your inspiration and dedication on this project my friend.

Thank you for documenting it.
Thank you for sharing with us all.
 
Last edited:
  • Like
Reactions: Menace

fanuminski

New Member
Apr 2, 2015
4
1
3
69
United States
congrats on the restore and, of course, winning the coveted blue ribbon! I'm sure in the years
to come, and when that ribbon has started to fade, you can restore it to its' original
luster!
 

DRANO

Super Member
Nov 15, 2012
2,827
519
113
Mississauga
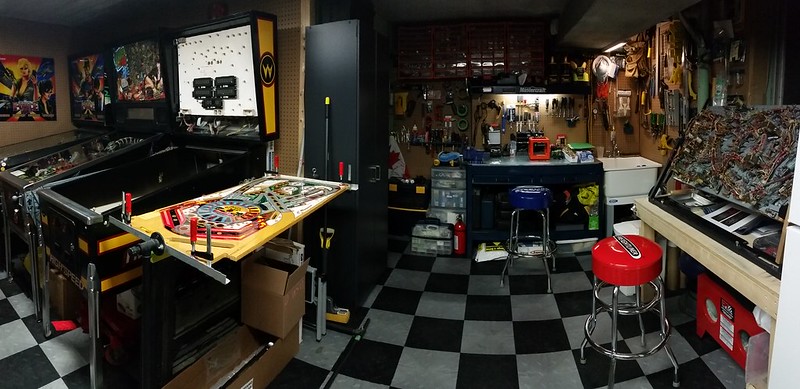
Please, let me re-tell the epic throwdown Drano and I had at Pinfest. I'm down 14 runs to 3: Drano hit his first home run ever on the machine, a grand slam, to help take the eleven-run commanding lead. However, when the dust cleared, I had scored twelve runs in the bottom half of the final inning, and won the game 15-14 in what has to be one of the biggest comebacks in recent Pitch n' Bat history. Dr. Pinball himself was there to witness this stunning victory, as well as most of the Ontario contingent: all looking on as the upset ensued. Drano was a good sport about it, however there was a tinge of defeat in his manner afterwards: the machine he so lovingly restored had betrayed him.

Photo credit to Tim.
a26df343bb803052cbd8341ac344d5ed.jpg


BWAHAHAHAHAAAA!
Awesome.

I've been away for a few days and hadn't had a chance to catch up on the thread. I DID get my ass handed to me in royal fashion... but I did warn everyone that anything can happen. You can strike out 3 in a row on this game or take the lead just like that.
It was a pretty great throw-down.

Thanks everyone!
 

DRANO

Super Member
Nov 15, 2012
2,827
519
113
Mississauga
HIGH SPEED STIFF
Part 3


It's been almost 1 month since the last post here and my return from Allentown.

The Official Baseball project was awesome but I had to get back on the horse quickly since it had bumped a lot of other projects.
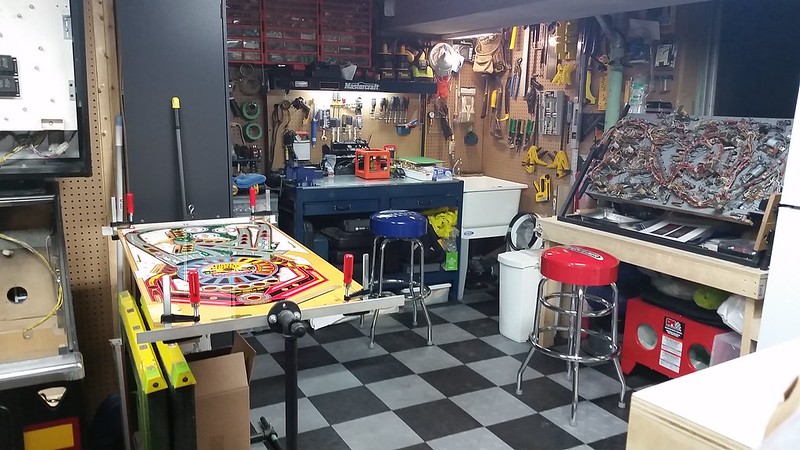
I think I took a week or so off from pinball and then jumped right back in by setting my shop straight... I hate working in squalor.

Moving baseball in meant folding two of my wedgeheads. In the end I decided to sell one back to its original owner who was very eager to see it return. The other went to a friend's house on loan. I think he's developing a bit of an EM bug :)

With space sorted I rearanged the garage and then prepared to get back on to Scared Stiff and High Speed.


SS had been playing a bit off for a while and it was mostly down to wonky flippers and some creative hacks. I had ordered some parts and finally had a few minutes to install them. New opto boards to replace the hacks, some new interruptors and she was playing fine again. With SS playing normally I turned my attentions to High Speed. It's been in pieces for quite a bit longer and I didn't want to get into tearing down SS for a shop job until HS was done. With the cabinet ready since Christmas, I really want to get this sucker done and into the basement.

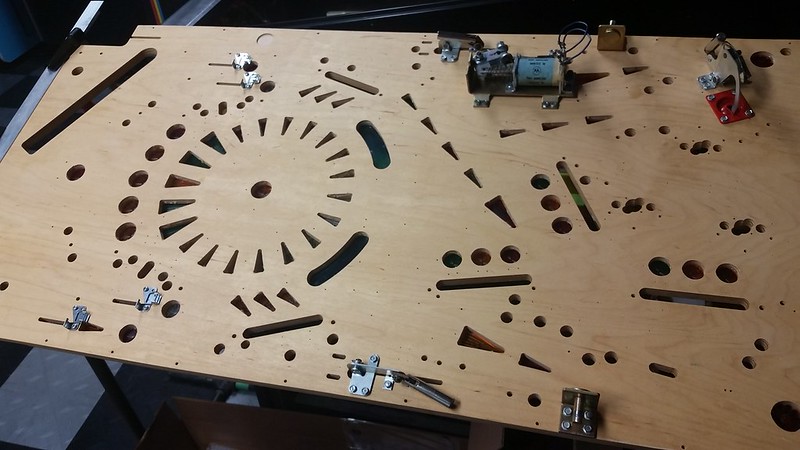
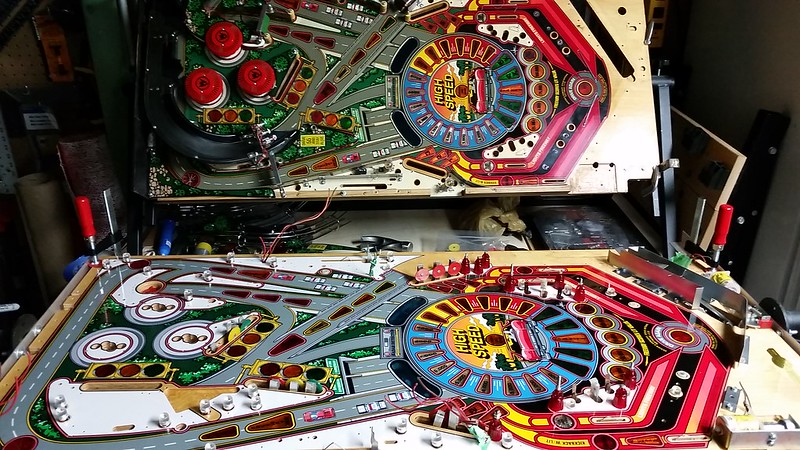
I finally got the CPR playfield up on the rotisserie alongside the original. The plan here was to completley disconnect the entire bottom of the playfield and move everything over to the new playfield in one intact mess. I'd never done it this way before but it seemed straightforward enough.


The larger assemblies like flipper mechs and a few other solenoids were disconnected and removed first. After that it came down to simply removing every screw and unstapling the ground braid before I could slide it all off and onto the new playfield.


Once the harness, lamps, switches and solenoids were all moved over I simply stapled the braid back in and spent a couple of nights screwing everything back in. FYI, anyone using these CPR playfields... don't take the location of the dimpling on the back as gospel. You will need to make a few adjustments for fit and, on my example, some of the dimples near the outside were either very faint or not there at all.

The last thing I did was solder in all new targets and then flipped it all over and I've started moving over the top playfield components.

 
Last edited:

fantasygoat

Member
Apr 19, 2015
153
14
18
52
Toronto, ON
I really like how tidy and organized you have your space - would you be willing to do a picture tour of your setup for those of us in the process of re-doing their workspaces?
 

DRANO

Super Member
Nov 15, 2012
2,827
519
113
Mississauga
I really like how tidy and organized you have your space - would you be willing to do a picture tour of your setup for those of us in the process of re-doing their workspaces?

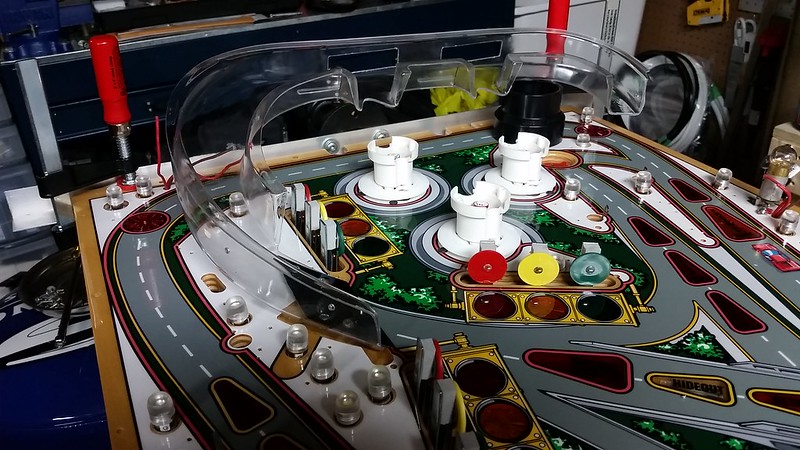
That might require a little more cleanup ;)

I'll try something.... once this playfield swap is out of the way
 
Last edited:

DRANO

Super Member
Nov 15, 2012
2,827
519
113
Mississauga
Just a little more progress on that ramp decal.
I've printed this on plain paper and will be hand-trimming and test fitting it tonight before I get it produced as a reverse decal.

 
  • Like
Reactions: Menace

superjackpot

Active Member
Nov 19, 2012
342
45
28
Mississauga, ON
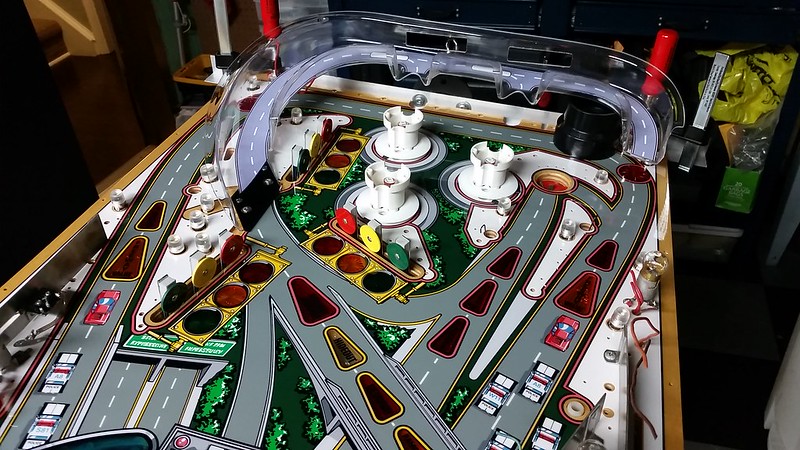
The slope and curve of the ramp will make the left portion of the decal hardest to stick flat without wrinkles.
There must be some 3D to 2D conversion that would work when designing the decal. You'd almost expect that a slice in the pattern may be required to get it to align.
 

DRANO

Super Member
Nov 15, 2012
2,827
519
113
Mississauga
The slope and curve of the ramp will make the left portion of the decal hardest to stick flat without wrinkles.
There must be some 3D to 2D conversion that would work when designing the decal. You'd almost expect that a slice in the pattern may be required to get it to align.

Yes and no. For something this thin and long, there is sufficient play in the material. It's printed on vinyl, which has some give. Same idea as a vehicle graphic wrap for example. Worst case, you can apply a little heat to make it form to the shape a bit better (blow dryer, not heat gun).

The good news is that there is actually very little deflection in the ramp. It will apply fairly flat.
The printed paper sample I have should give me a good idea on how far off I am or if any 'splitting' of the decal will be necessary.
 

DRANO

Super Member
Nov 15, 2012
2,827
519
113
Mississauga
HIGH SPEED STIFF
Part 5


So I've been spending more and more time with this swap.

Firstly, here's a public service announcement for anyone who has not done a CPR playfield swap.
I already mentioned earlier that some dimpling on my playfeld was very faint or missing. Also, that some of the locations of these dimples were not to be treated as perfect. Use your best judgment when fitting things. If it seems tight or things are not lining up right, check back with your original playfield and feel free to deviate slightly. However, overall it is very good.
What I'd like to stress is to drill out the holes! Many of the holes in the playfield are much too small and trying to bang things like wire guides and posts into a small hole is a recipe for disaster. I would even consider pre-drilling some holes for some of the smaller screws on the underside instead of relying on the dimples alone. I snapped the head off a couple of screws already from switch stacks.

Anyway, PSA done and here's a pic of the first paper test print for the ramp. The fit was pretty good although it could've been a bit wider at the entrance (fixed that). I also corrected the colour to the best of my ability and added a red lamborghini running up the ramp to match those on the playfield. I have sent it out for printing and am awaiting a reponse.


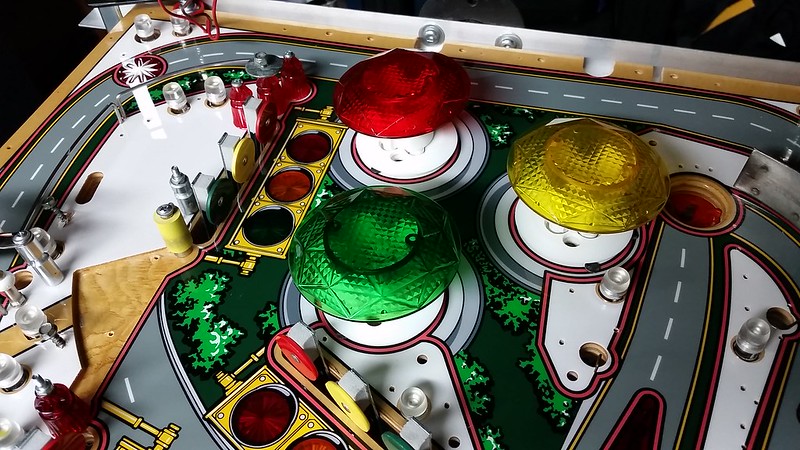
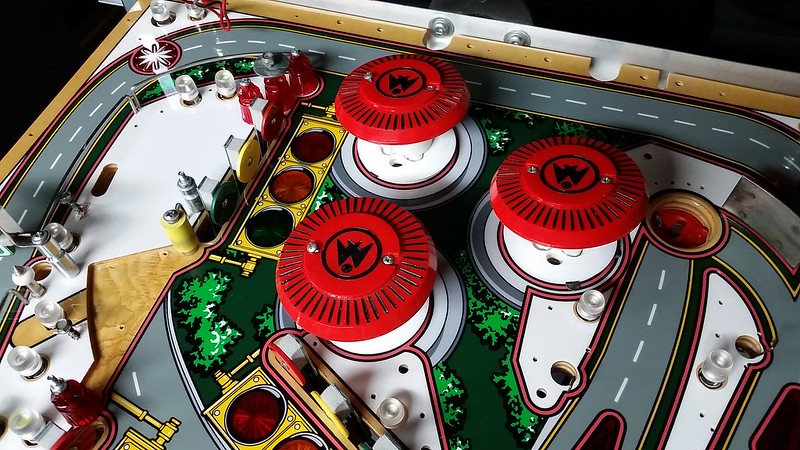
I also started playing around with a few things I had bought a while back to try on this game. I thought it might be fun to swap out the stock Williams red pop caps for something a little more in-line with the theme. These jewelled DE caps in red, yellow and green seemed pretty cool.
Now, I'm a bit of a purist so I'll likely stick with the originals, but this might be fun to try out for a bit. They would be easy to change back.


The rest of the time over the last few days was really pretty boring. Just a lot of transfering of small parts, soldering connections etc. BTW, I did not realize that all the metal stand-offs for the plastics were flared after installation from factory. This means that each one is practically riveted to the plastic.
This really sucked as I had to literally rip them off each plastic one by one, then use a vice or pliers to flatten the flared tube and then gently pound it into the smaller hole in the new plastic. I have about 3/4 of the repro plastic set yet to do... ugh :(

Now, here's a cool thing I tried out.
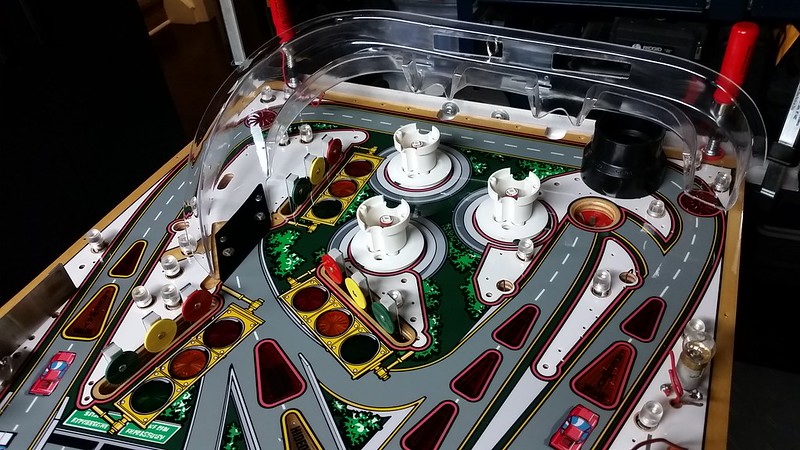
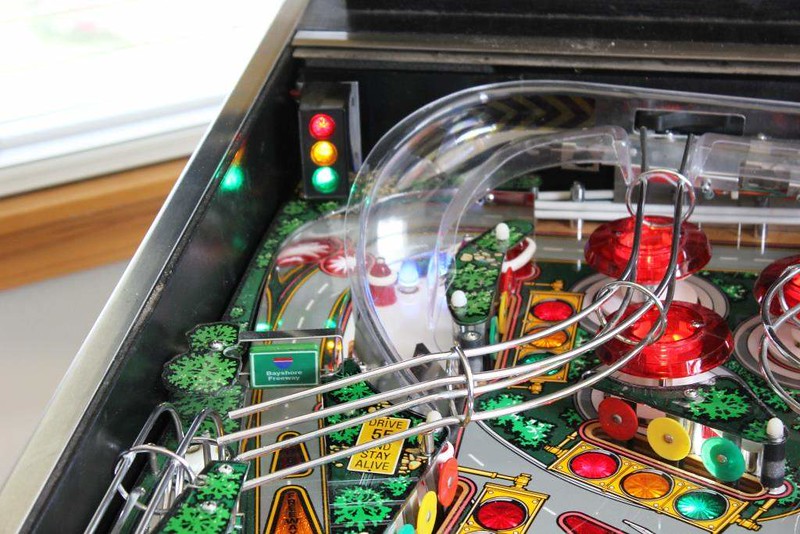
Some of the guys over on pinside decided to relocate the 3 lamp housing above the ramp entrance when they installed the new clear ramp. They placed it upright in the underpopulated left back corner of the game and I think it looks pretty good there. This opens up sightlines to the ramp and cleans up the game a lot.
Here's a shot I grabbed from Mark who made the ramps.


I took this idea and figured I could go one better.
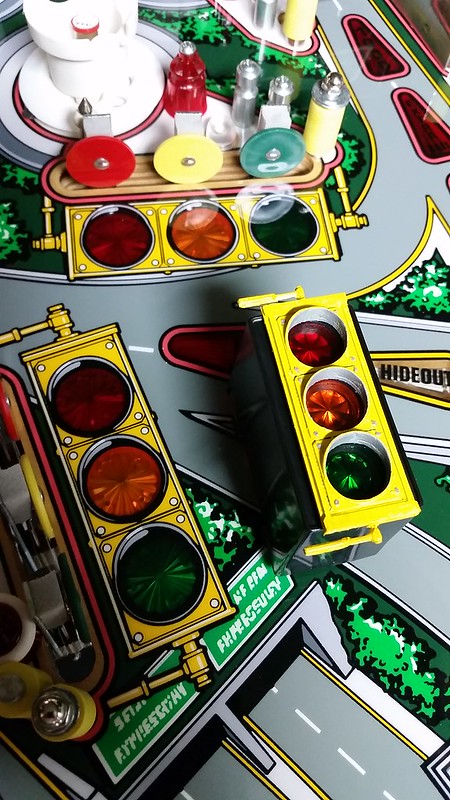
My idea was to emulate the traffic signs used on the playfield art and create a model and 3Dprint of one that would be used as an overlay to the original housing.
After 3-4 days of playing around with it, I fianlly printed a test last night and then cleaned up the model before painting and simply sticking it to the housing with some hot glue. Here's the end result.


Needless to say, I was very happy with the results.
Once I mount this to the backboard of the game, the arms should give the appearance that it is mounted to the side of the cabinet.

That's all for now.
Hopefully this sucker will be sitting in the cabinet next time I update!

Dr.@NO
 
Last edited:

mwong168

Administrator
Staff member
Nov 14, 2012
6,682
1,452
113
46
Toronto
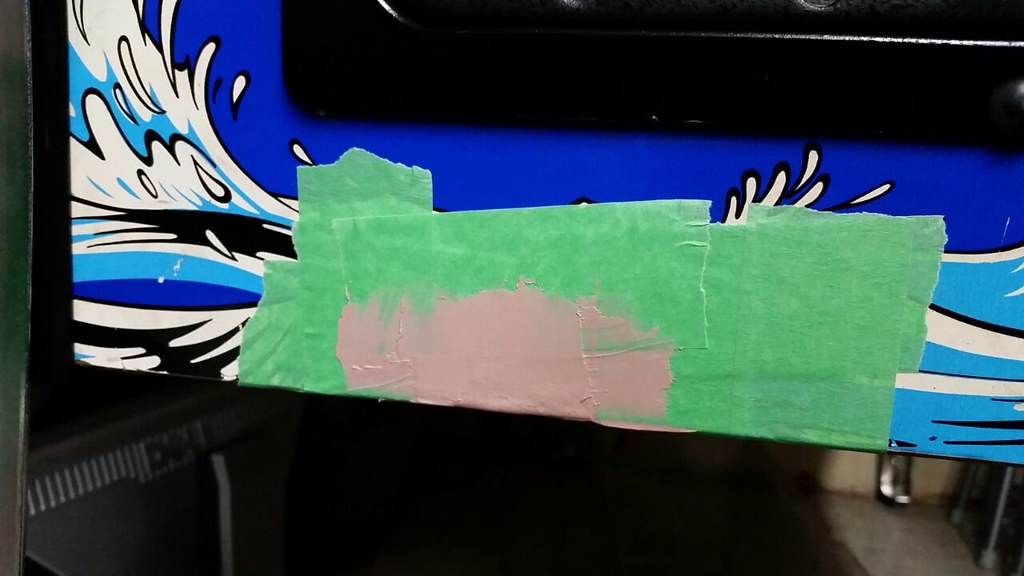
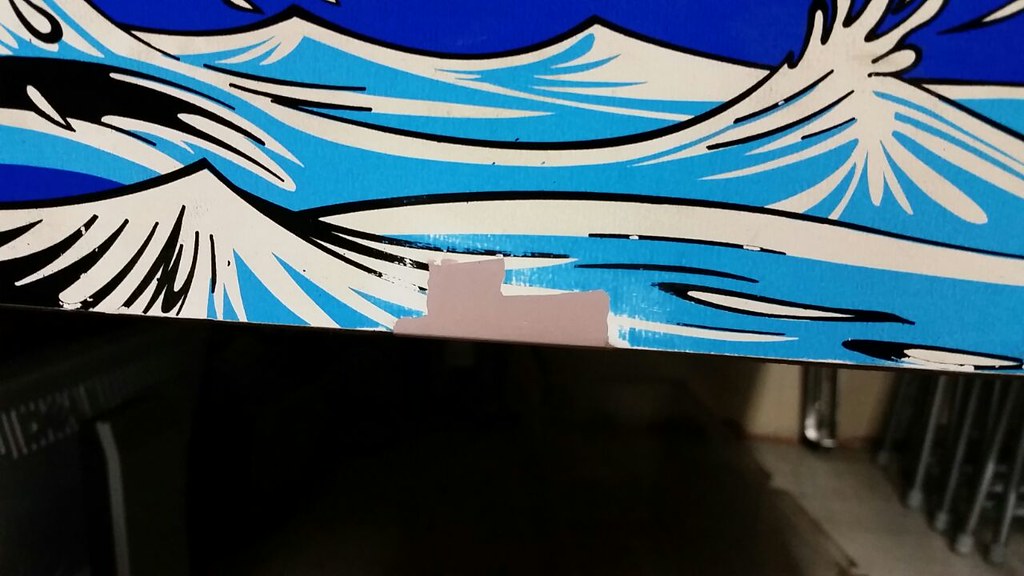
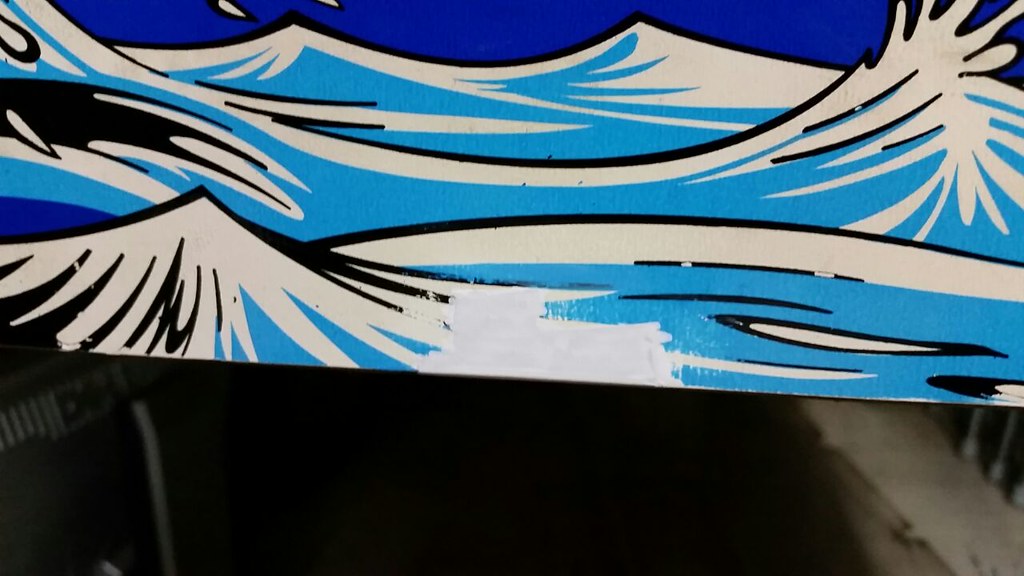
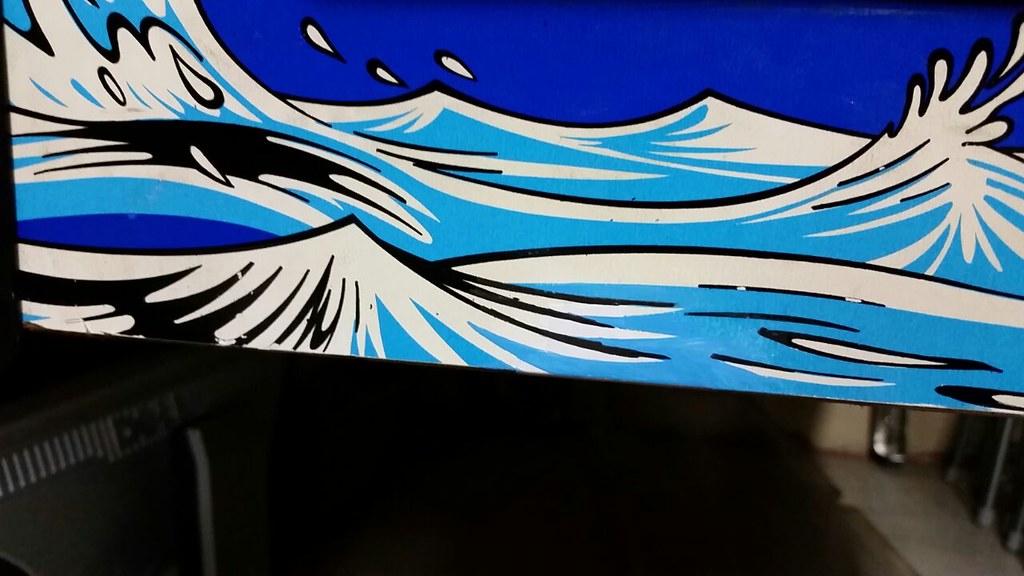
I had Drano over the other night to help me fix up a few cab dings on my games using some bondo and acrylic paint pens. The one on my WH20 was a pretty big eye sore and always visible since it was on the front side of the game.

Before:

18226582434_b4ae3e54ca_b.jpg


18661413828_0651fa14e2_b.jpg


18822917846_6b095ded29_b.jpg


18662997829_b8a3fc1dde_b.jpg


After:

18226575884_cfd3b6090c_b.jpg


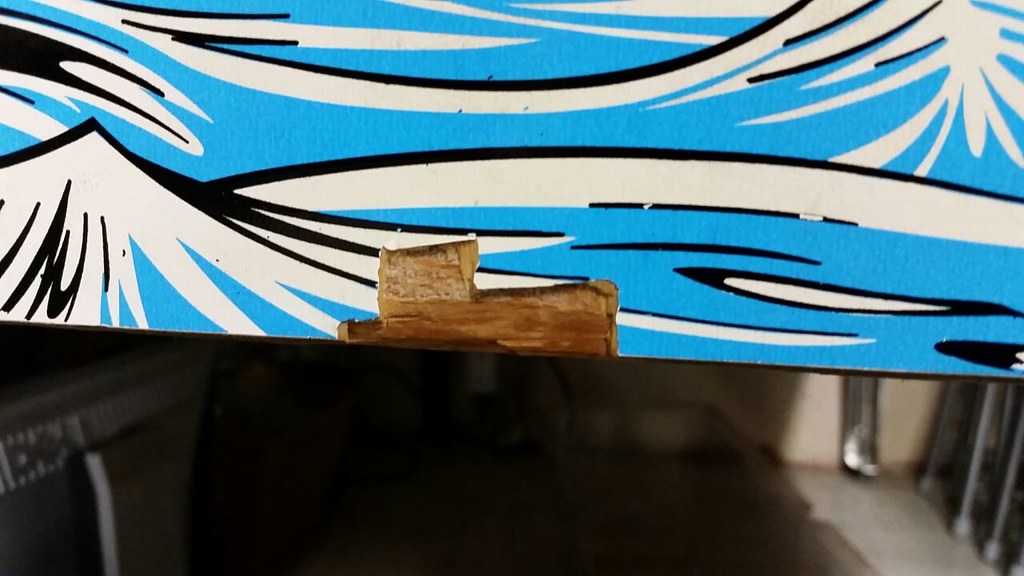
The blue paint pen he had was a pretty close match as you can see from the picture above. I also asked him to help me rebuild and touch up the chipped corner on my TOTAN head. It has been this way since I got it back in 2012 and never bothered me as it has always been wedged between other games. When I pushed the game back into the line up Drano was like "Awww... now you can't even see my repair and done purely for re-sale value" :)

18662997299_344b043a27_b.jpg


Thanks again Drano for all your help!